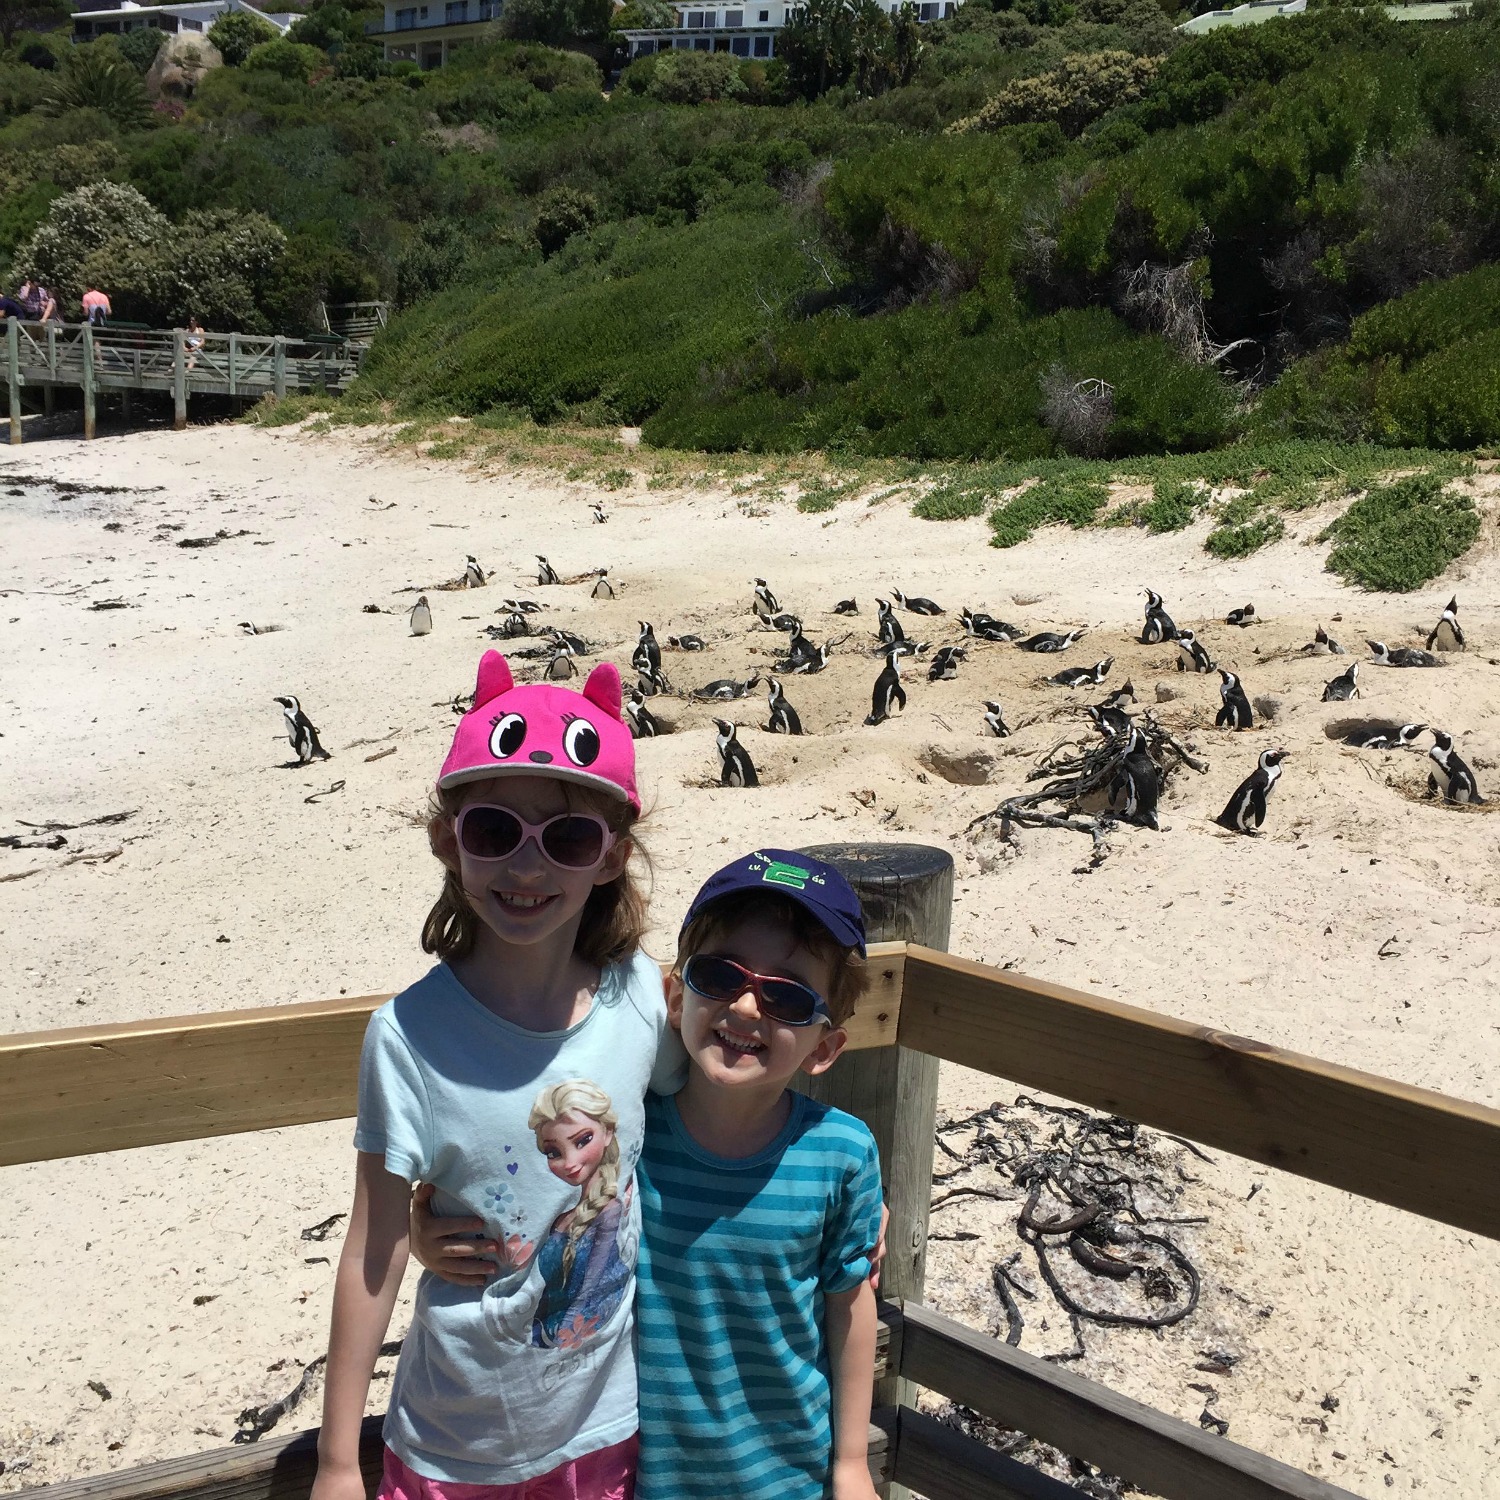
My kids have always enjoyed eating rusks (South African “dry biscuit” that you dip into your tea) but after our recent holiday in South Africa they have returned slightly rusk obsessed and they are not cheap to buy in the UK. So time to have a go at baking our own rusks ? Hmm
The kids where very eager to try so we had a go – our first attempt at this recipe and I must admit the end results are very tasty indeed.
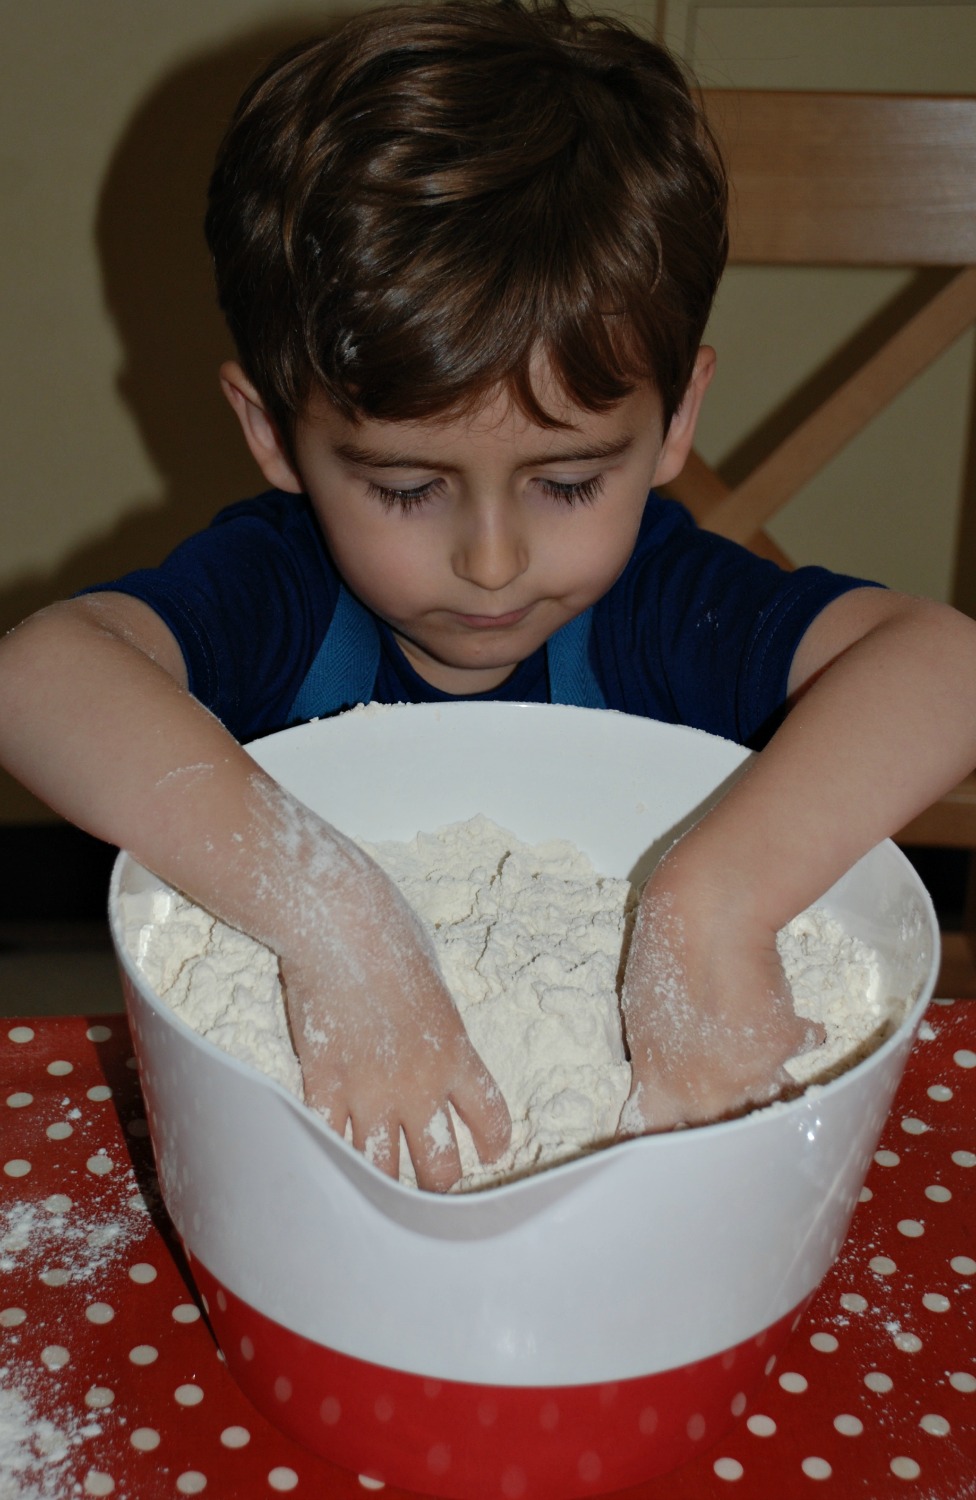
My little man helped me mix all the dry ingredients together (warning if you do have little helpers like I do they are going to love this recipe as they get to use their hands a lot).
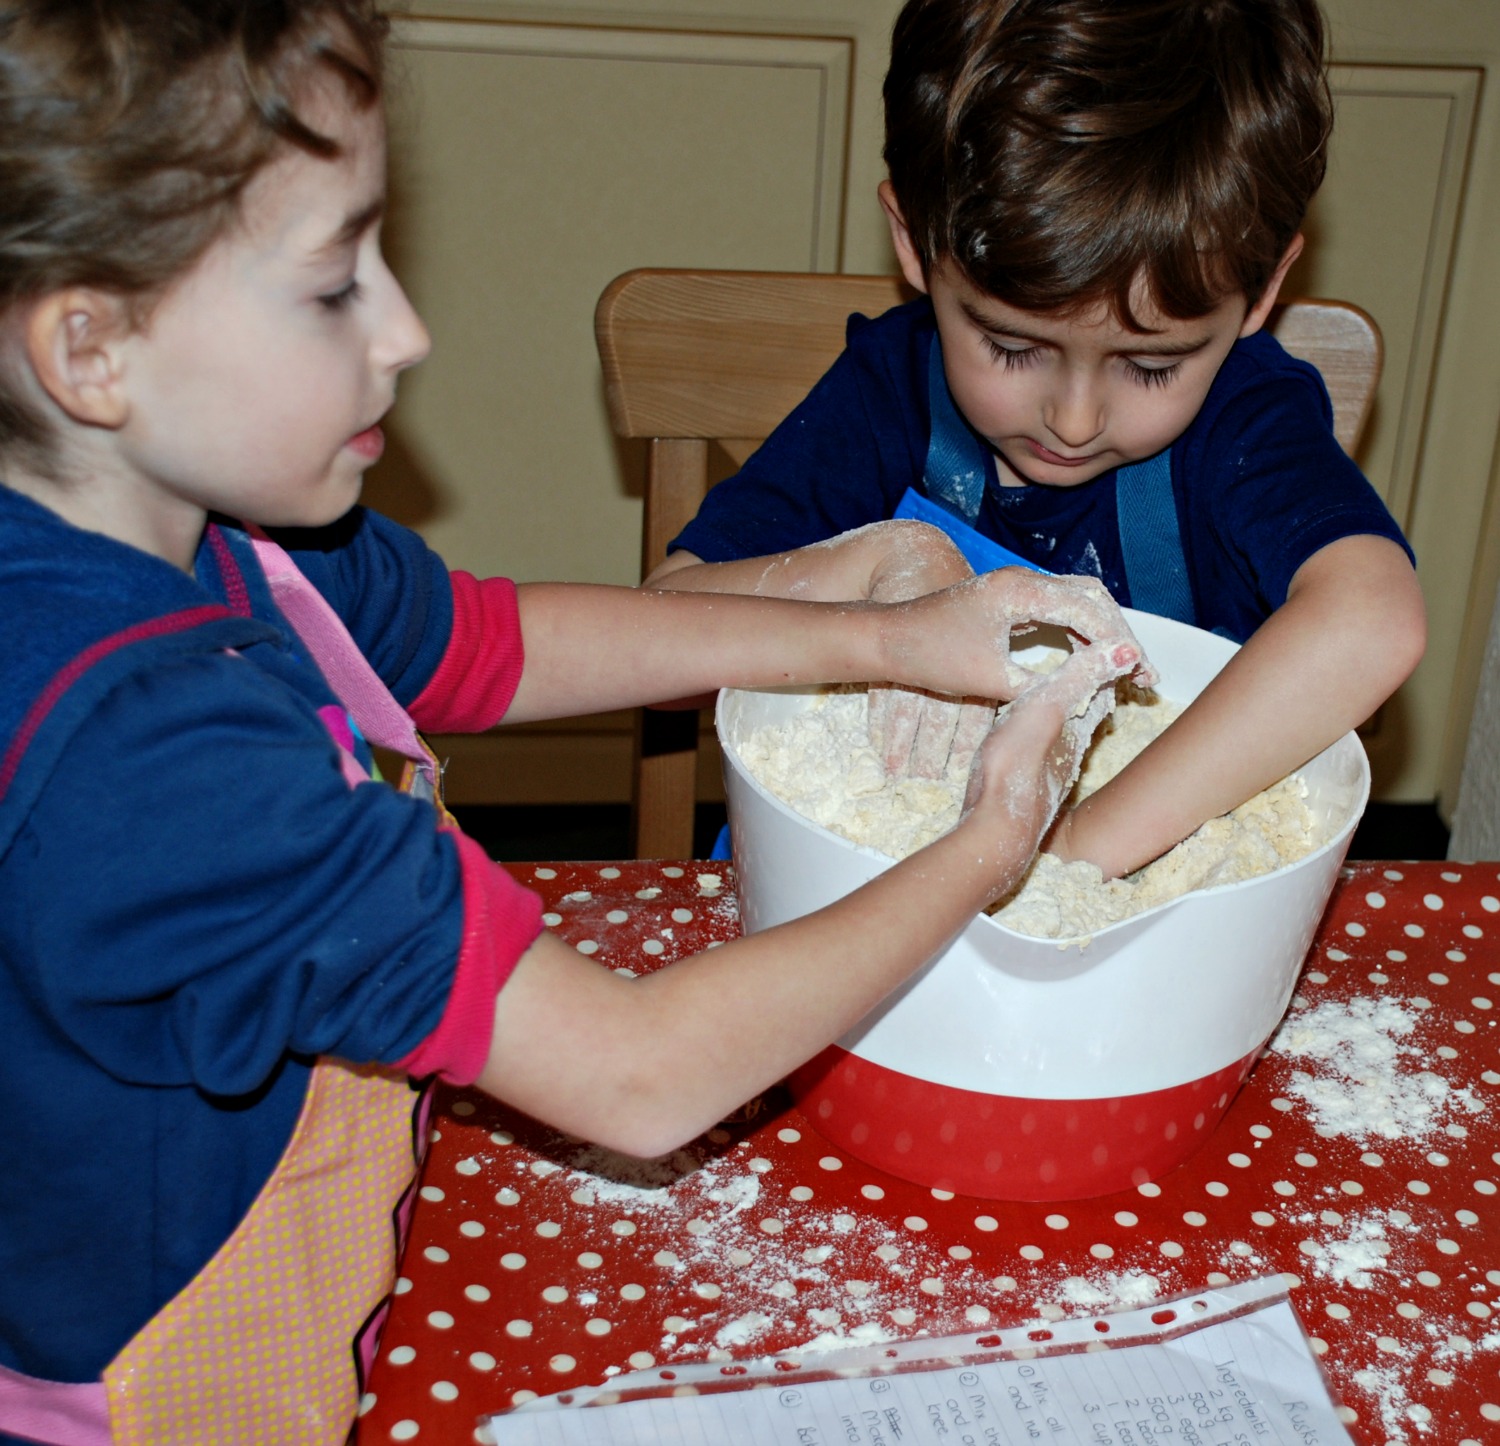
 My daughter helped me mix the eggs and buttermilk together and then we added that to little brothers bowl (yes more mess but two happy kiddies).
 They loved this.
Tip – It helps to have a basin filled with warm soapy water (and possibly a step set up if they can not reach) if you are baking with sensory kids. That way when their hands get a bit too messy they can go and wash them and then always rejoin in the fun. That is what my daughter does when we bake and it means that instead of getting stressed out by the feeling on her hands, she cleans them and then rejoins us. With the rusk baking it worked really well, as she used her hands over and over again, it really ended up being a great sensory activity for her.
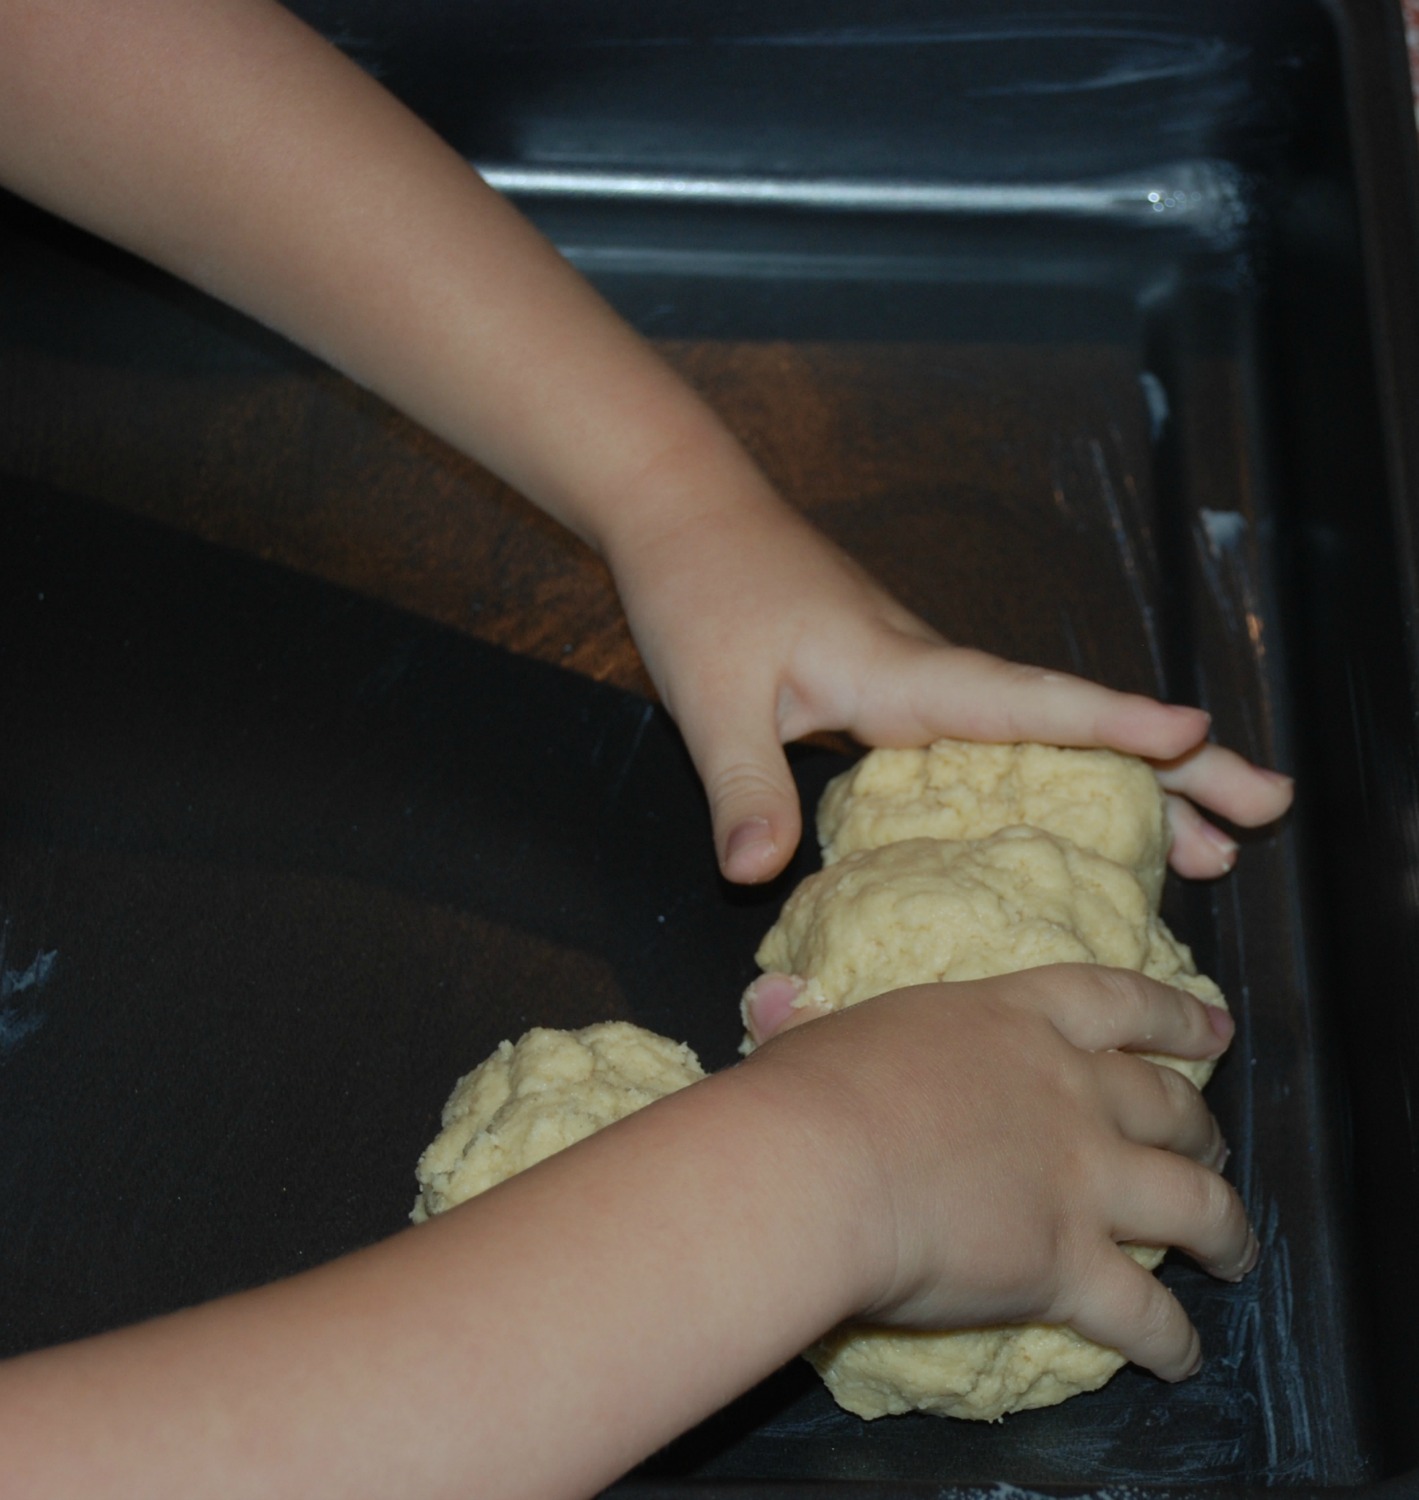
Once you have mixed it all together and kneaded it a bit (I did double-check at this stage to make sure everything was properly mixed) we then made some rusk balls and added them to our baking tray.
 Both kids also really enjoyed this (I did not make a big deal about the size or consistency of the rusk balls as the kids where making the rusks and are going to be the ones eating them so we do not care if they turn out all different shapes and sizes)
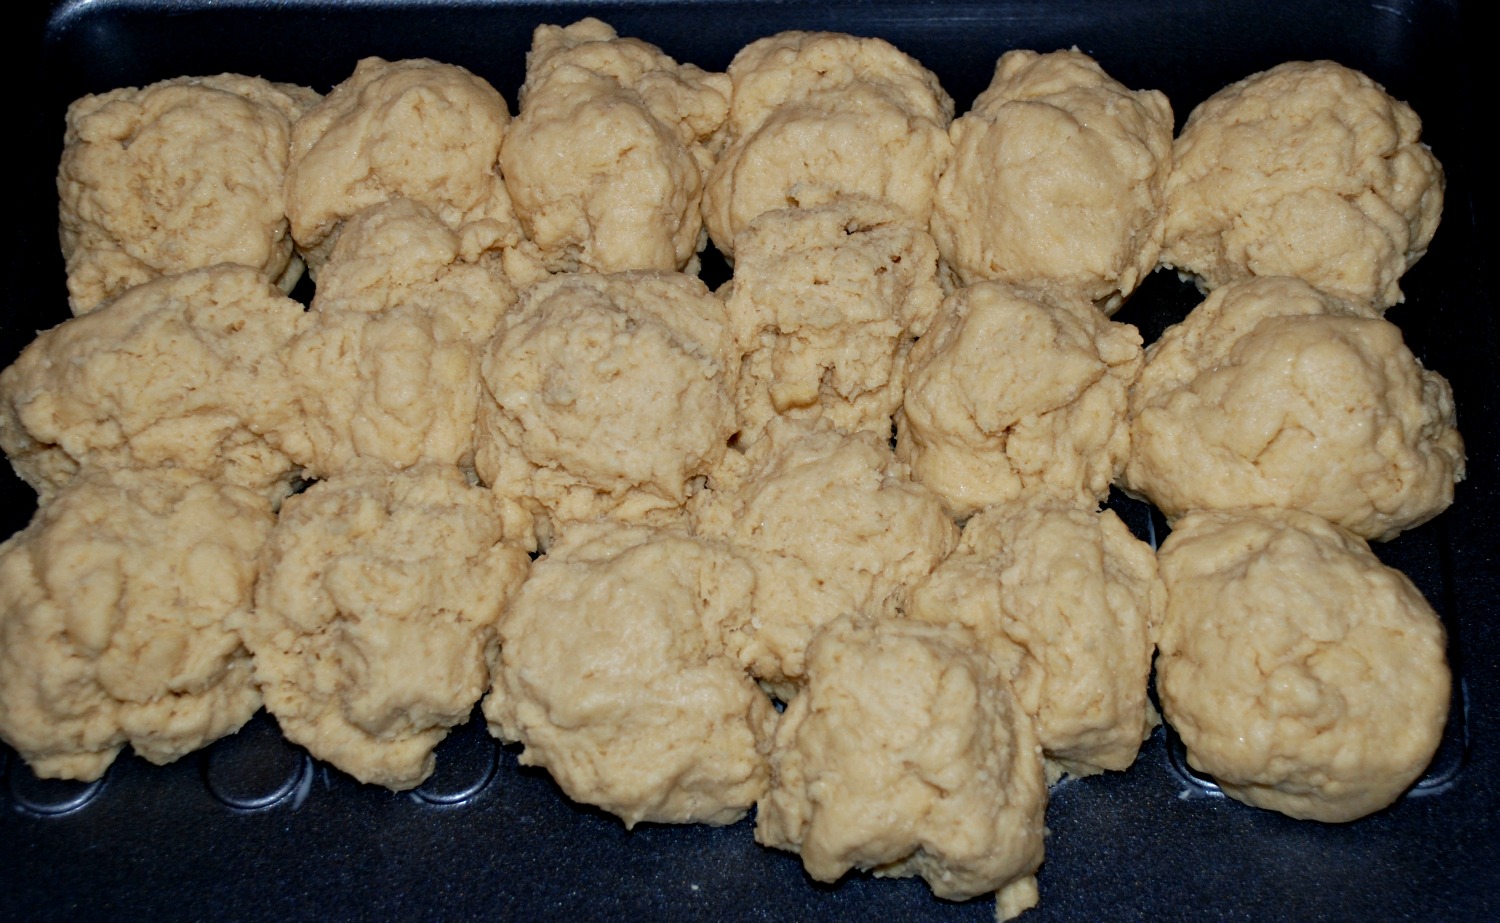
Bake them in the oven around 180 degrees – we baked ours for around 45 mins – but this will vary depending on the size of the rusk balls, so check as you do not want them to burn, just go golden)

And the kids end results. When you take the rusks out the oven use a spatula to separate the rusk balls.
 Now you need to let the rusks dry out properly (although the kids and I did snack on a few before we did the drying bit).
The full recipe is here
- 2kg self-raising flour
- 500g margarine
- 3 eggs
- 500g castor sugar
- 2 teaspoons baking powder
- 1 teaspoon salt
- 3 cups buttermilk
Steps
- Mix all the dry ingredients together and the rub the margarine into the dry mixture
- Mix the eggs and buttermilk together in a separate bowl and then add to the dry mixture. Knead the mixture a bit
- Make the mixture into rusk balls and pack them onto a greased baking tray
- Bake at 180 until golden
- Remove from oven and separate the balls
- Now add the separate balls into a cooled oven so they dry nicely (we did an oven at around 80 with the door held slightly open – you can use a wooden spoon in the door to keep it slightly open – for around 4 hours).
Now make some tea and enjoy !!!


 Then you need to fold the bottom section up and glue to the two inside fold together.
 Tip – before you glue the two inside pieces together – make sure the folds have lined up. On our first attempt we did not line it up nicely (see photo below) but as we discovered it is very easy to re-fold until you get the hang of it.
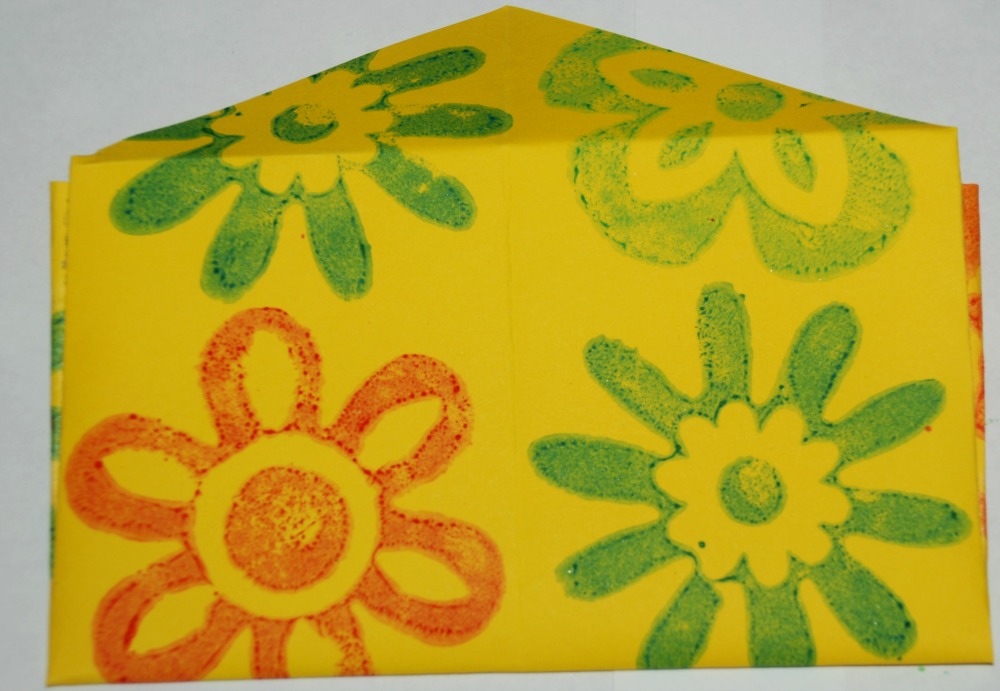 Once she was happy with the folding bits she really got going……………..
 And we ended up with a lovely selection of hand-made envelopes. Perfect for her to use to send some little notes to her cousins in.