We are offically 3D butterfly and 3D dragonfly obsessed

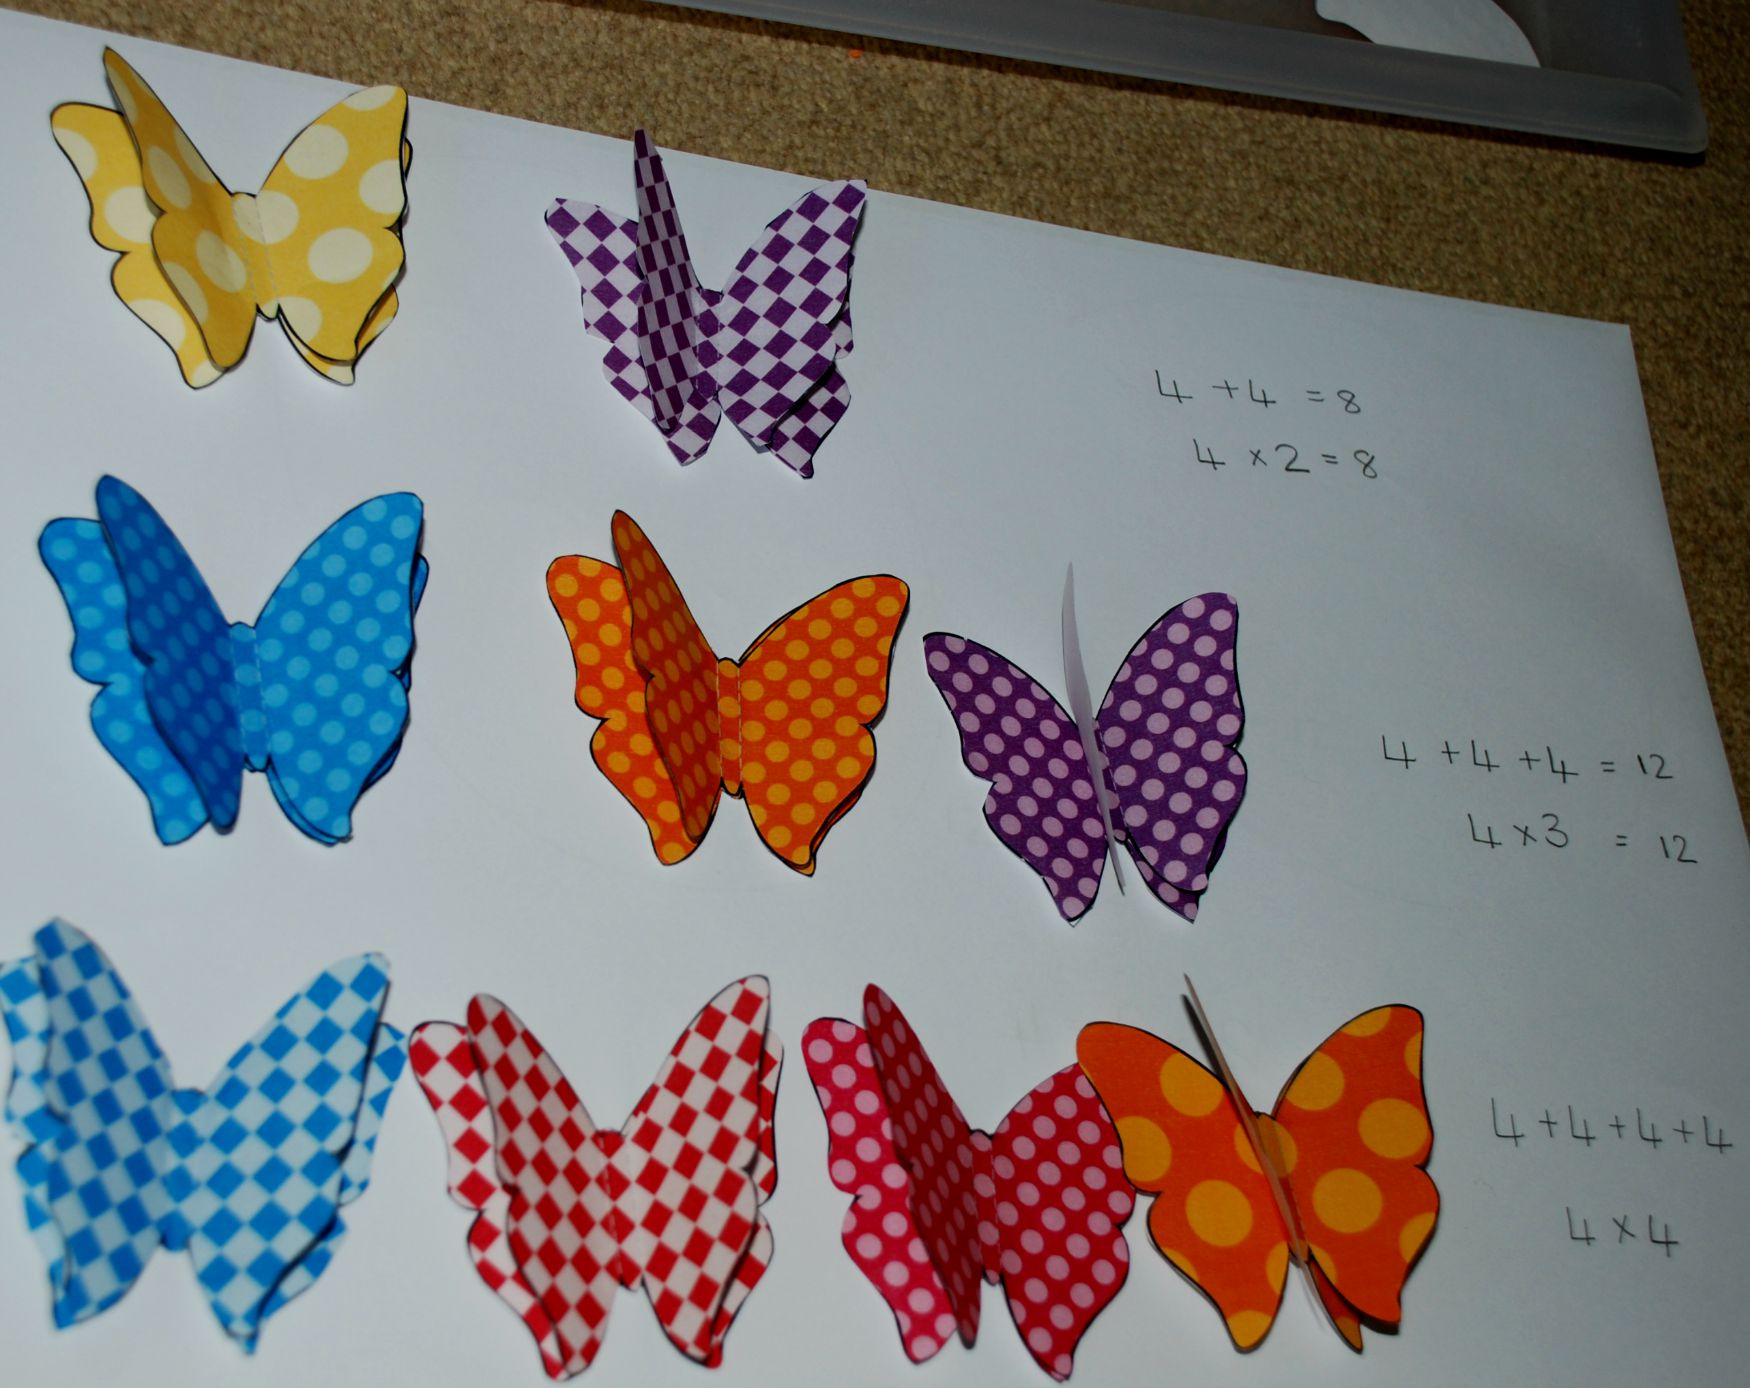
It is no secret that my daughter loves the 3D butterflies from Twinkl (part of the platinum package).  She has used them in a number of different craft projects in the past so it was no big surprise when she asked if I could print some more for her.  She has going through a bit of a times table craze and she wanted to use the butterflies to practice her 2x  table (why had I not thought of this idea ??)

2 times table with the butterflies

She actually knows her 2x table so she quickly got bored with doing this and then asked if we could double up her butterflies so that each butterfly now had 4 wings.  This was the first time she had tried the 4x table.

using the 3 D butterflies for repeated addition

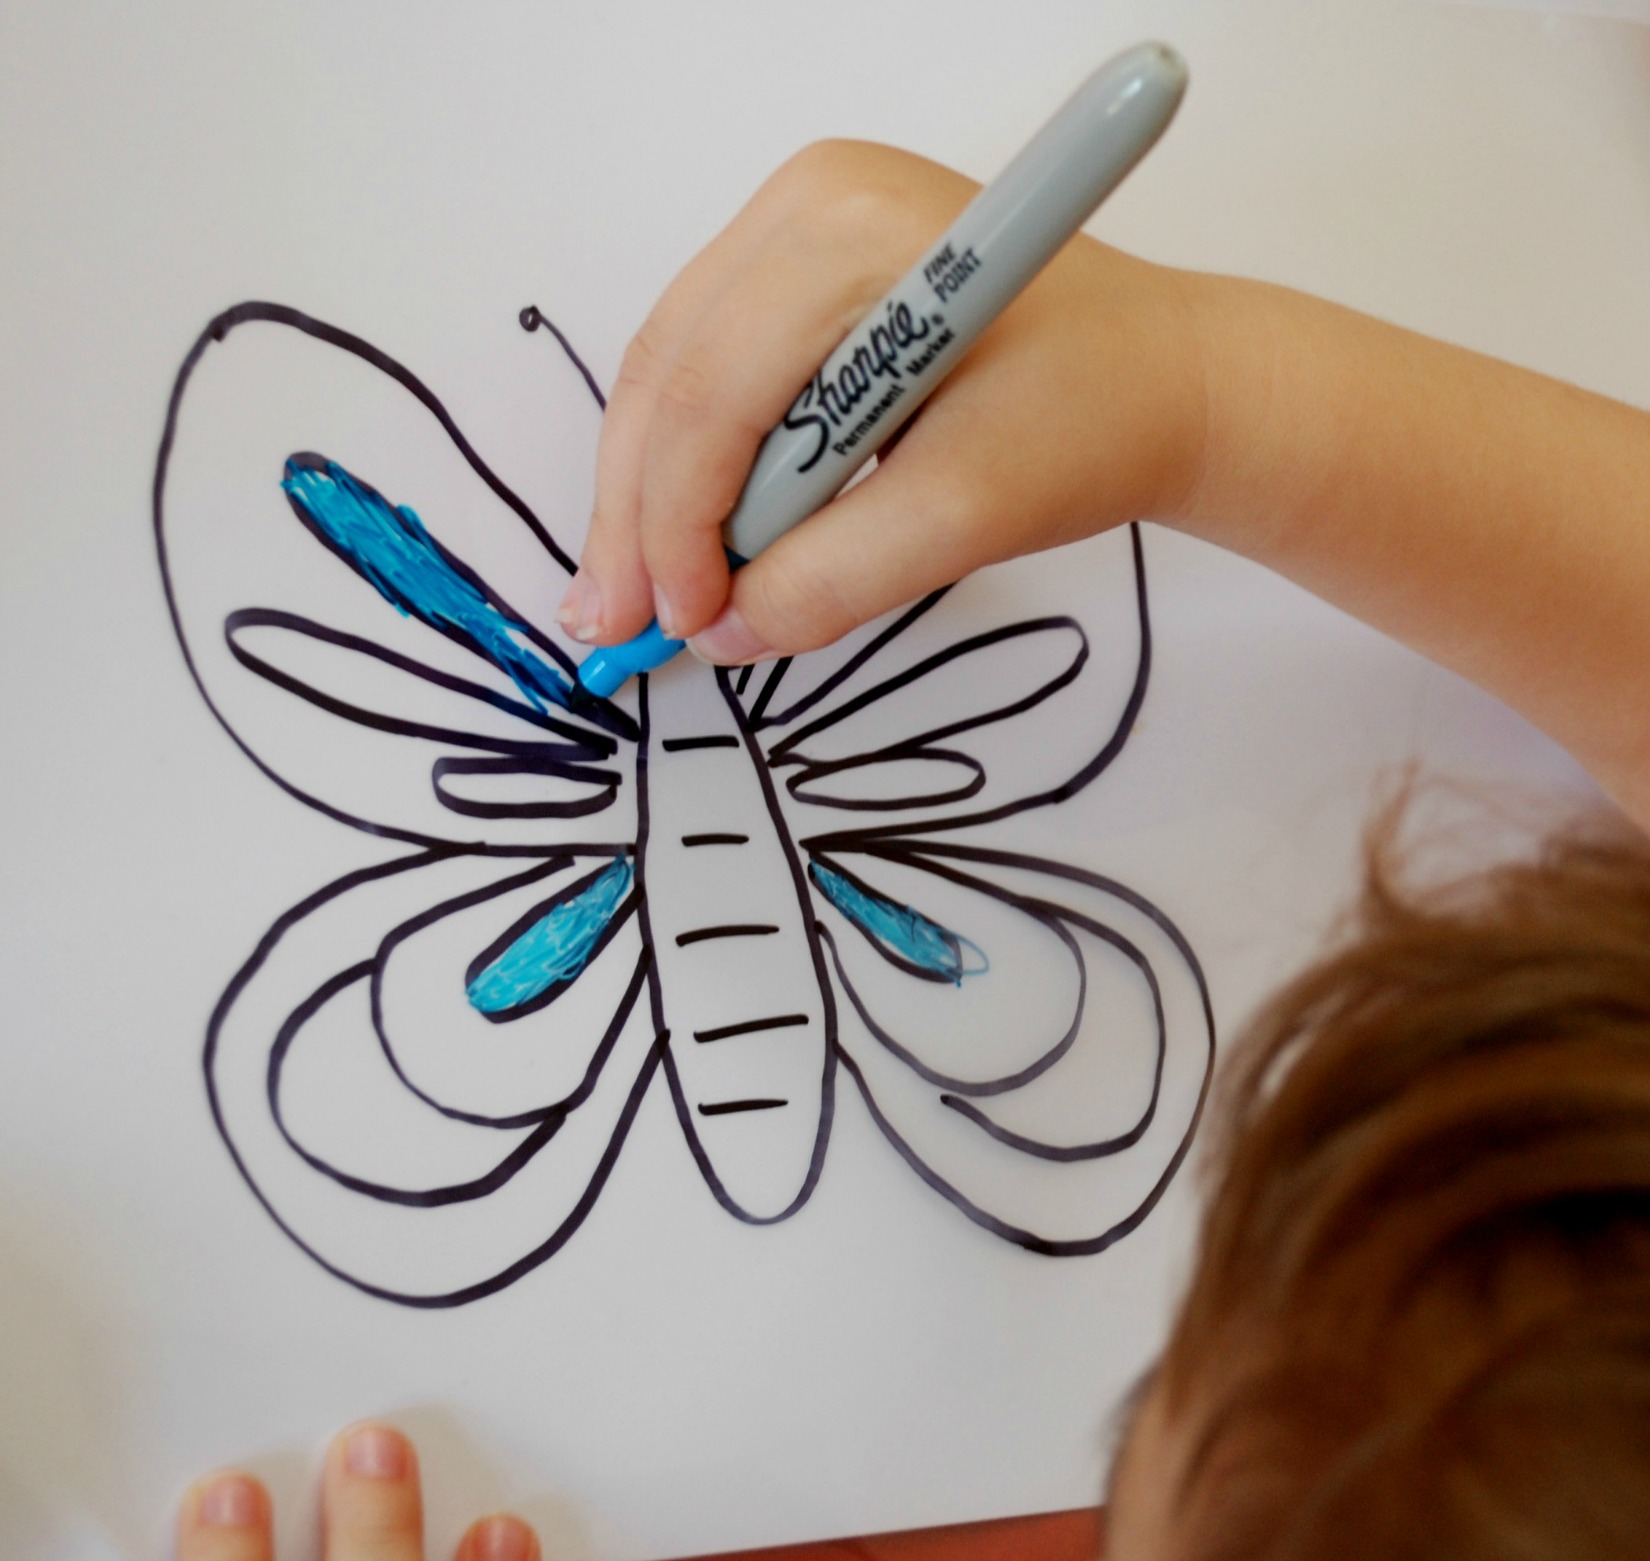
My daughter is a visual learner so introducing a concept like this with visual aids really helps her understand it (she also likes to be able to touch items in her hand as opposed to just reading or looking at a picture).

using the 3D butterflies from Twinkl to intoduce the 4x table

We had so much fun with these butterflies that I recently asked Twinkl if they would consider making us some dragonflies, they did and we love them (Link for 3D dragonflies).  My daughter quickly realised that when you double up the dragonflies they have 8 wings so we ended up making some cute skip counting sticks.  We used the doubled up butterflies for counting in 4’s and the doubled up dragonflies for counting in 8’s.

3D butterfly and 3D dragonfly skip counting  and  times table sticks

The great thing about having all these butterflies and dragonflies lying around (I am not the best at packing away our goodies at night – I often just collapse onto the couch and leave everything scattered), is they are great for inspiring crafting.

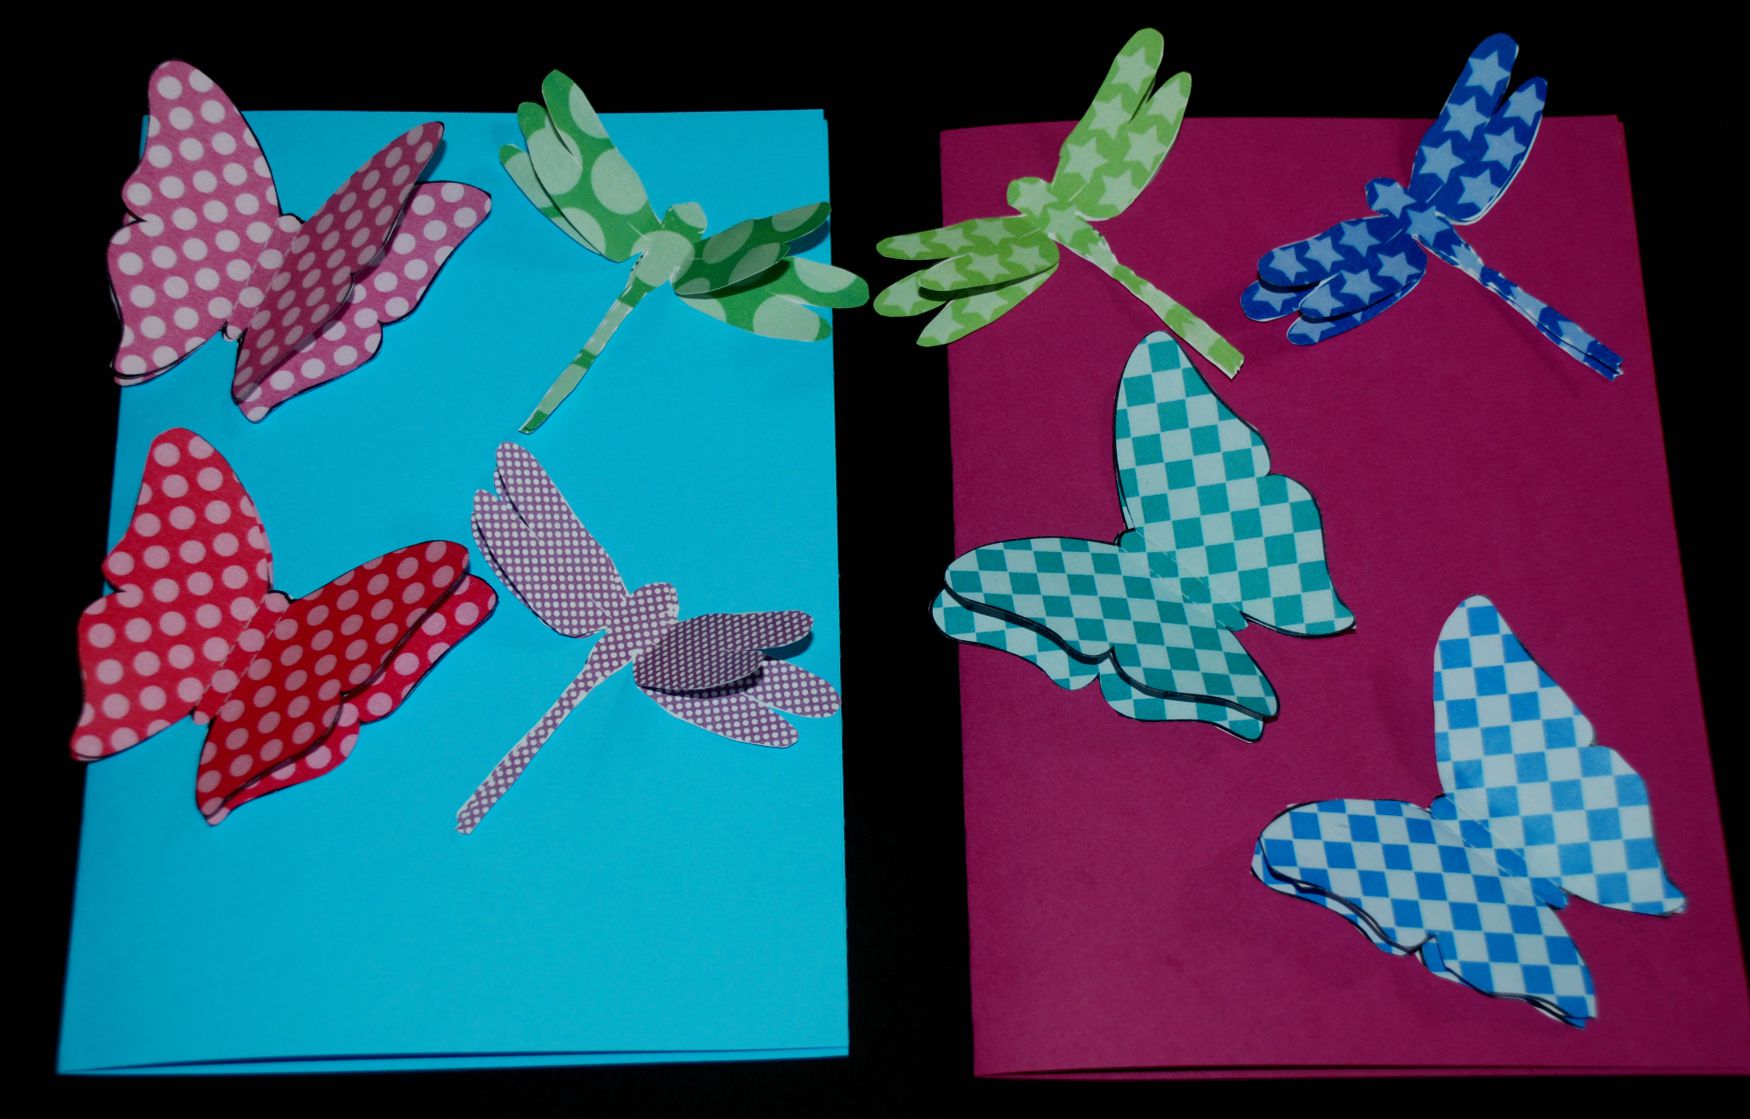
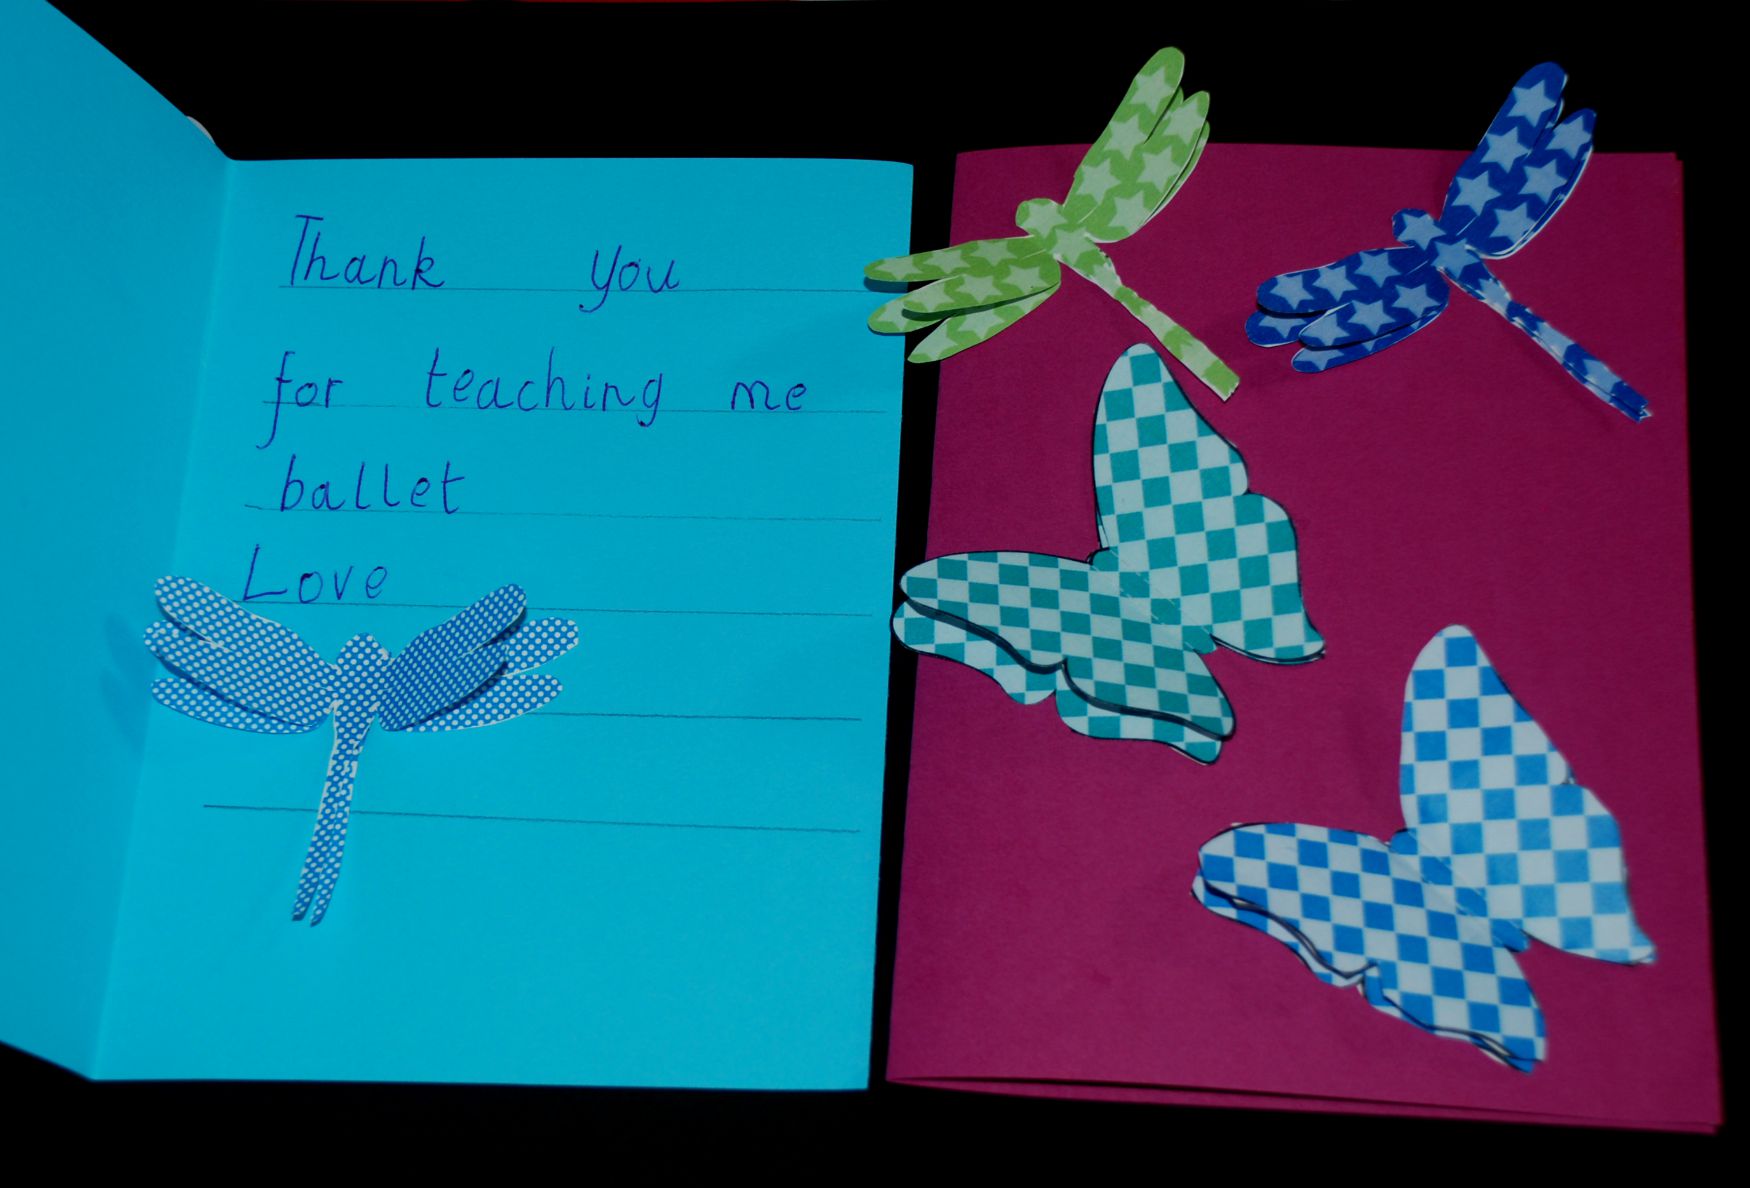
My daughter used the butterflies and the dragonflies to make some thank you cards for her ballet teachers.  Her ballet teachers loved the cards.  I think these would also be great for some birthday cards.

3D dragonfly and 3D butterfly cards found on ofamilyblog

3D butterfly and 3D dragonfly thank you cardsWe also combined the 3D dragonflies with some tissue paper to make a cute collage.  We started off by sticking down the tissue paper to make a simple background.  My daughter finds it easier to add the glue to the paper and then add the tissue paper.  If she adds the glue directly to the tissue paper she often just ends up with crumpled balls of tissue paper.

Making the tissue paper background for the 3D  dragonfly pictureAnd then my daughter added her dragonflies.

Tissue paper and 3D dragonfly picture using the template from Twinkl
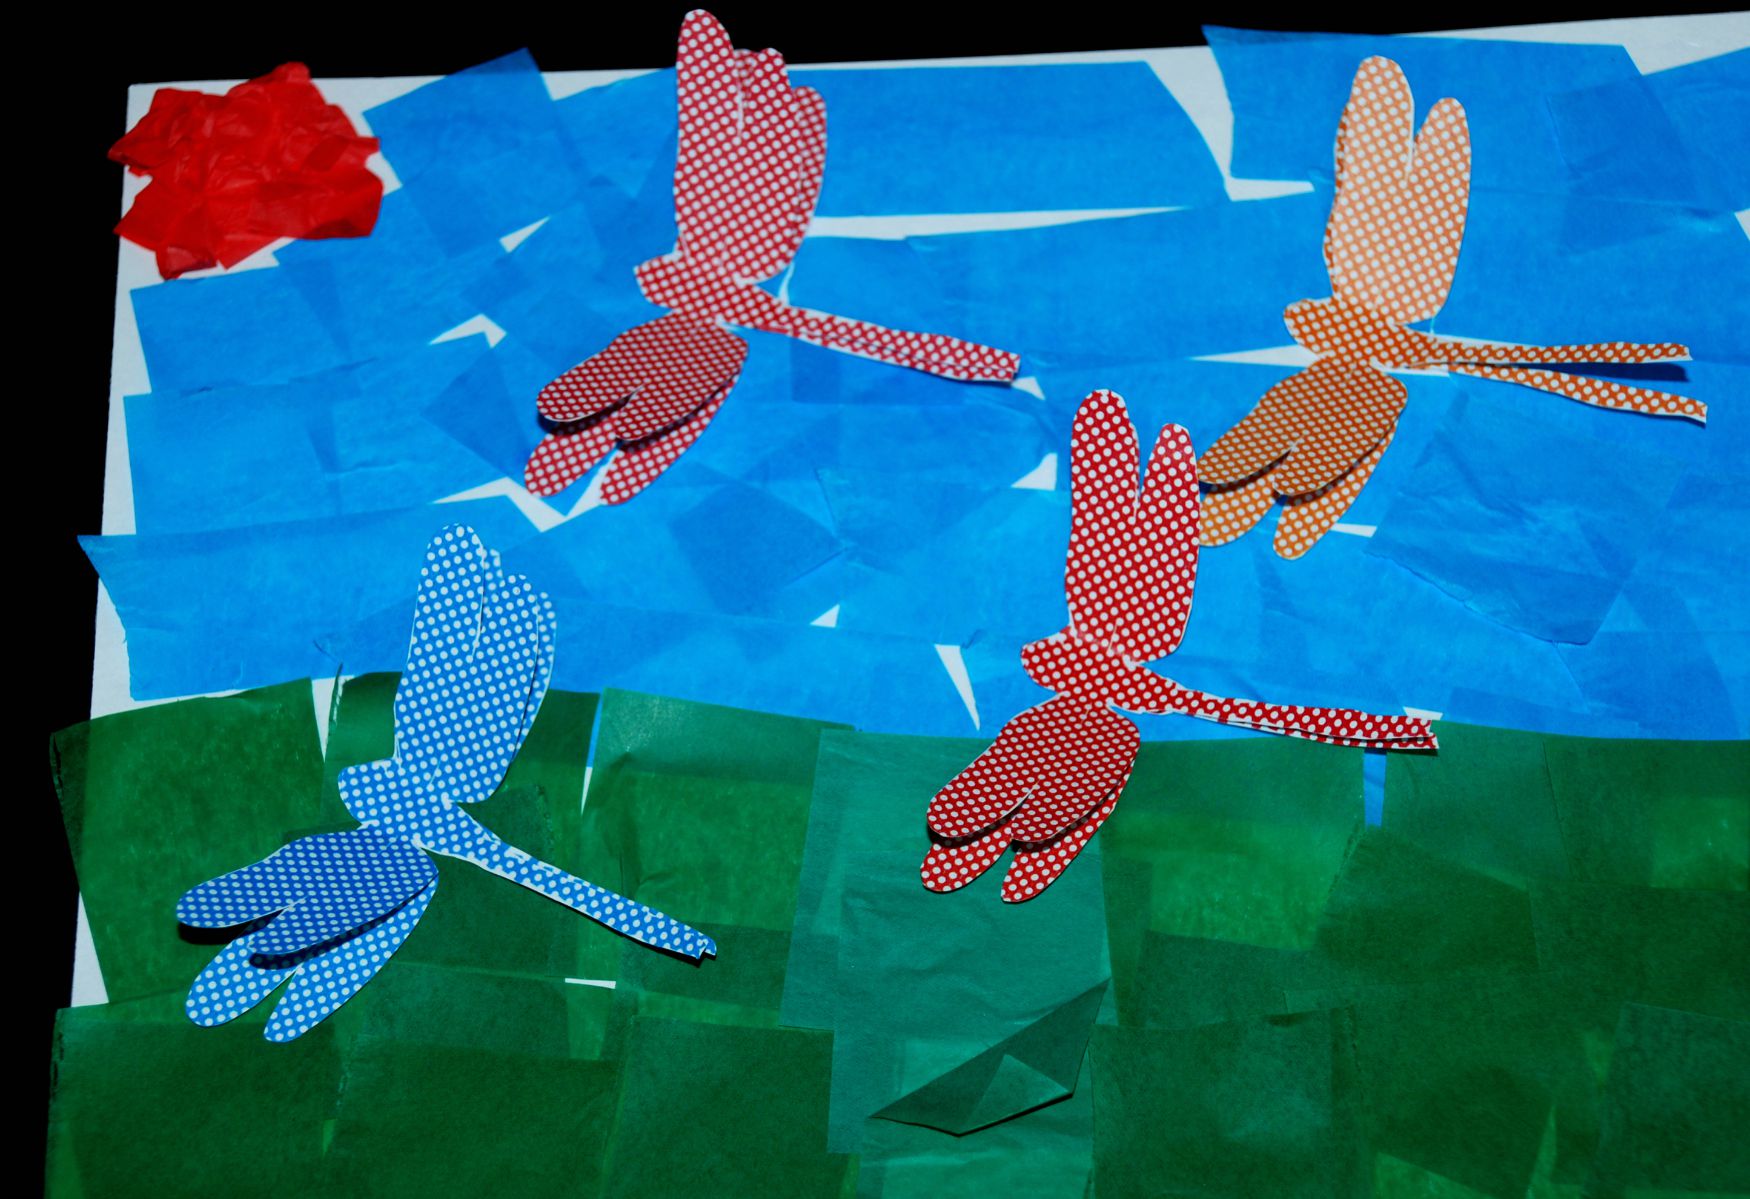
Very simple and a lot of fun to make.

Just to comment about the 3D templates that we have been using from Twinkl.  My daughter is fine cutting the butterflies out (she does do it slowly but she tries to cut it perfectly), my youngest also sort of manages to cut them out.  The 3D dragonflies are a bit trickier, my youngest could not manage these, my daughter can but she does simplify her cutting.  So she does not cut out the antenna that are included on the template she just cuts out the basic face shape.  We are not fussed by this.  Both my daughter and I think that the dragonflies still look stunning.

3D dragonfly and 3D butterfly ideas found using templates from Twinkl on ofamilyblog

Posted in Art and Craft Ideas | Tagged , , , , , , , | 4 Comments

Making Laminating sleeve window art

Okay I have a confession to make – I LOVE MY LAMINATOR !!!!  I truly do.  I have these laminating afternoons where I just sit and laminate a bunch of kids cards and pages for the coming weeks.  Naturally my kids always want to come and join in (same concept as when I make something to eat the kids suddenly become hungry for whatever it is that is on my plate).

Well this last weekend while I was trying to do my laminating and the kids where crowding around wanting to join in we stumbled upon a fun art idea.  Laminating sleeves are great for tracing and colouring on and they look amasing hanging up on the windows !!!  Why had we not done this sooner ???

We started off my tracing over some of the colouring pages that were lying on my table and then the kids used their Sharpies to colour them in.

Tracing a picture onto a laminating pouch to make a window picture

Making a laminating pouch window art, great activity for young kids

With the first few I actually cut the laminating sleeves in half and the kids traced on the shiny side (the outside).

Laminating sleave making a flower scene picture found on ofamilyblog

laminating pouch window art examples

But then we thought it would be fun to laminate the pictures.  So the with the next few we opened up the laminating sleeves and traced the pictures on the inside and the kids coloured them in.  This also showed personal preference – my son likes doing it this way whereas my daughter definitely likes doing the tracing and colouring on the shiny outer side.

Laminating sleave art activity different pens that we tried

We also experimented using different pens.  The two sets of pens which gave us the best colour where the Sharpies and the Staedtler pens.

I personally think that if you do it the second way and laminate the sleeves it looks better hanging up on the window (my daughter naturally disagrees with me on this).

Laminating sleave window art ideas found on ofamilyblog

OLYMPUS DIGITAL CAMERA

Different examples of window art using our laminating sleeves

In the pictures above I tried to show the different outcomes you get.  The butterfly and the flower scene on the left are from colouring in the pictures on the inside of the laminating sleeves and then actually laminating them.  The flower scene on the right and the snail is when my daughter just traces and colours onto a laminating sleeve on the shiny outside and does not laminate it.

Laimating sleave flower scene picture traced from colouring page found on the Twinkl website idea found on ofamilyblog

OLYMPUS DIGITAL CAMERA

window art using laminating sleeves


You could trace over any picture or you could just let the kids draw their own pictures.  The links for the colouring pictures that my kids used are listed below.

The butterfly and the bee pictures are actually from the Minibeast colour by addition and subtraction pages that my daughter was doing yesterday – it is platinum on Twinkl

The train picture is part of the FREE modern transport colouring pages on Twinkl

The snail is from the FREE detailed Minibeast coluring pages on Twinkl

The flower scene is also FREE from Twinkl it is part of the flowers colouring sheet   (we have used these pages for lots of art activities).

Posted in Art and Craft Ideas | Tagged , , , , , , | 2 Comments

Lets go on a Minibeast hunt

My kids have a new obsession, well it is 2nd to their on going Dinosaur obsession.  It is all things minibeasts (insects and spiders included).

I have been trying to encourage this new interest so I thought it was about time I put together a Minibeast Tray for them.

Lets go on a Minibeast hunt in the garden. perfect for the spring and summer months. found on ofamilyblogIncluded in the tray is

The tray has been left by the back door which leads onto our garden for around one week now and both kids are regularly using it to go and look for creatures.  And yes in case you are wondering a few of the creatures have been brought into the house to show me.

Minibeast Hunt in the back garden on ofamilyblog

The insect viewers has proven to be very popular.  The kids have used them to look at small creatures as well as flowers and bits of grass and leaves.

Insect viewer

looking at flowers in the bug finder

Our minibeast tray has been a big hit over the last week and I am sure it is still going to be very popular over the coming weeks.

Posted in Key Stage 1 ideas, Science Ideas | Tagged , , , , , , , | Leave a comment

Kids art activity – Oil pastels and water colour doodling / patterns

Lots of our art lately has been doodling and having fun with whatever is on hand.  I recently explain to my daughter that art does not mean that you have to create a realistic image it can also be shapes and colours and just whatever inspires you.  This has actually been a challenging idea for my daughter as she likes to get everything “just right” and with this there does not seem to be a right way.

One of the ideas that we have been playing with and which had some fun results is this.

oil pastel picture with water colours

We start off with our oil pastels just doodling or making patterns on either card or water-colour paper.

oil pastel patterns

Then we paint over the oil pastels with our water-colour paints.

oil pastel with water colours over

I think the end result is great.

Kids art idea - oil pastel drawing with water colours painted over the top

Kids oil pastel with water colour wash over the top

It is a simple fun art activity for young kids and they get to experiment with mixing mediums.

Posted in Art and Craft Ideas | Tagged , , , , , | 1 Comment

Partially coloured in pictures for kids

Before I was a mom I had a preconceived idea that all kids loved to colour in.  Well my daughter shattered that idea.  She has never been a fan.

One of the reasons why my daughter never  enjoyed colouring in was because she really battled with her pencil pressure (something that is fairly common with SPD kiddies) and would end up with a very tired hand very quickly and  get despondent.

After spending some time with the lovely Kirby from Jump Out The Box I changed my attitude about art supplies and instead of buying quantity started buying quality.  One of my first purchases where these lovely Stabilo Woody pencils.  Yes they are pricy but for my daughter they where a big part of helping her.  She found the pencils very comfortable and started to enjoy using them.  And added bonus is they are also water colour pencils.

Stabilo woody pencils

The other idea that really helped encourage her to colour was giving her pictures that where already partly coloured in.  I would often just print off a single page and colour part of it in for her and then she would complete the rest.  I started by just leaving very small sections blank and slowly progressed to leaving more and more blank.  The fact that she was able to complete a picture herself boosted her confidence and she would proudly show her daddy her picture.

I have recently started doing the same thing for my son.  Here is an example of what I do.  The tractor template I have used is part of the FREE transport colouring pages on Twinkl.

encouraging kids to colour in - partially coloured in tractor pictureAnd I am thrilled to say that Twinkl have now very kindly created a pack of colouring pages that have already been partially coloured in.  Great time saver for me.  Here are two examples from their new SEN colouring pages  (Platinum).

SEN colouring pages on Twinkl - small blank areas left for the kids to complete the picture

SEN flowers colouring pages on Twinkl - small blank areas left for the kids to complete the picture

Posted in Homeschooling, SPD | Tagged , , , , , | Leave a comment