
Our easter egg card happened by accident but I just love the way it turned it and it really is very easy to do and a great way to show off some of the easter eggs that the kids seem to love to make. We were actually cutting and sticking shapes and ended up the result below.
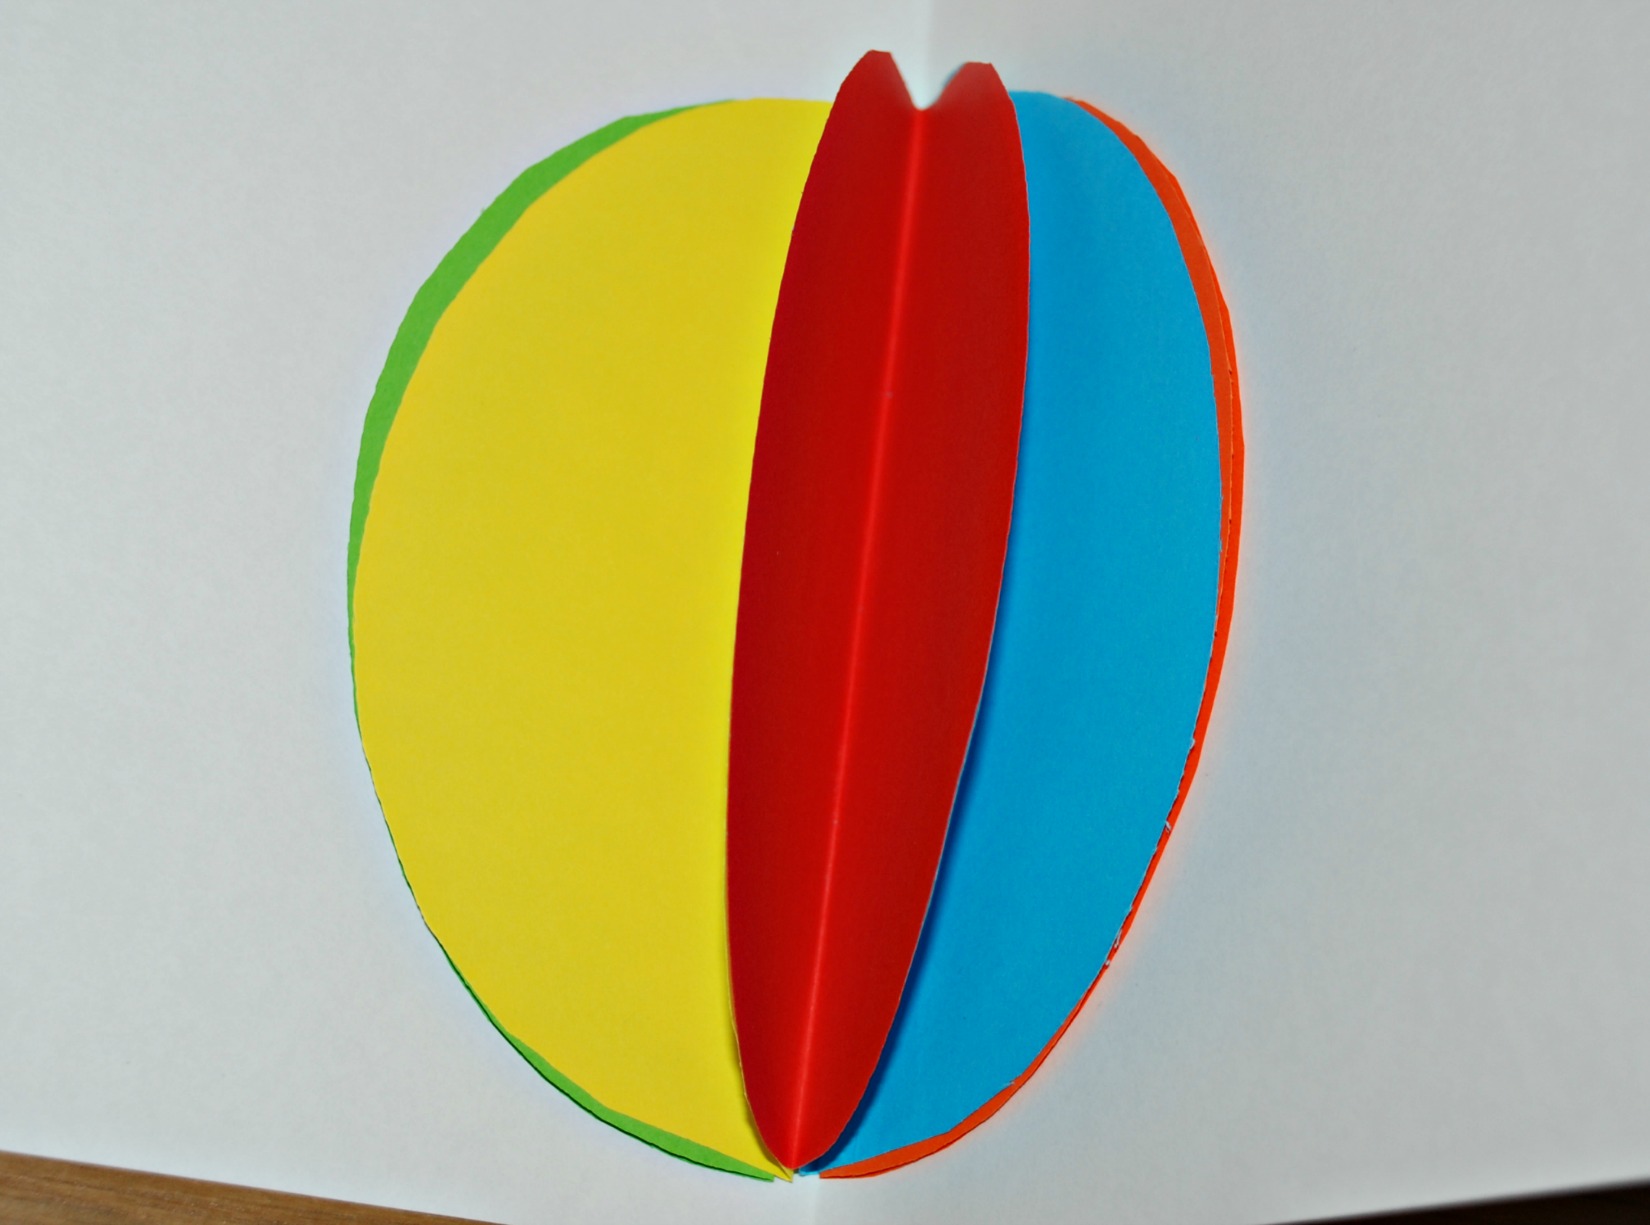
My daughter thought it looked like a lovely bright ball. But it got me thinking I wonder what it would like look if we did the same thing but with easter eggs. Maybe it was the fact that we had all just eaten an easter egg to eat or maybe it was because little man was making some lovely looking easter eggs.
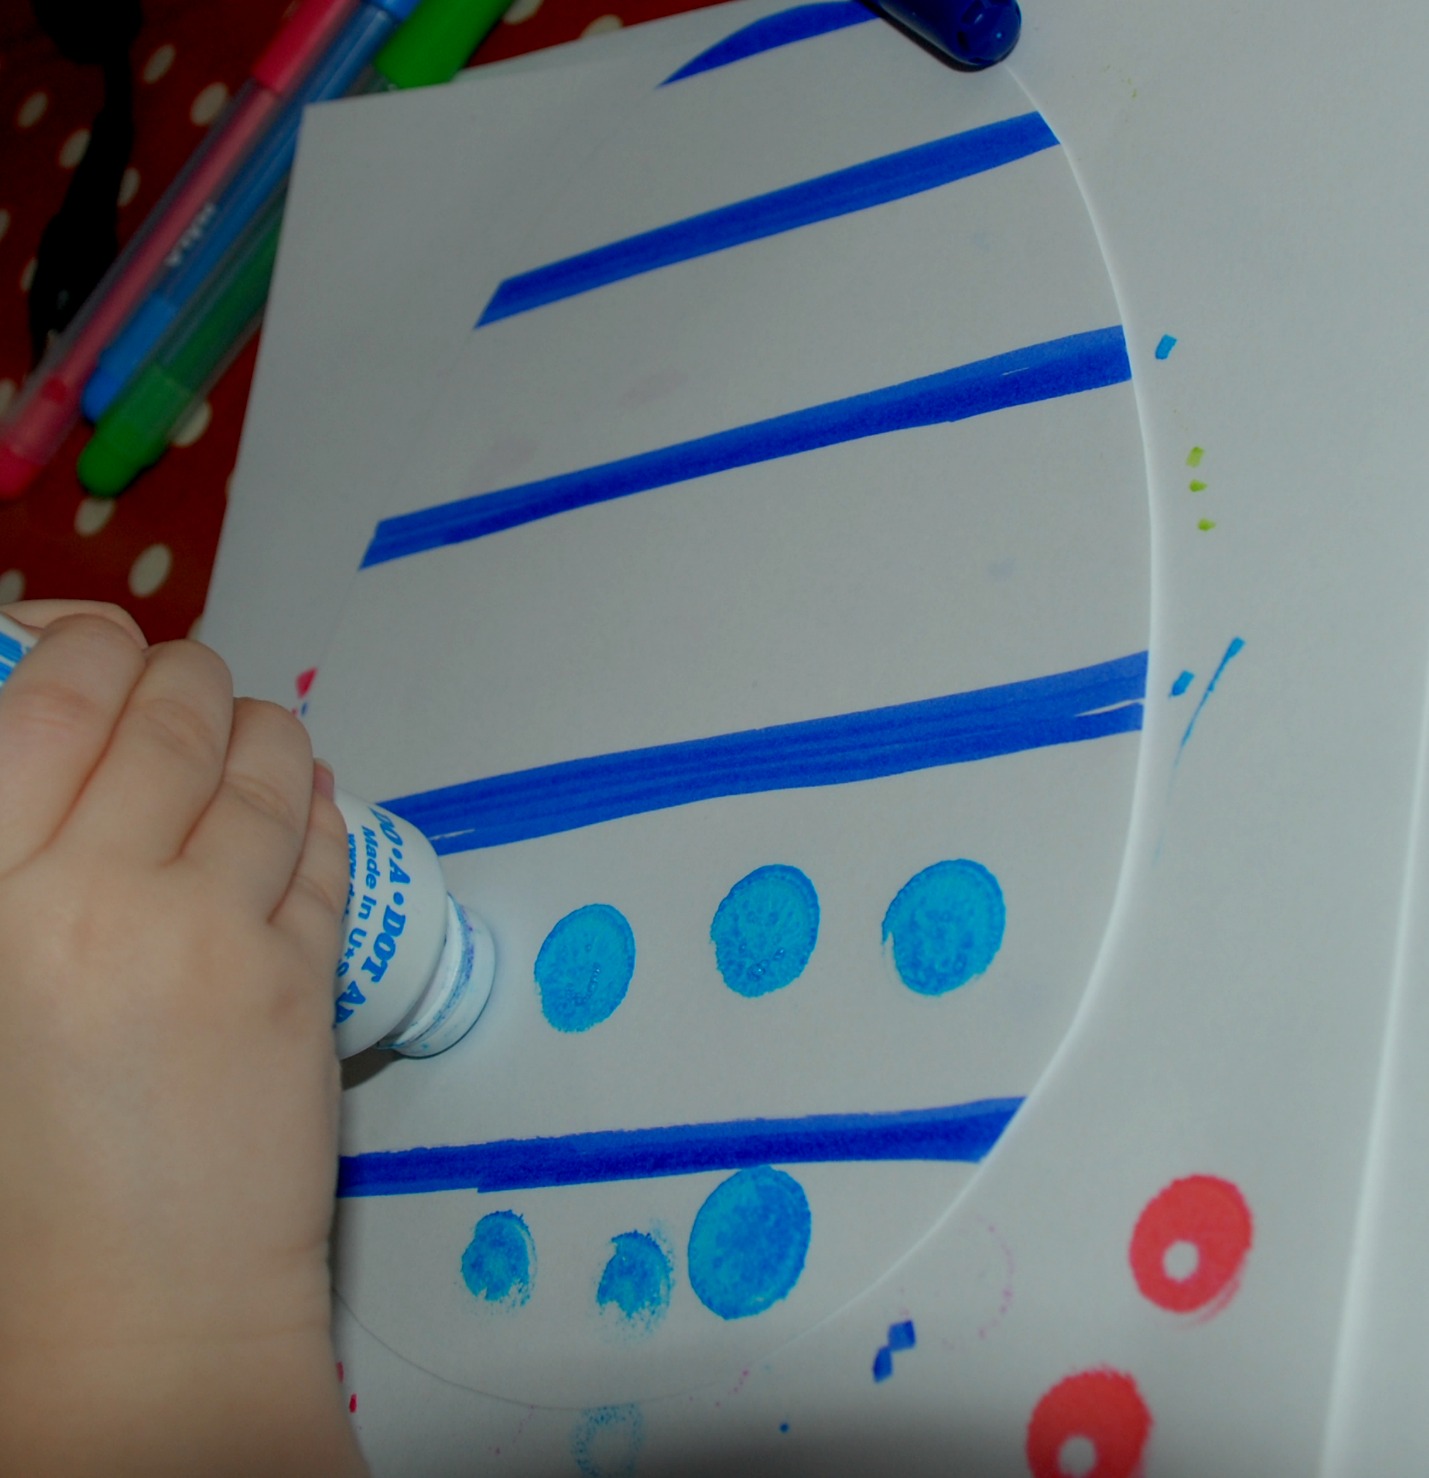 Anyway we decided to give it a go. My daughter joined her brother and made a few more easter eggs.
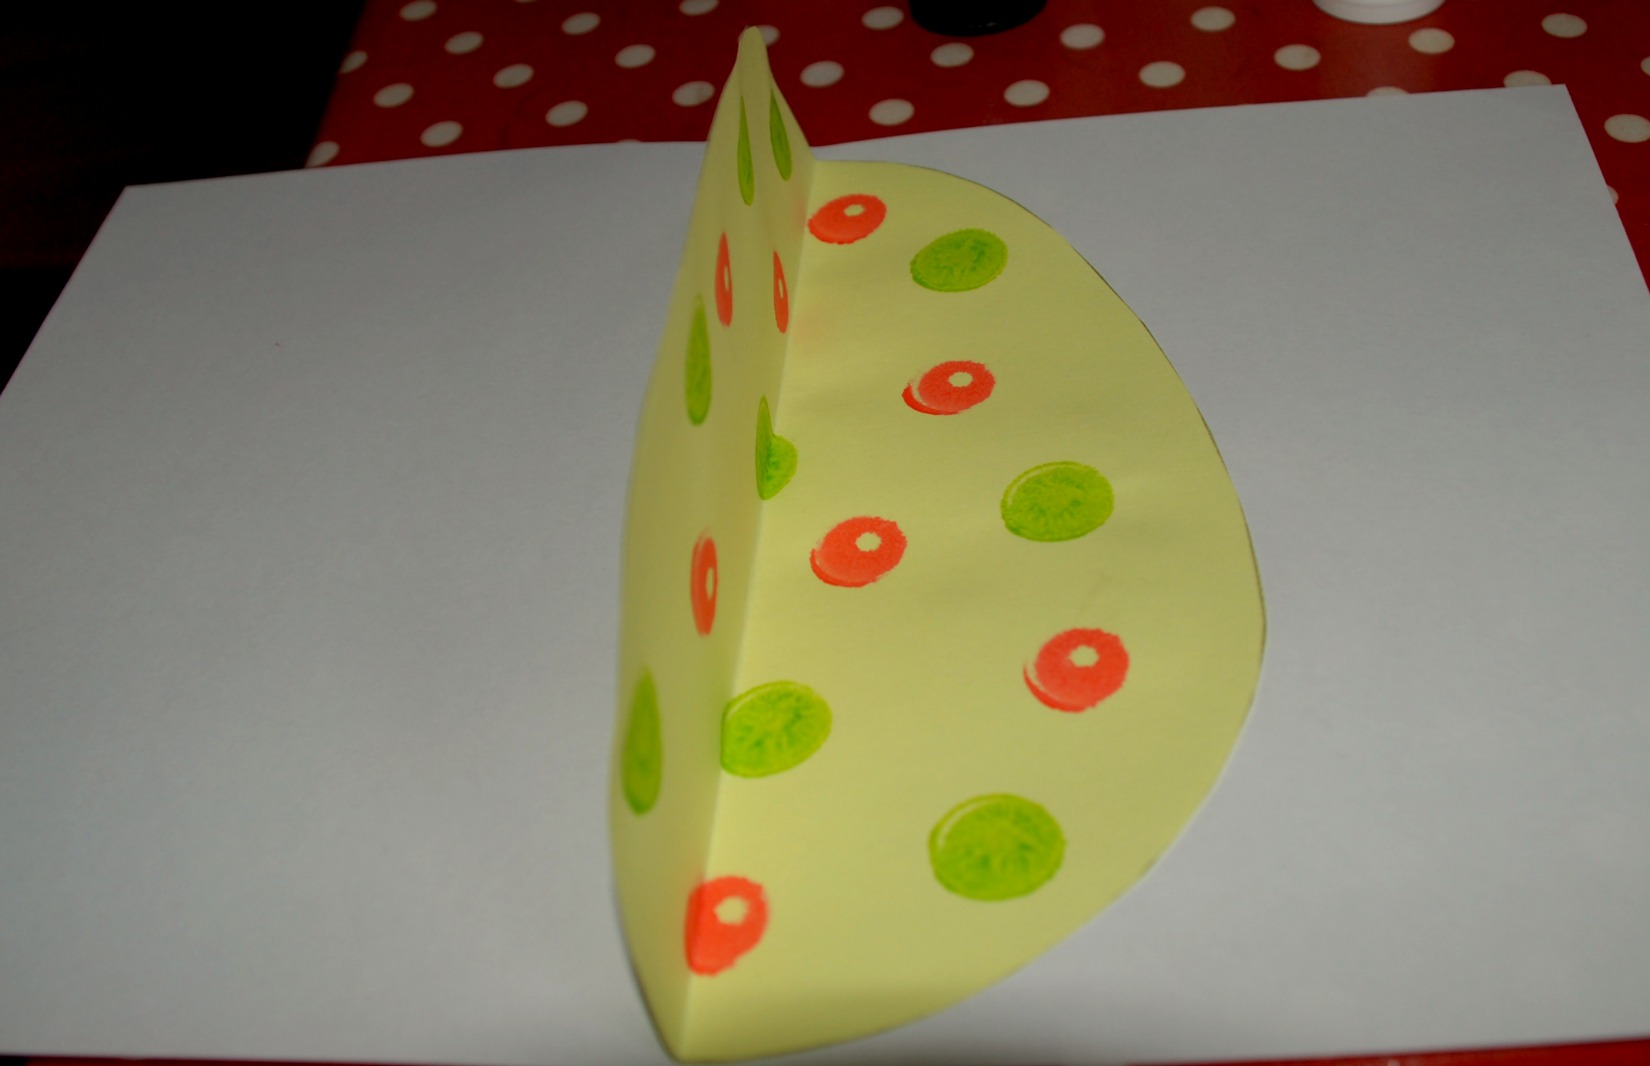
 Then we folded our easter eggs in half (long ways) and started sticking them all together.
To start with glue the one half of the back of an easter egg onto your card (leaving the other half free). You only ever apply the glue to the back of your easter eggs.
 Then get your 2nd easter egg and glue one half of the 2nd easter egg to the free half of your 1st easter egg.
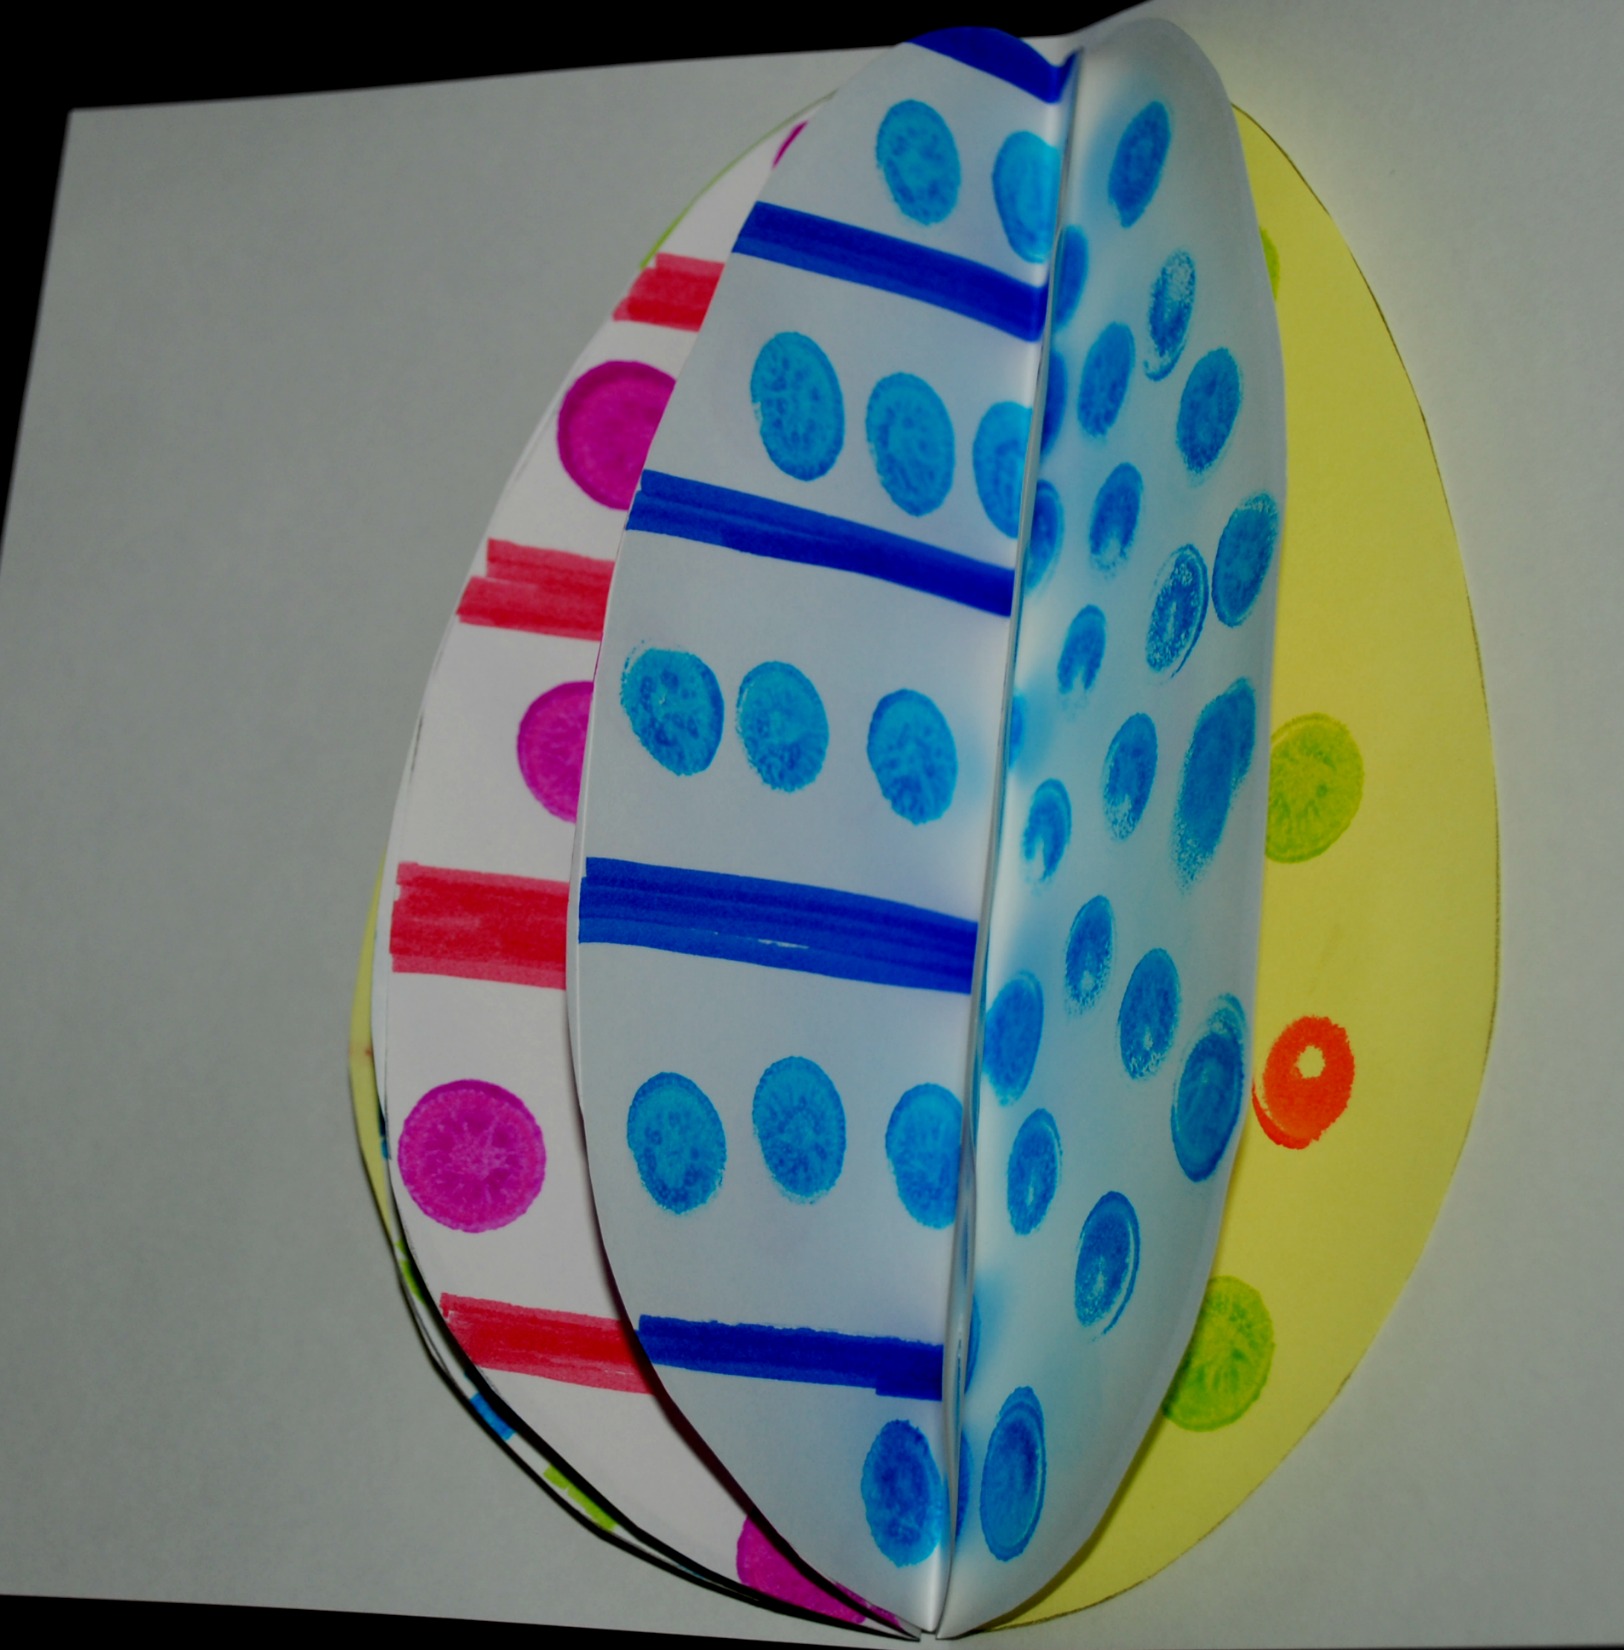
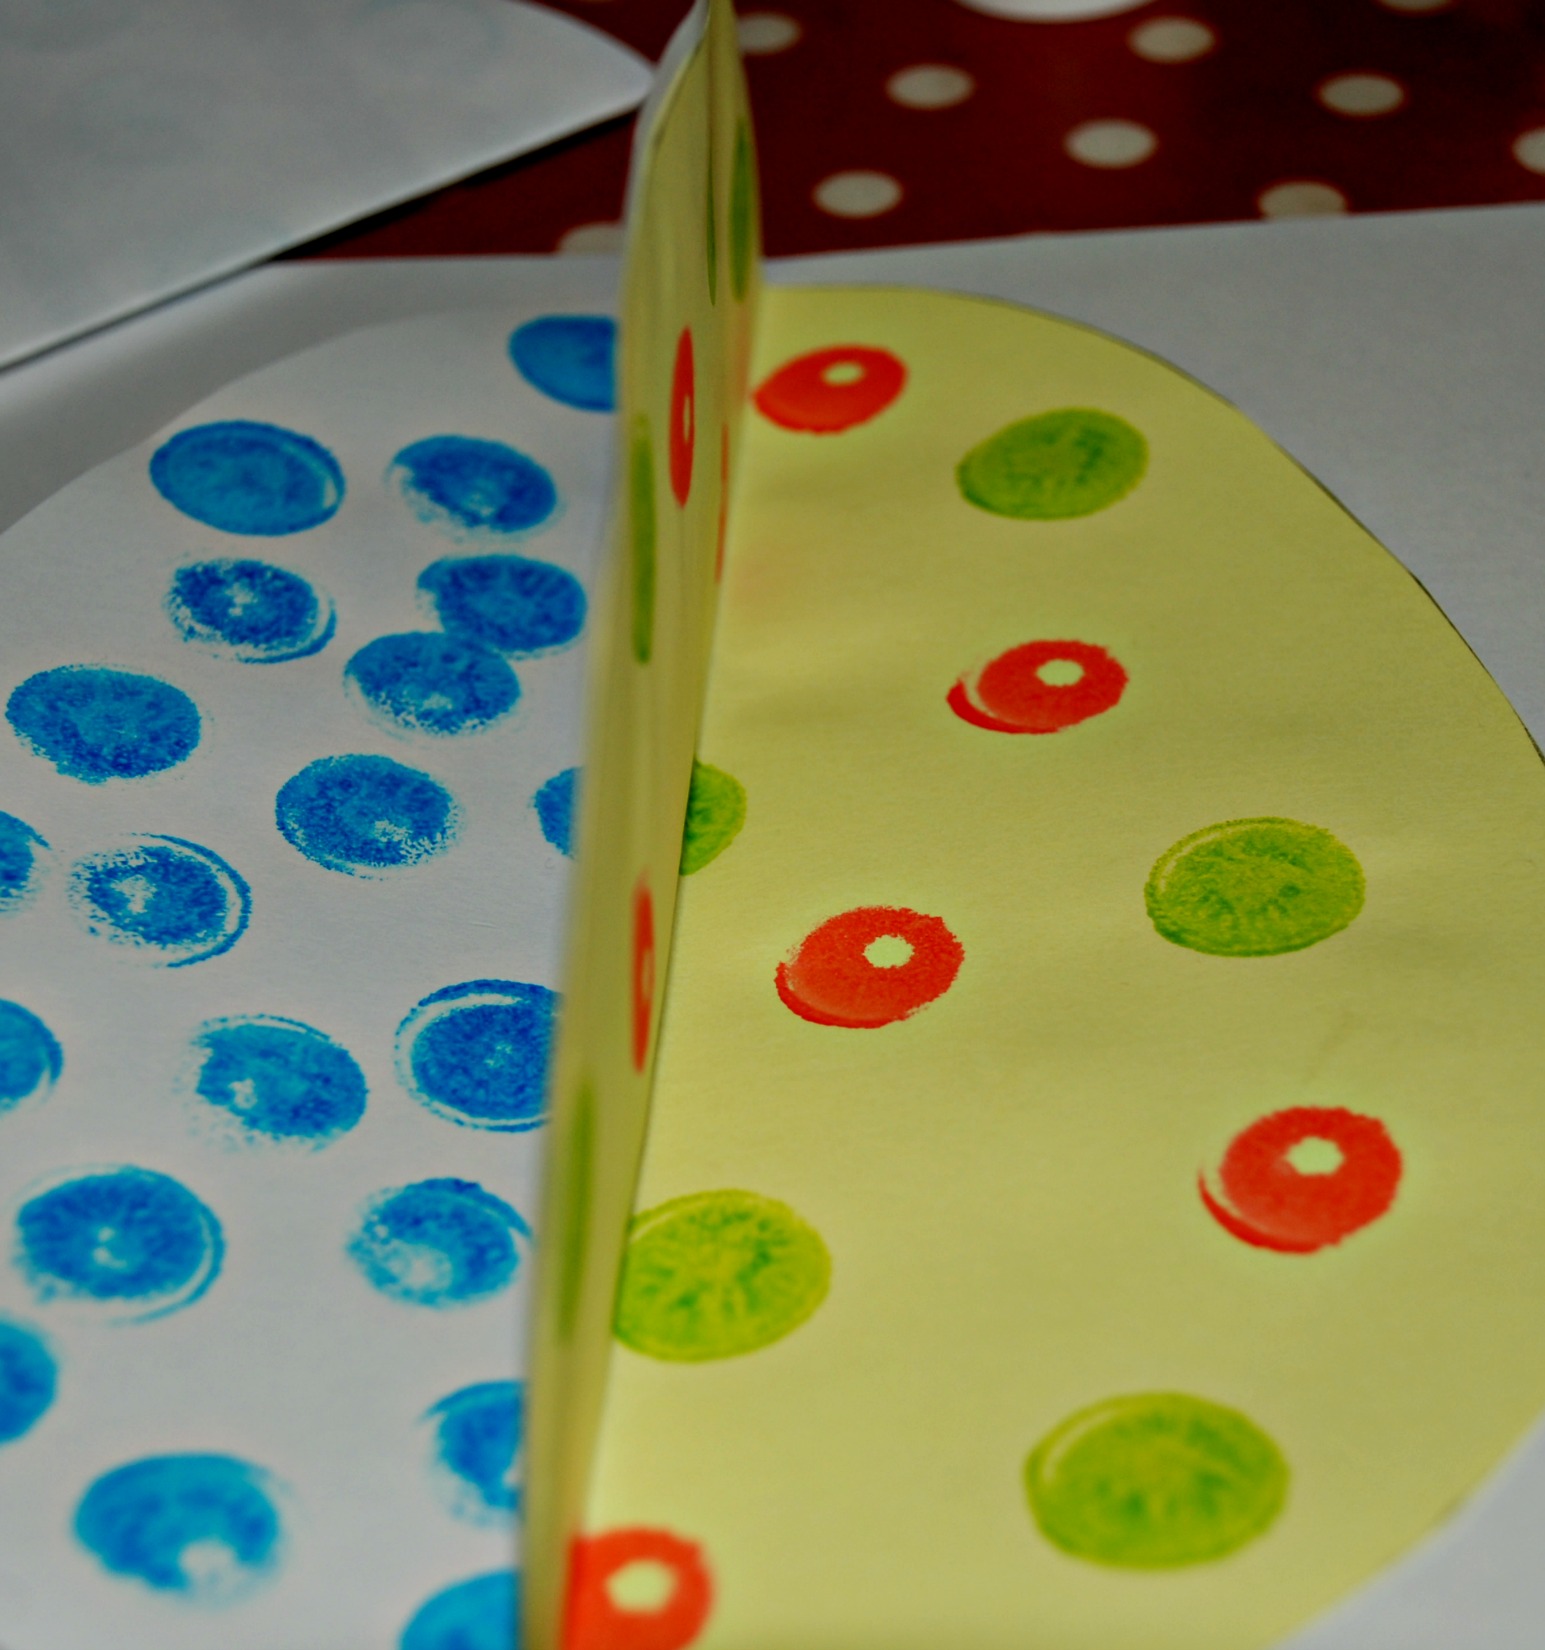 Continue doing this until you get your last easter egg. With the last easter egg glue its free side onto your card again.
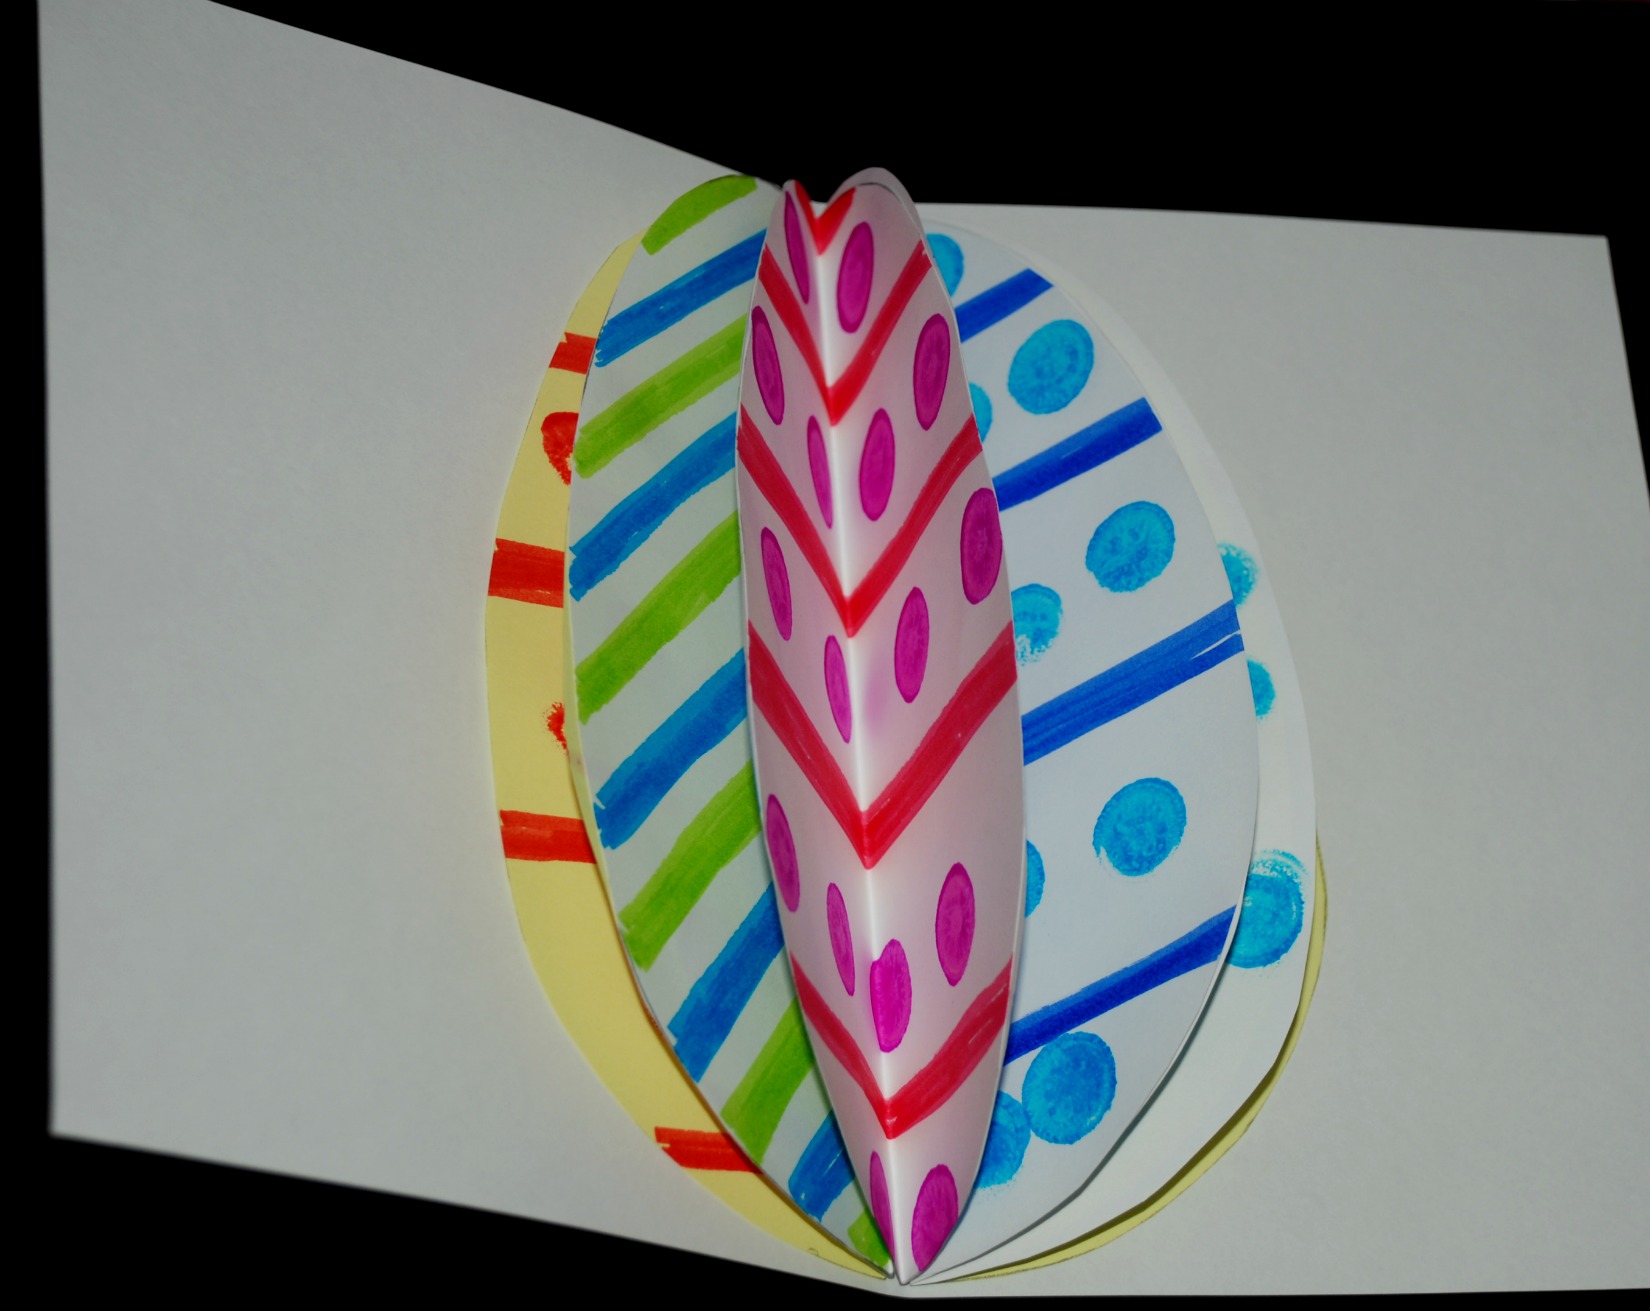 This gives a lovely effect when you open your card up.
My daughter also thought it would be good to write the words Happy Easter on her card.

I really do love the end result of this card.


very cool, it’s like a 3D effect! Thanks for sharing at our FB Share day!
LikeLike
This is really neat! All of your Easter and spring crafts and cards are awesome. I have some younger nieces spending next Monday with us, they love to craft, and you’re giving me some fun and easy ideas. Thanks!
LikeLiked by 1 person
so glad you enjoy our crafts.
LikeLike