Heart cards for children

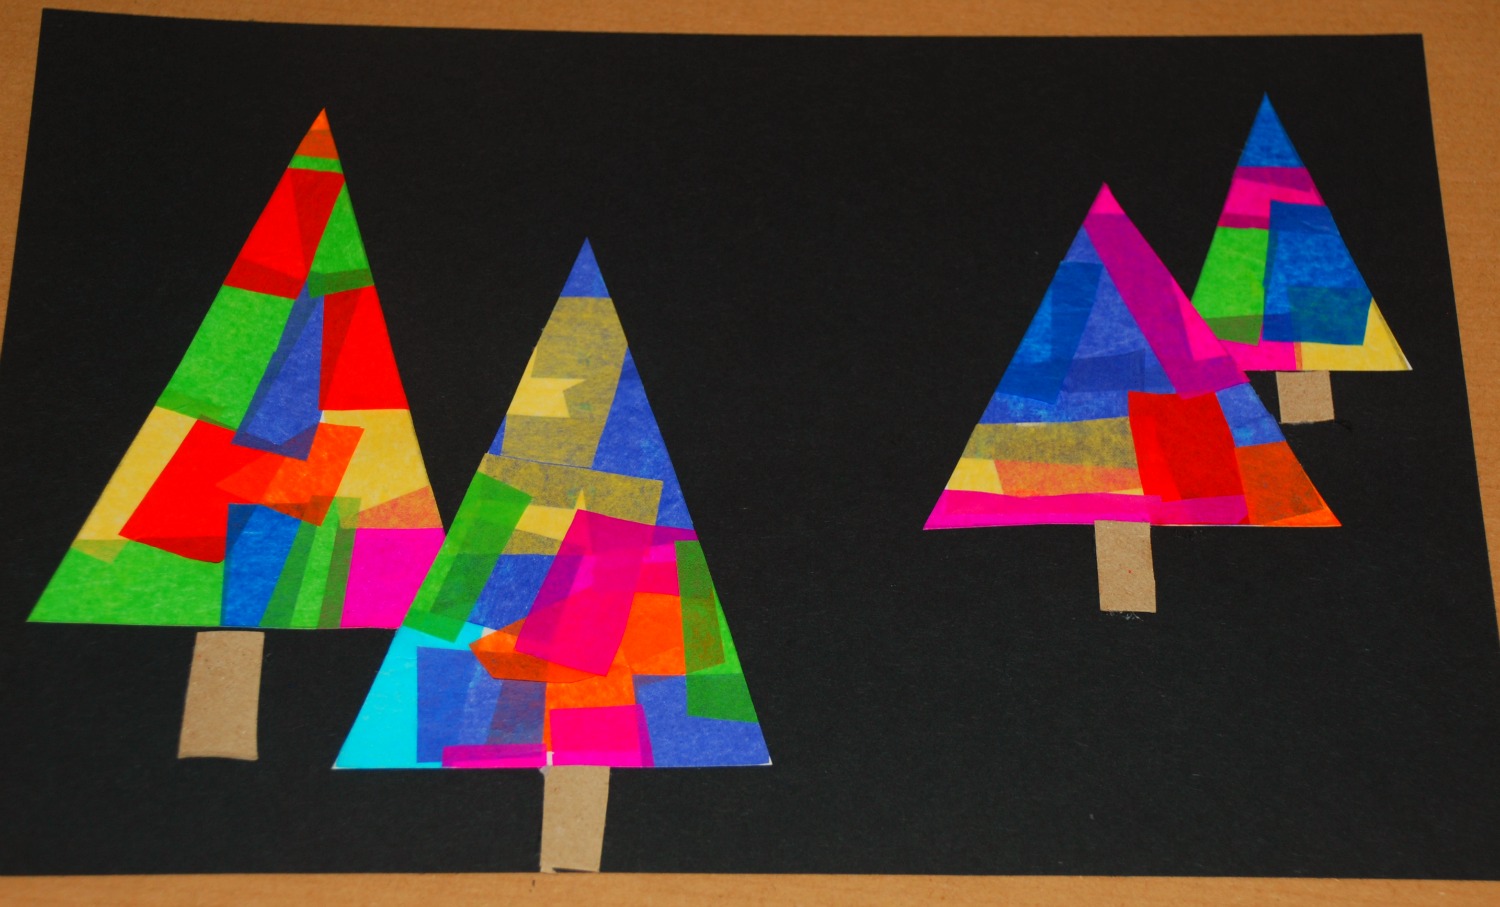
Both my children enjoy making tissue paper shapes and then using the shapes to make pictures.  We did this a lot over the Christmas period, they made some lovely winter tree pictures and my little girl also branched out and made some lovely heart pictures which we turned into cards.  So I thought I would do a quick post showing how we made the cards as they would be great as a Valentine’s day craft for kids.  They really are super easy to do and the end result is stunning.  All you need is paper, glue, scissors some tissue paper and a template for the kids to trace around.

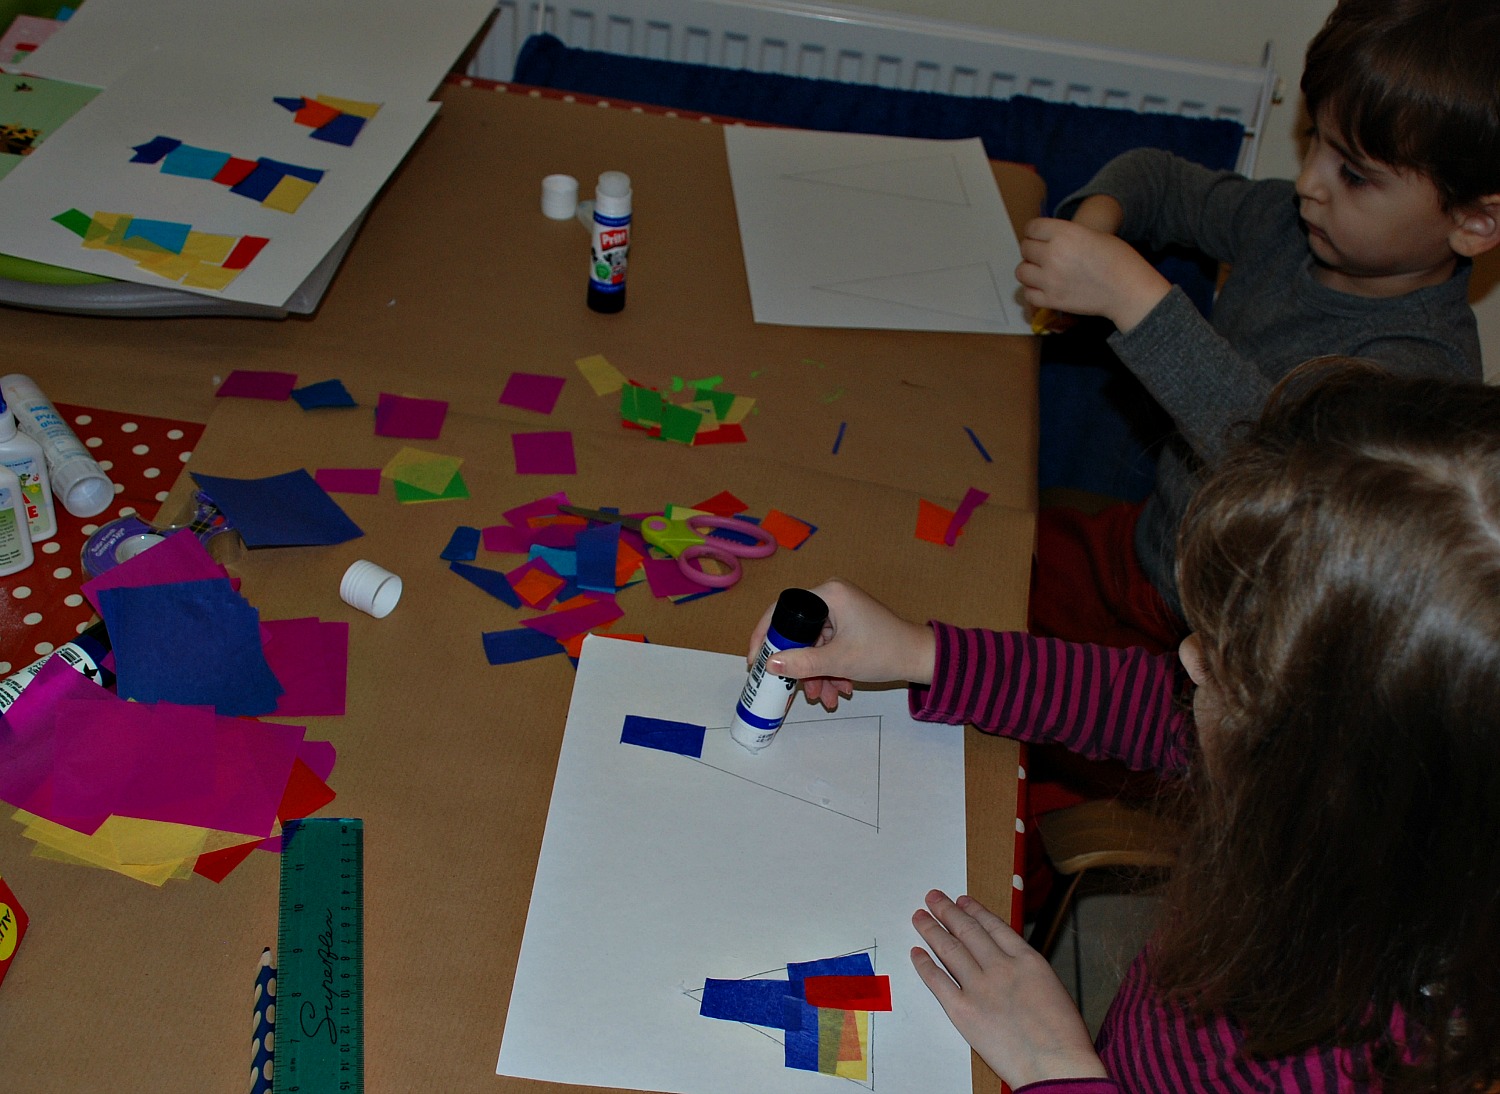
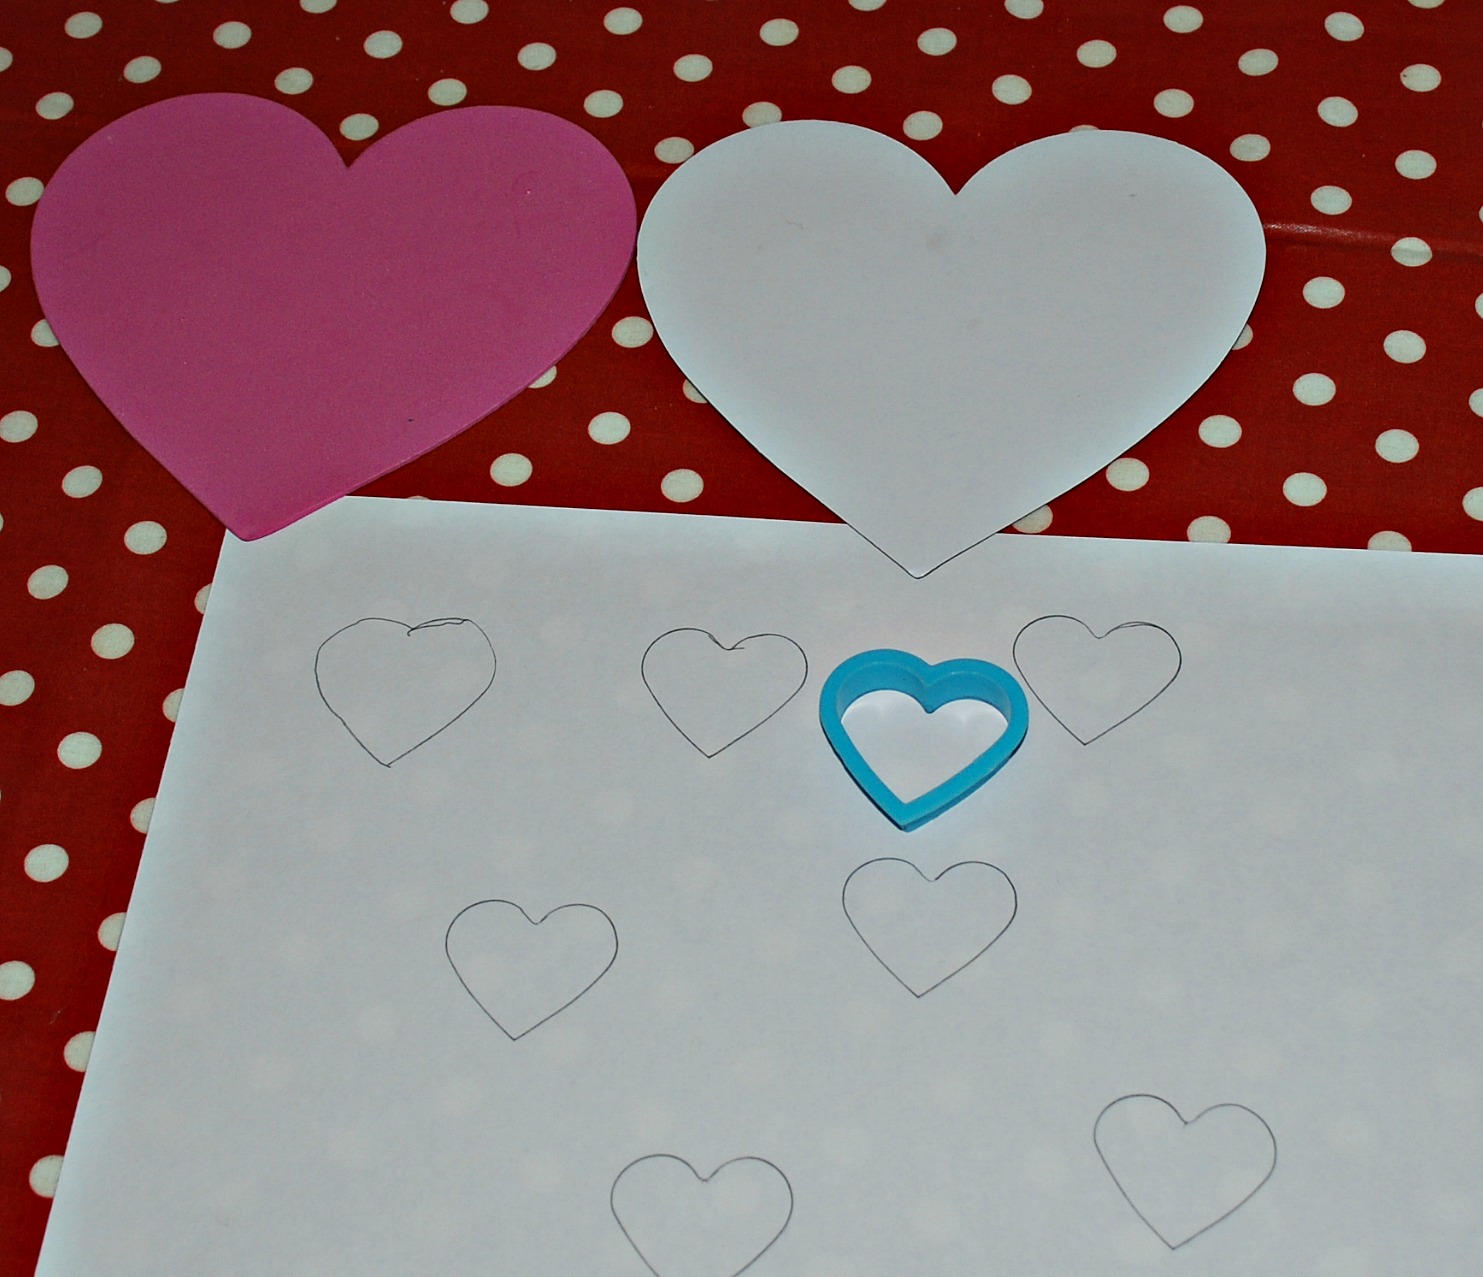
We started off by tracing some heart shape outlines onto some paper.  I made the original heart template in cards so the kids could trace around it.  My daughter also used a play dough heart shape to make some smaller ones.

heart outline
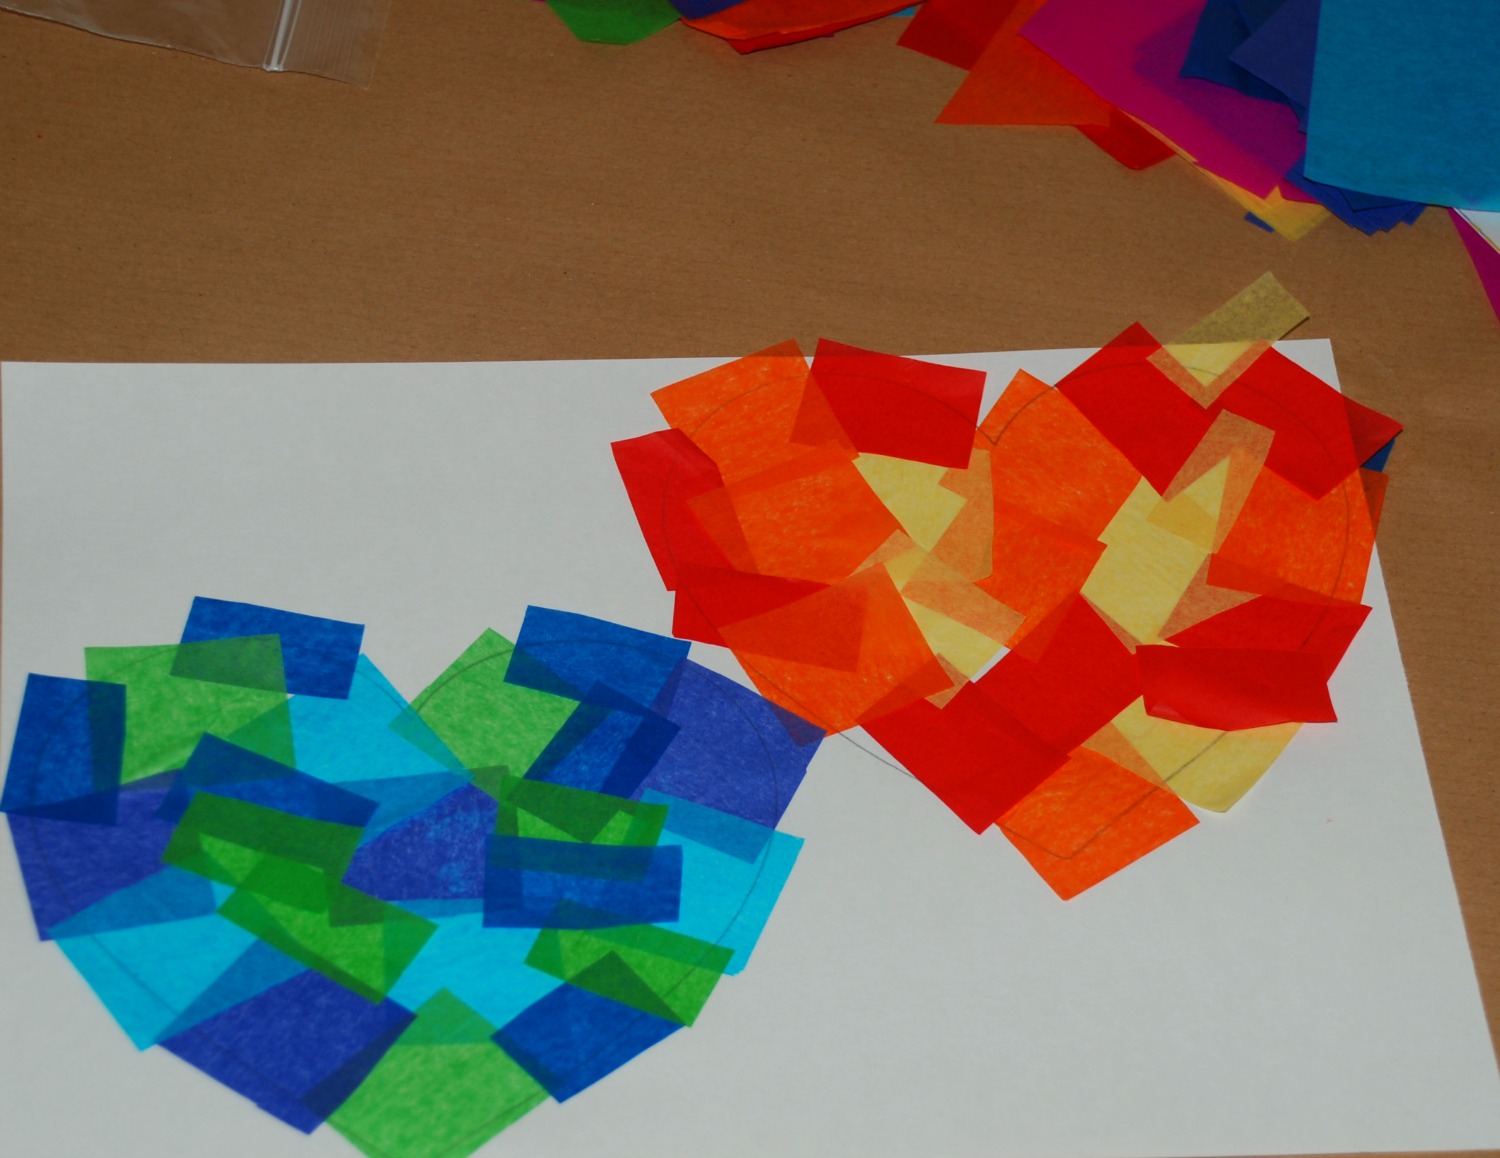
Then the kids got the tissue paper out and started gluing the pieces down.  It is better to apply the glue onto the paper and not directly onto the tissue paper.  Also it is best to get the kids to stick the tissue paper over the edges as once they have finished they will cut around the outline.

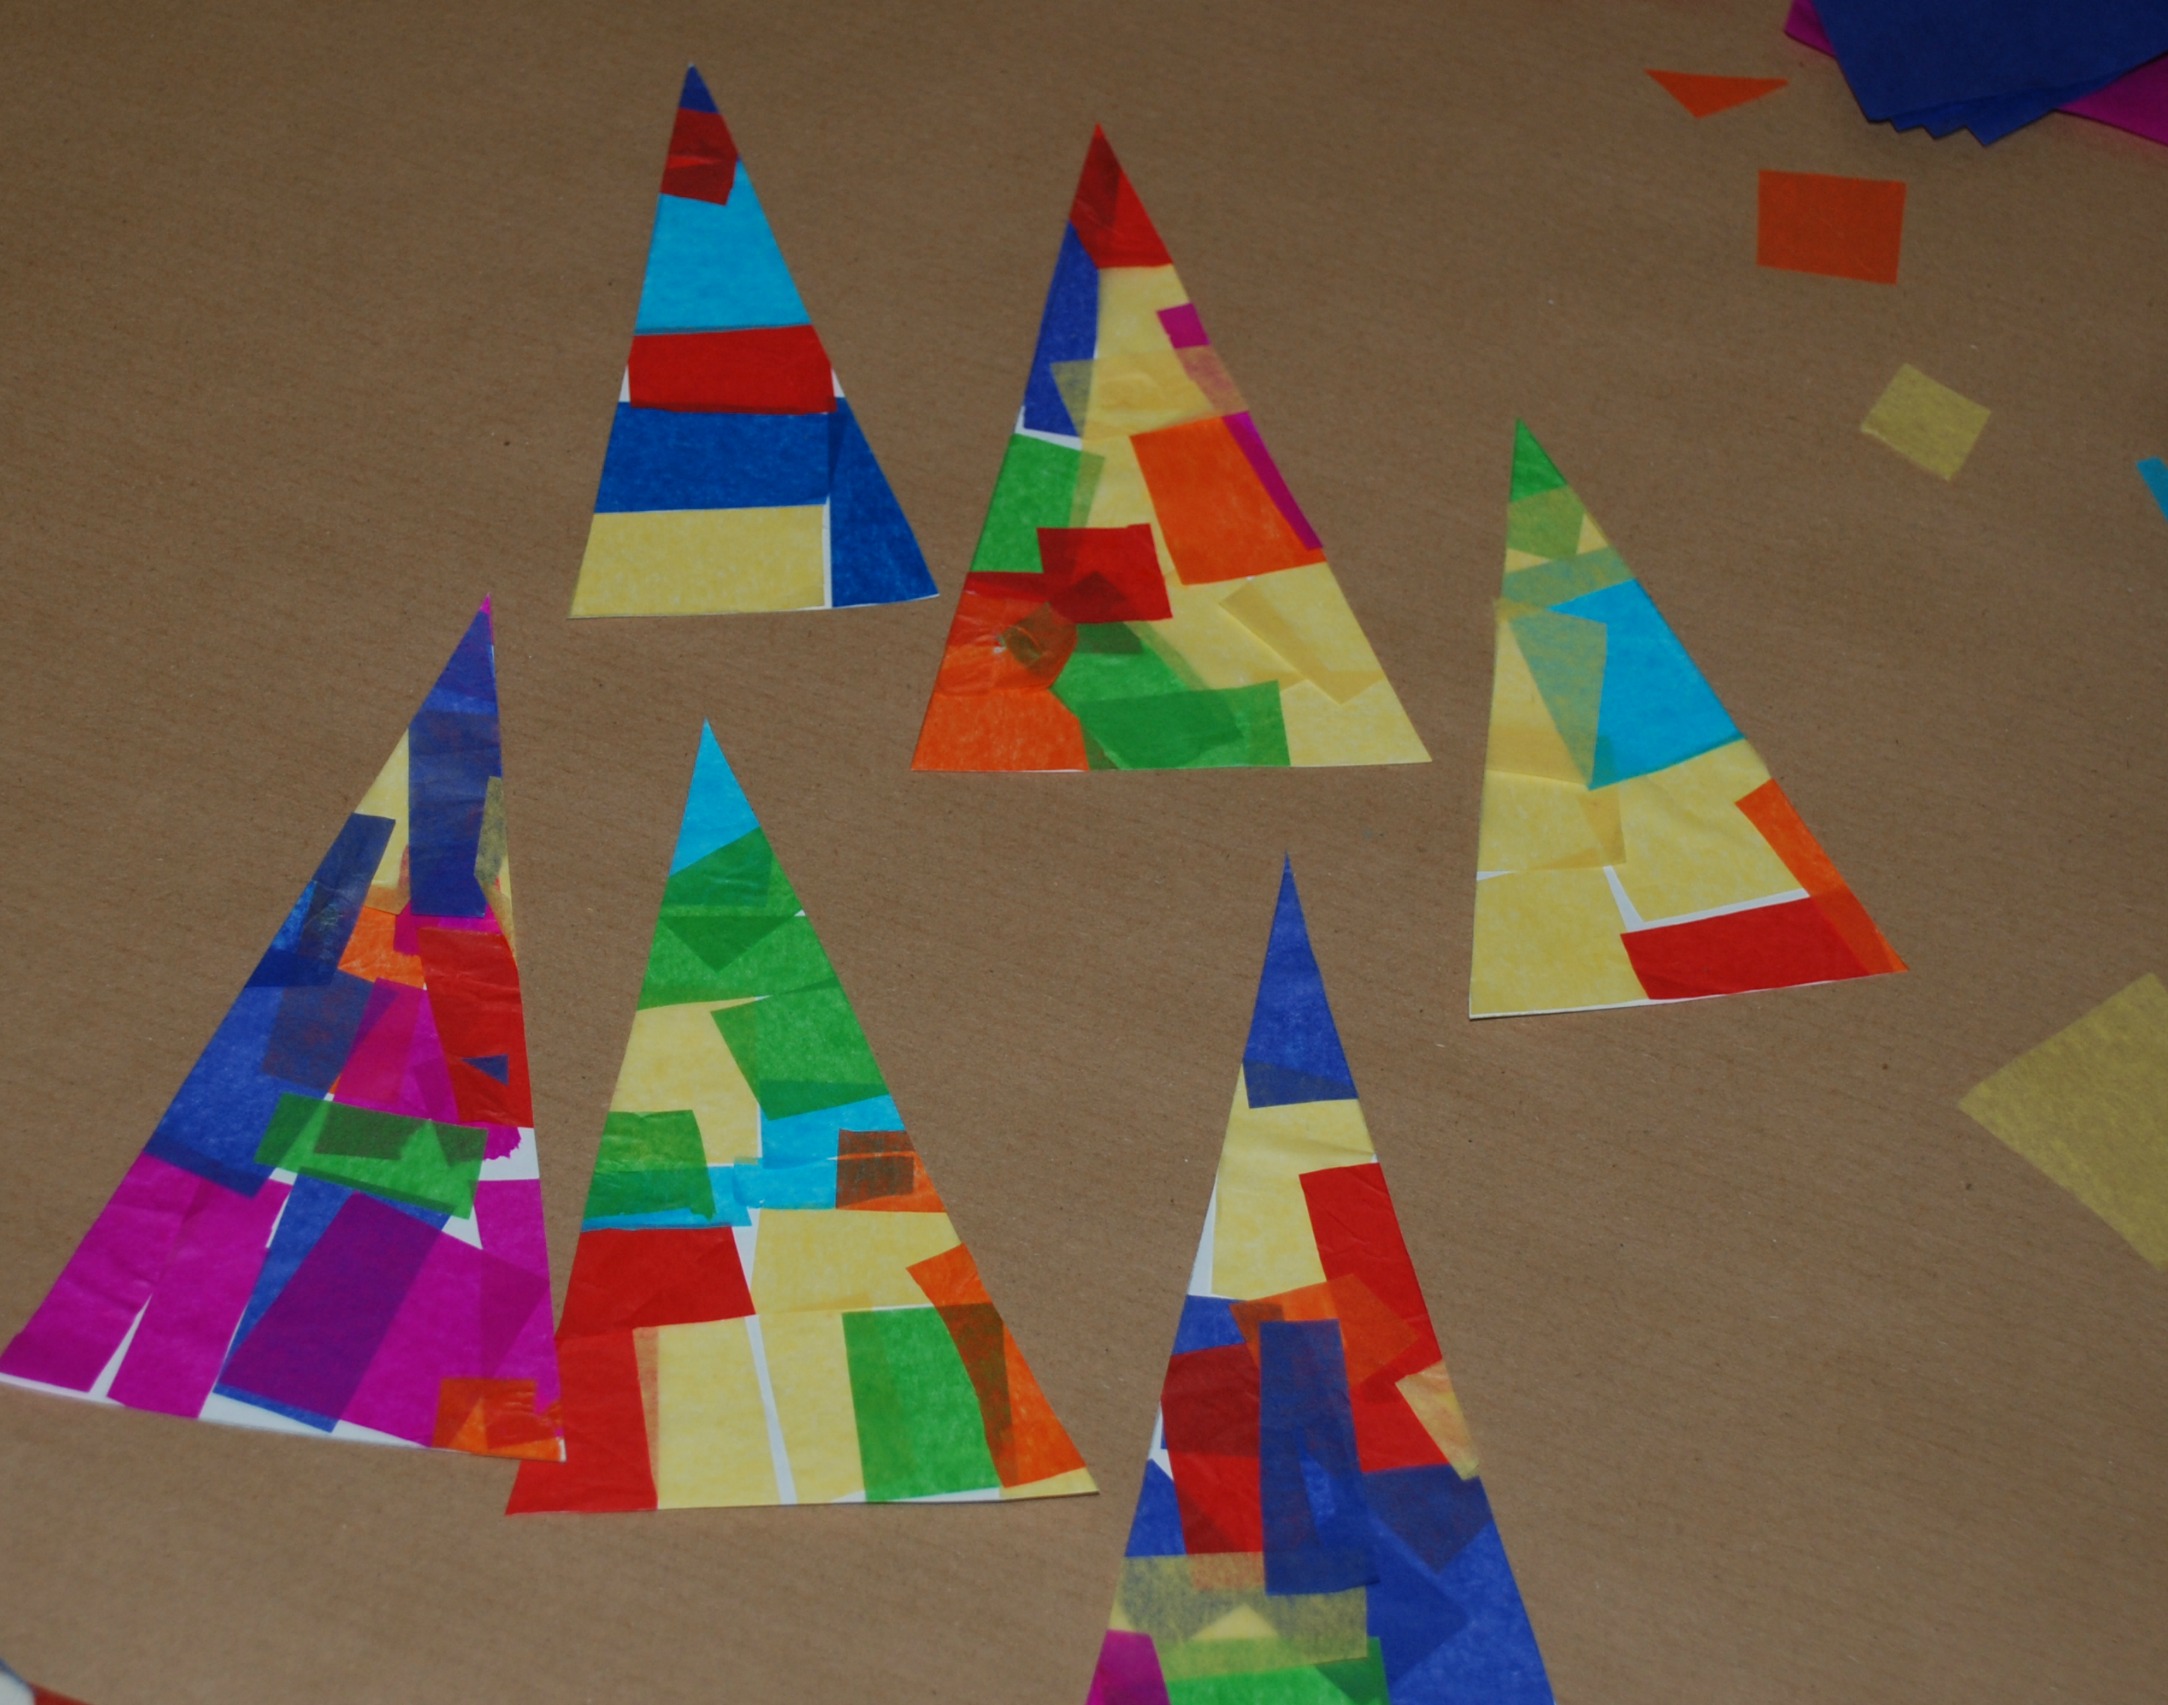
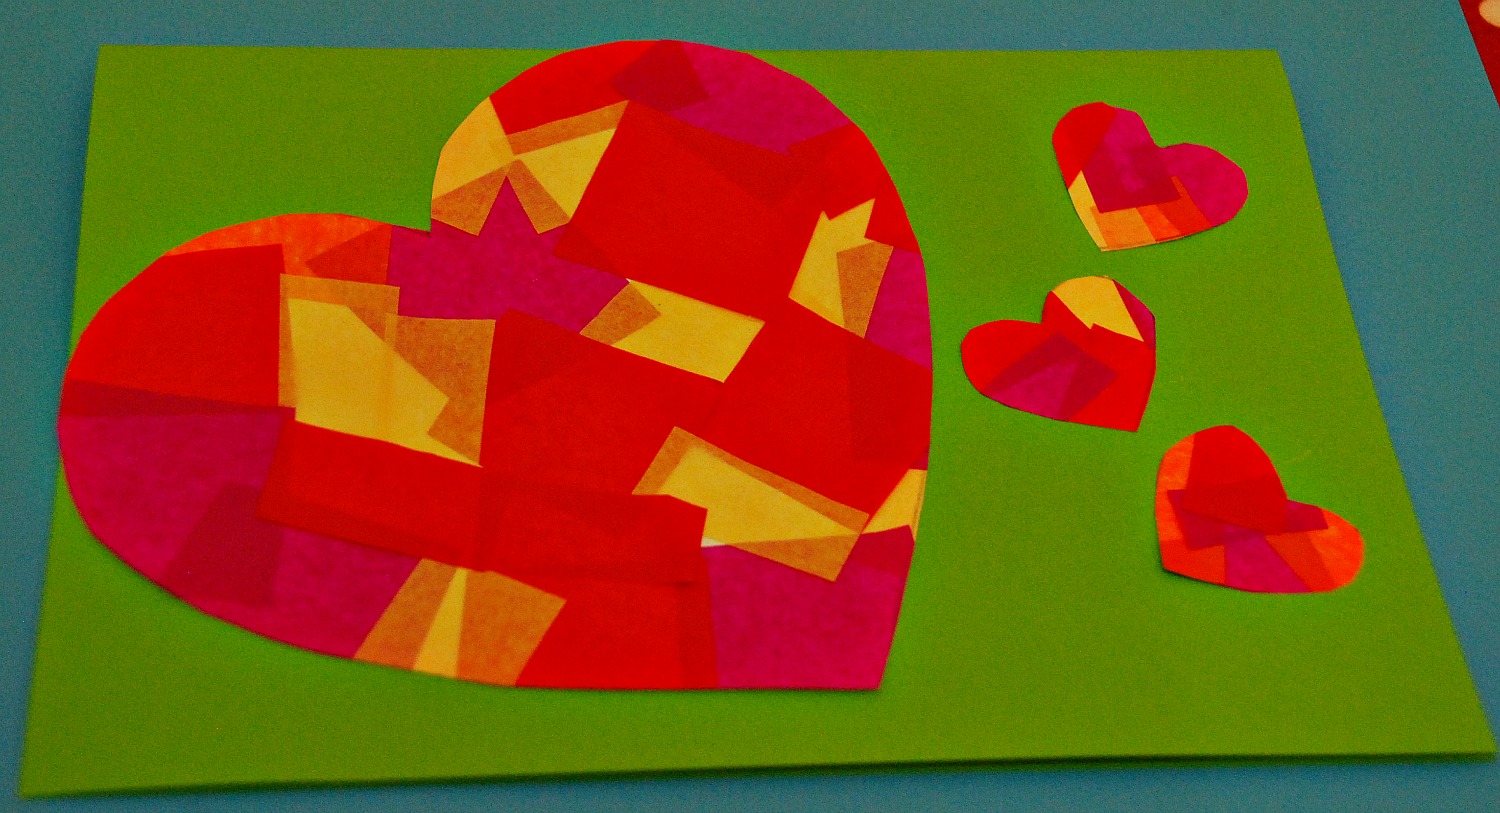
While we where making the hearts my daughter and I talked about warm and cool colours so we decided to stick to making a heart with only warm colours or only cool colours.  I really like the way this turned out.

Tissue hearts

making tissue hearts
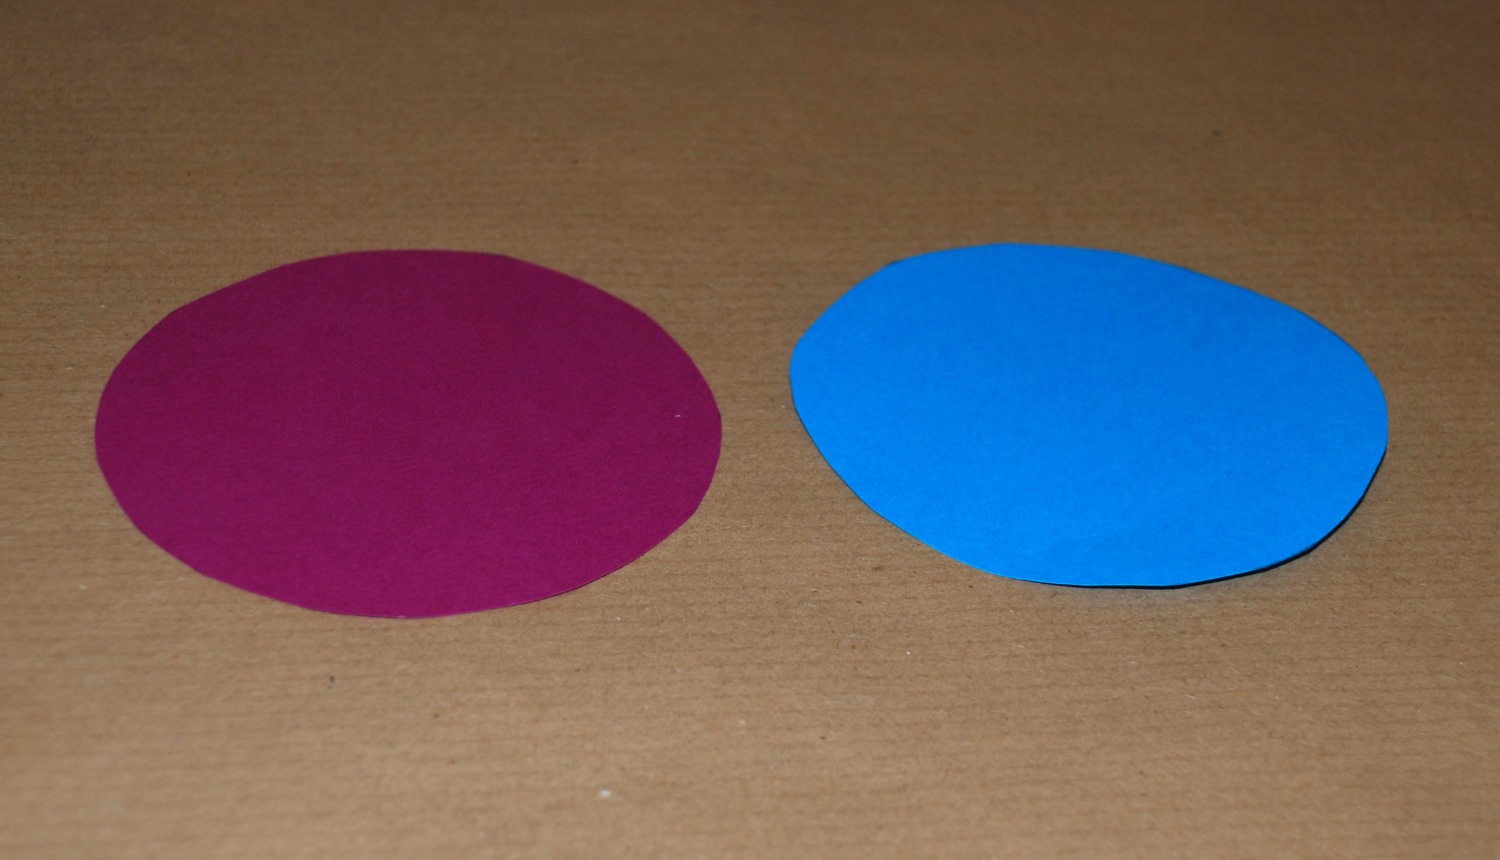
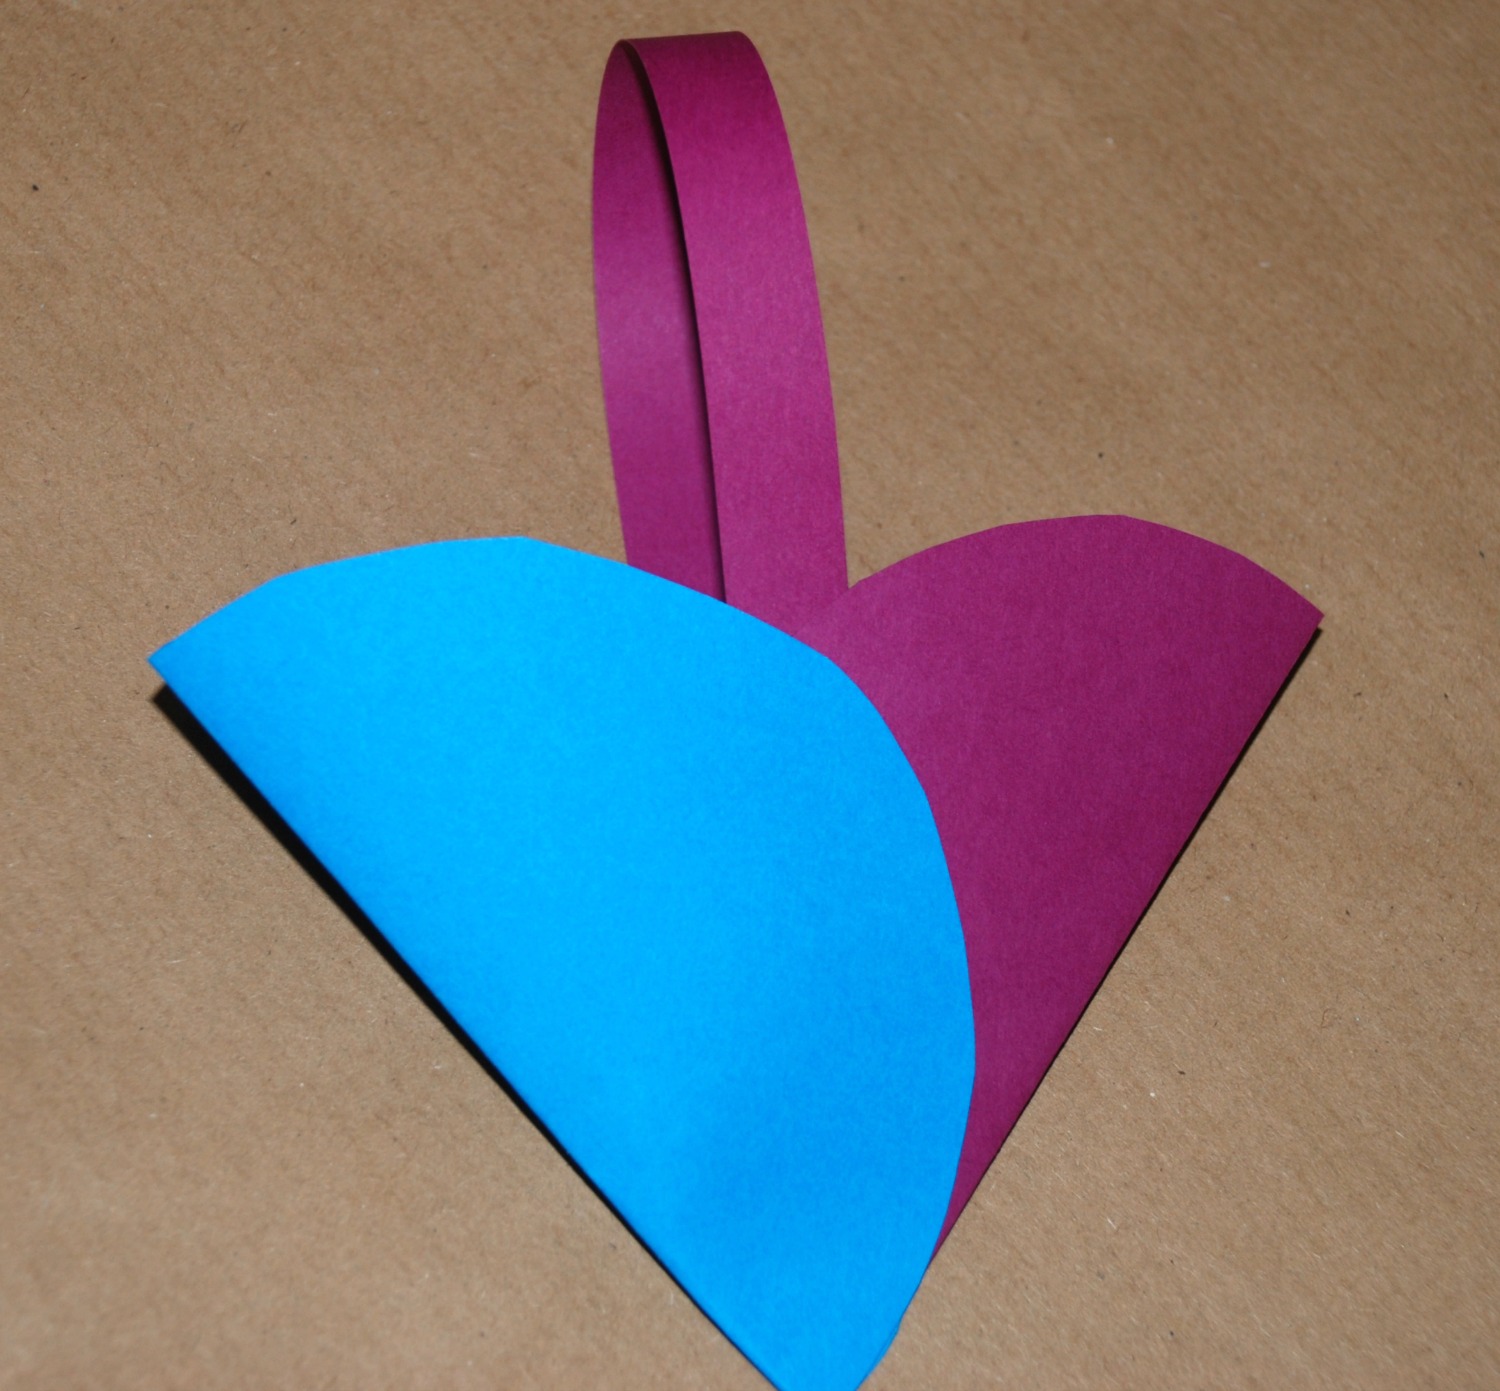
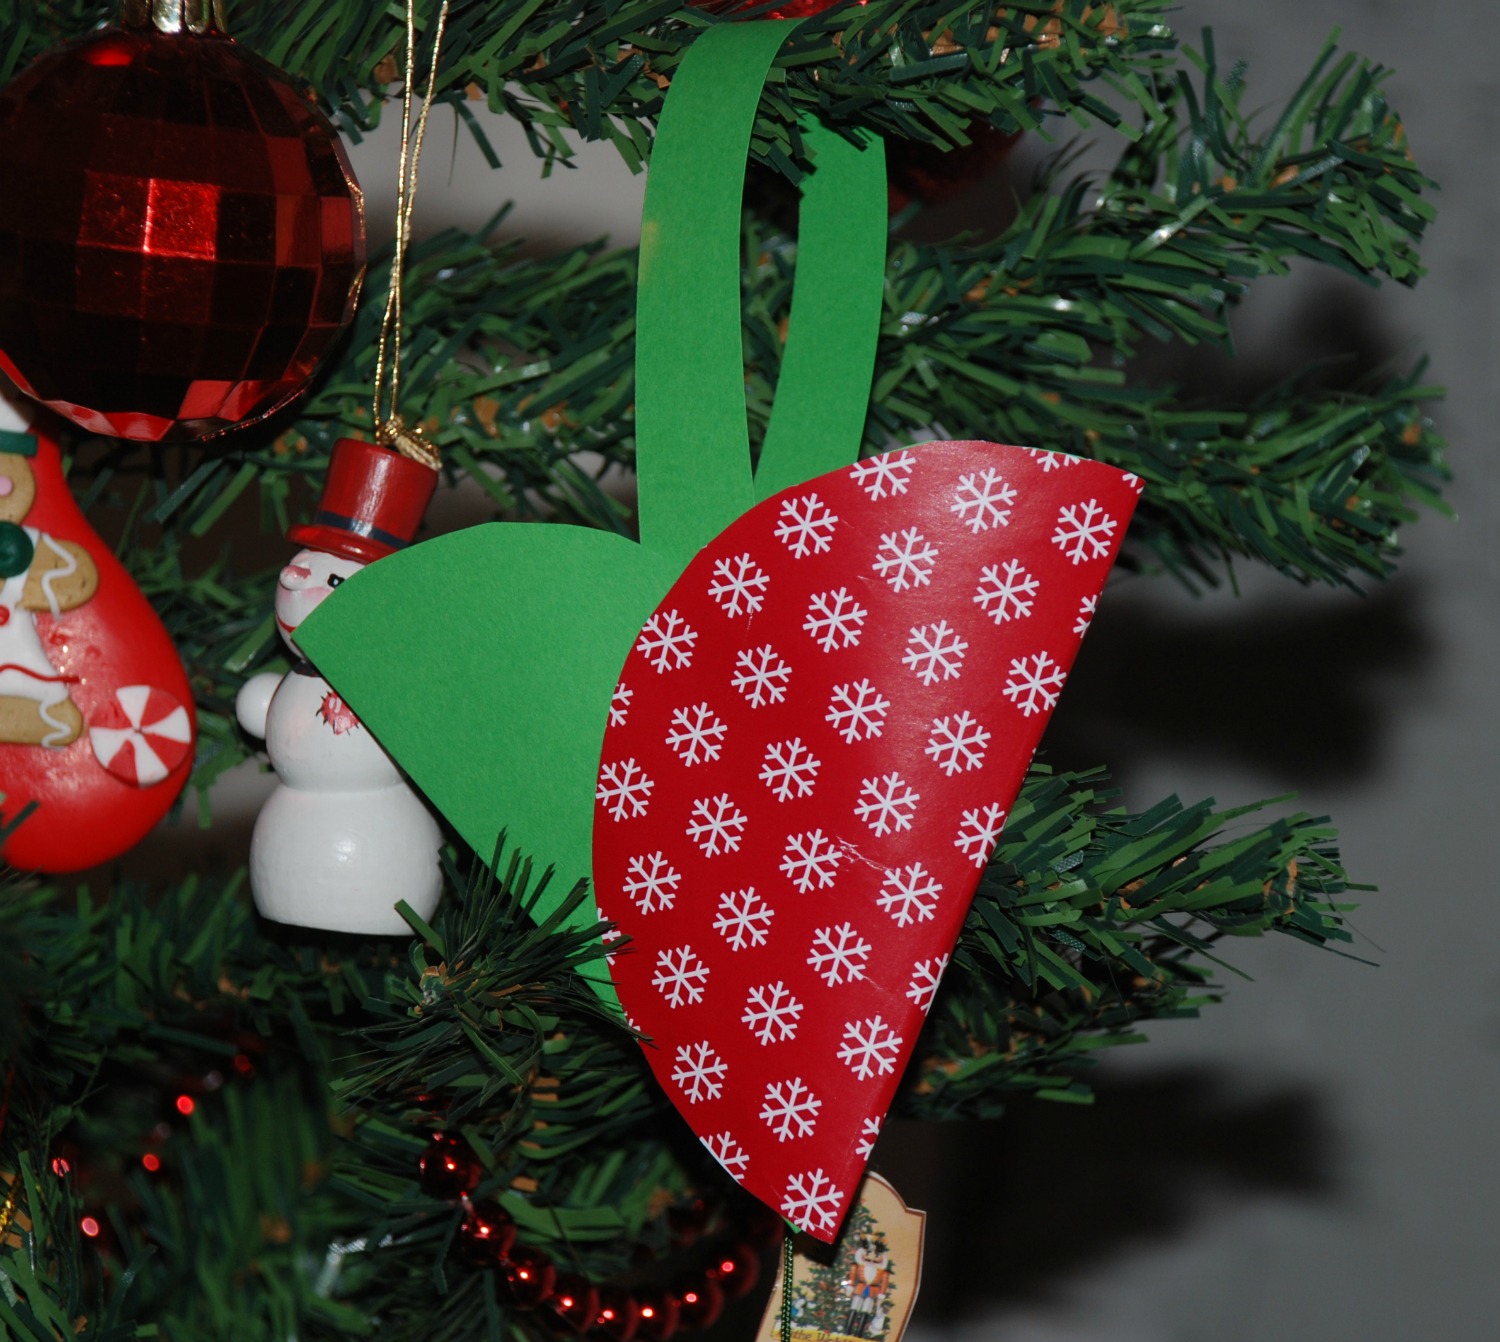
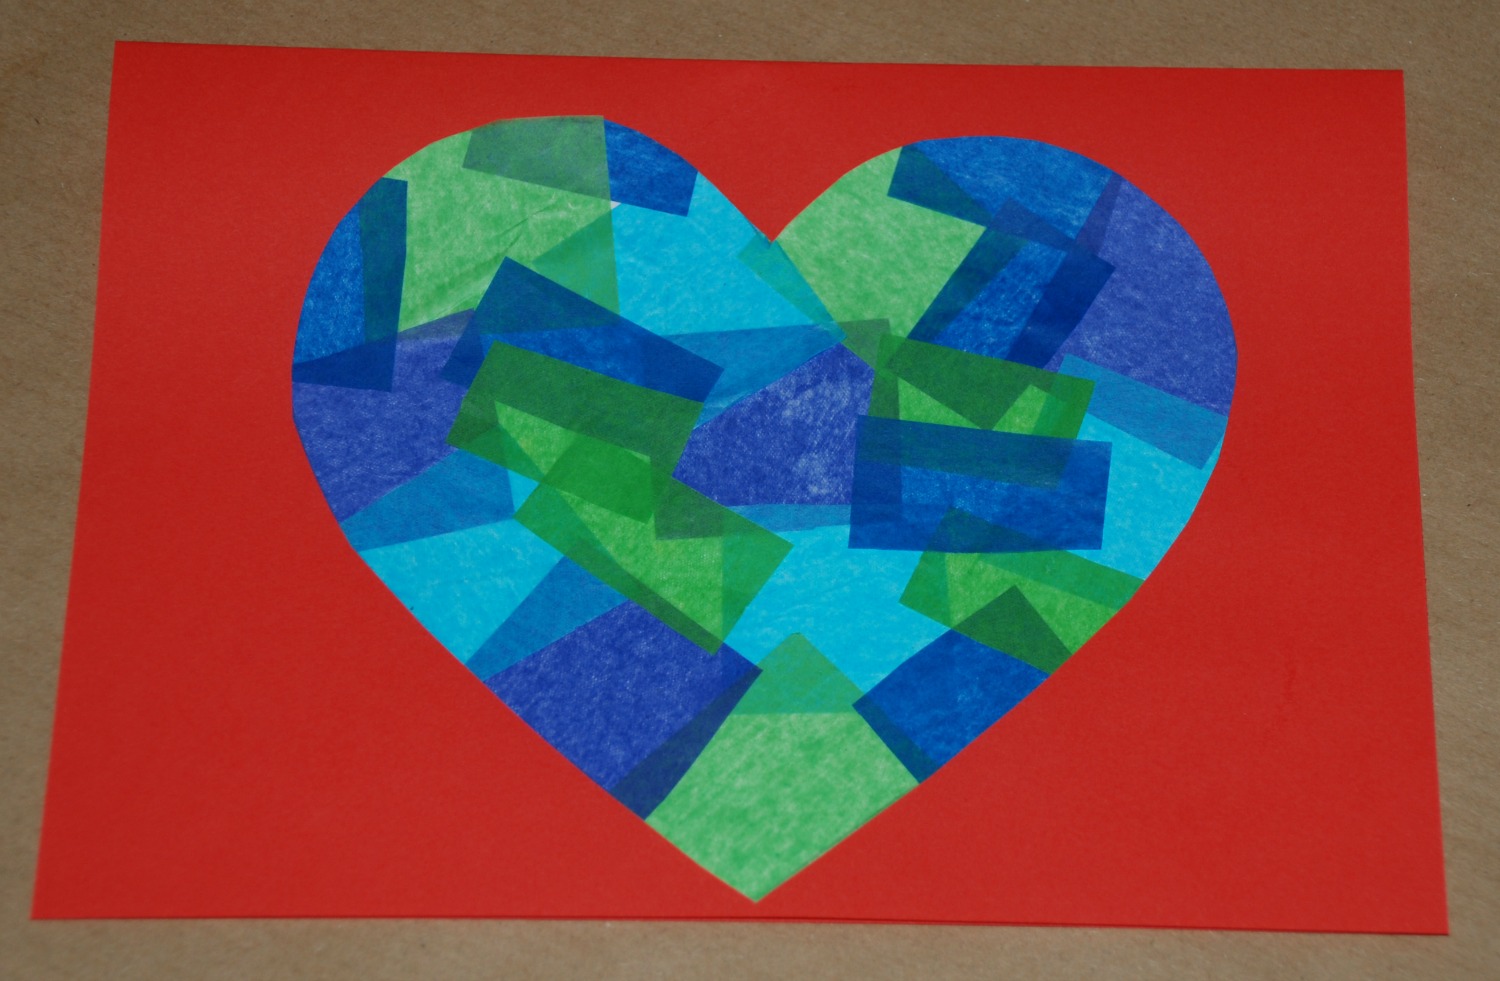
Once they have finished sticking down all the tissue paper you need to cut it out and stick the shapes onto your background card.

My daughter choose the background colours for her cards.  She tried the different hearts on different colours and then informed me that the warm hearts look best on a cool background and the cool hearts look best on a warm background.  I love that she is starting to look at colours in that way.

heart cardTissue heart picturesTissue heart card
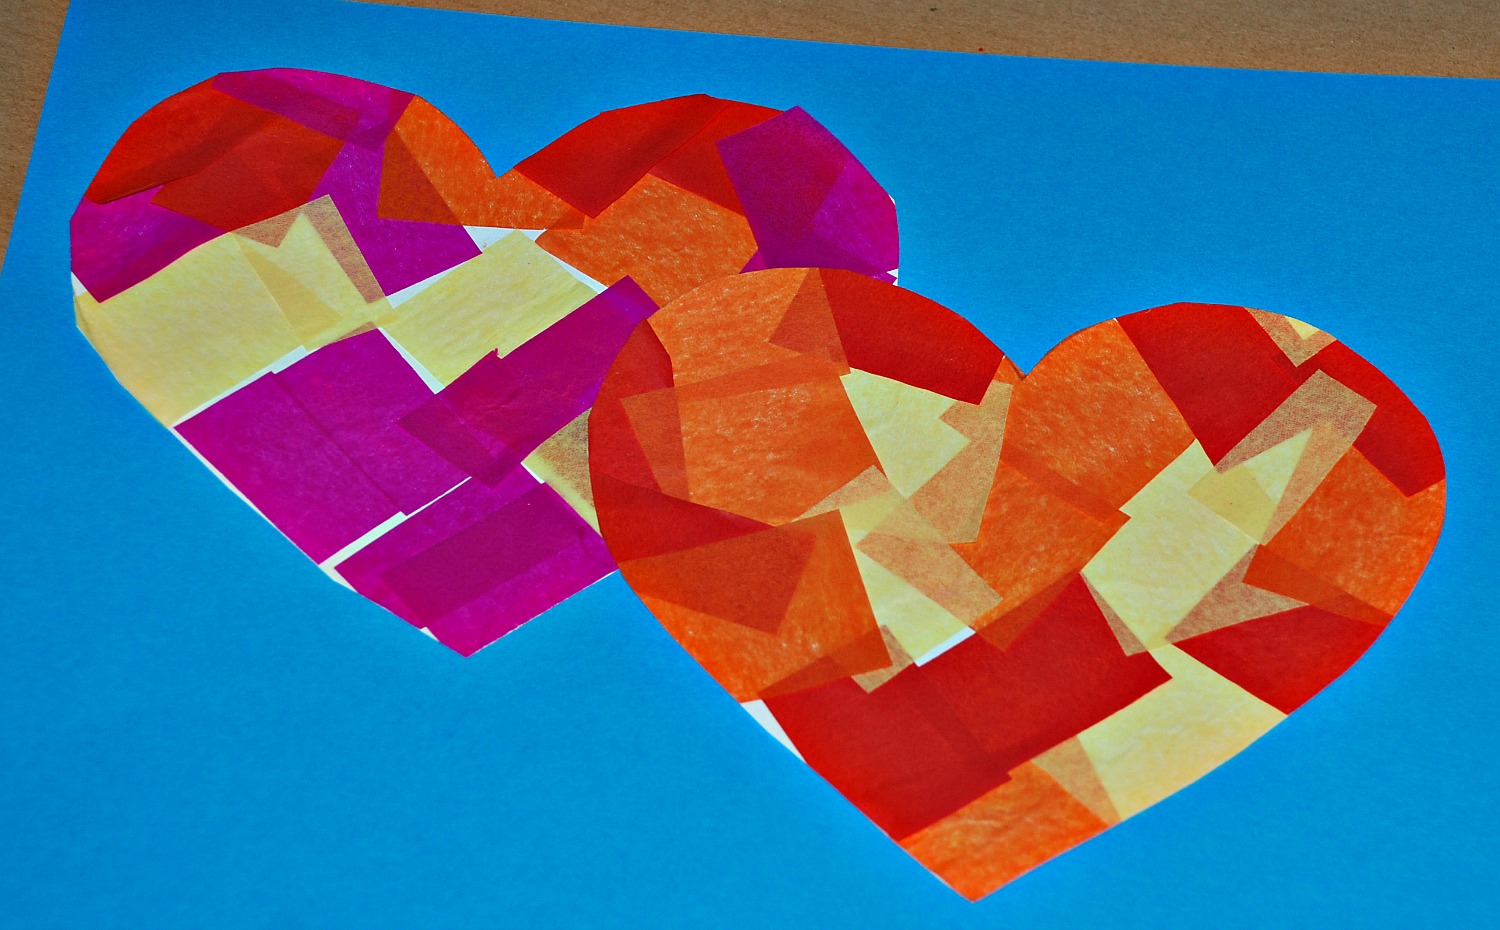
I really like the end result and it is so easy to make.

Posted in Art and Craft Ideas, Homeschooling | Tagged , , , , , , | 3 Comments

Prehistoric Park / Prehistoric animals

The kids have been loving the Prehistoric Park series currently on TV.  In the series Nigel travels back in time to rescue some of the prehistoric animals and brings them back to his Prehistoric Park.  We have actually only watched three of the episodes as the kids keep wanting to watch the same ones over and over but I am sure in time we will get to the others.

In the series not only do the kids get a chance to see what these animals probably looked like but they learn about what food that ate, their habitat and other interesting facts about each animal.  So far my kids favourite animal is the Whoolly Mammoth.  As a result of watching the series the kids have started asking lots of new questions about the prehistoric animals so even though we are suppose to be taking a break from our “school type activities” I thought we could still make some posters about the animals in the series.

I started off by getting the kids 3 pieces of card and we labelled them Carnivore, Herbivore and Omnivore.  I then looked in my History folder for any existing pictures that we could use and ended up using some pictures from the Prehistoric beast poster from Twinkl (gold) – I had printed this off a few months ago when we looked at the stone age.  The kids helped me cut the pictures out and we talked about whether each animal was a herbivore or a Carnivore.  Once we had stuck the pictures down we wrote some key words for each animal.

woolly mammoth

The other images that we used are from the Dinosaur Vocabulary poster (gold on Twinkl) and also some of the Dinosaur colouring in sheets  (FREE on Twinkl).  I was very happy to see the kids actually looked for the Dinosaurs in their See inside the world of Dinosaur book  by Usborne and tried to copy the colours when they did their pictures.

Dino colouring

T rex colouring page

Another great source of finding information about the dinosaurs (or sometimes checking that what you think is correct) is the great Dino Directory on the natural History Musuem website.  I found this a great source of information.

Our posters are still very much work-in-progress as we add to them as we watch and re-watch the episodes.  But this is what the Herbivore one is looking like at the moment.  (I will post pictures when we eventually finish them)

Herbivore posterI am also making some addition stencils to go with some of the Prehistoric animals featured in the show – I hope to post these later on in the week.

Posted in History, Homeschooling | Tagged , , , , , , , | 2 Comments

Simple and fun firework painting

I love doing arts and crafts with the kids but often it is the simplest art activity that the kids enjoy the most and often ends up giving stunning results.

The last few days I have been a bit under the weather so when the kids wanted to do something simplicity was very much required.  Paper, paint and paint brushes was all we used.

We started off the usual way by putting some paint out in a painting tray and the kids painted some fireworks.

Firework painting 5

But then we tried something different – I put two small blobs of different colour paint in the center of a piece of paper.

Firework painting 1

And the kids used their paint brushes to drag the paint (my little boy’s words) out onto the paper.

Firework painting 2They both thought this was great fun and ended up doing a number of different versions with different colours (I will refrain from loading pictures of all of them).

firework painting 3

firework painting 4Firework painting 6

This was a big hit with both kids and also with me (I admit after seeing the kids do one I also had a go).  We will definitely be doing this again.

Posted in Art and Craft Ideas, Homeschooling | Tagged , , , , , | 2 Comments

Little hanging baskets

I saw this idea in an old magazine a while ago as something for the kids to make for Mother’s days and have been meaning to try it but I just never got around to it.  Then recently Pink got some wobbly teeth and I am not keen on the whole put the teeth under the pillow for the tooth fairy – mainly because Pink is such a light sleeper and the slightest thing will wake her, so I though we could make a tooth basket to hang on the door.

We started off by making 2 circles – we used one of our coffee mugs to trace around (we also tried with a bowl but the basket ended up too big for what we wanted).  We used very thick paper for this.

making circlesWe cut out the circles and folded them in half (Blue did not really get involved in this craft as he still battles to cut circles but he was very encouraging).

Circles

folding circle

You then need to fit the one folded circle inside the other (first make sure you are happy with the way they fit before you add the glue).  Also watch where the kids add the glue, my little man wanted to put glue on the whole circle but you only need it for the area where the two circles join.

hanging paper basket 1Then you need to cut a strip of paper and glue it inside the basket so that you have a handle.

hanging paper basket 2

And you have a lovely little hanging basket perfect for hanging on the door handle for the tooth fairy.

Toothfairy hanging basketAfter making the first one the kids wanted more so we decided to make one for every family member to hang on our Christmas tree (we put 2 small chocolate inside each one).  To add some colour we also used some old wrapping paper.  I glued the circles directly onto the wrapping paper and cut them out as the wrapping paper by itself was not firm enough.

Hanging paper baskets 3

And I have to admit the little baskets look really nice on our Christmas tree

Christmas hanging basket

Save

Posted in Art and Craft Ideas, Homeschooling | Tagged , , , , , , | 4 Comments

Winter tree picture

Another snow filled tree picture.  Yip it seems this is my daughters new favourite art subject – not that I am complaining as I really enjoyed this one, in fact I think I might need to frame one of the latest tree pictures, just need to decide which one.

I started off by setting the table with some basic triangle templates, some tissue paper their scissors and glue.

Tissue paper tree

Surprisingly it was actually the little man who could not resist this and he started off making the trees but after seeing little brother in action it was not long before we all joined in. I think one of reasons this was such a big hit with the little man was because it did not matter if you went outside the lines, in fact it is actually better that you stick the paper over the lines.

Tiissue paper tree 2

After they had enough sticking Pink and I cut the trees out

Tissue paper tree 1

Tissue paper tree 3

We then stuck our lovely multicoloured trees on some plain black paper (I actually was wanting to use dark blue but we did not have any and the kids did not want to wait to paint our paper blue).

Tissue paper tree 4

We used some cut up pieces of toilet roll for the tree trunks

snow trees

and we added some snow drops with or white paint and ear buds

snow trees 2

I really do love the end results.  It is such a cheerful, colourful winter picture.

Posted in Art and Craft Ideas, Homeschooling | Tagged , , , , , , , | 1 Comment