Working out which numbers are Greater Than.

Working out which numbers are greater than or less than using a base 10 set and a scale

Over the weekend while the kids were weighing their toys again (they have done this a few times and enjoy figuring out which combination of toys is heavier), I had a sudden thought what if we weighed some craft sticks and used that as an example of greater than and less than numbers for my youngest.

weighing craft sticks to work out which number is greaterWeighing craft sticks in our Learning Resources scale

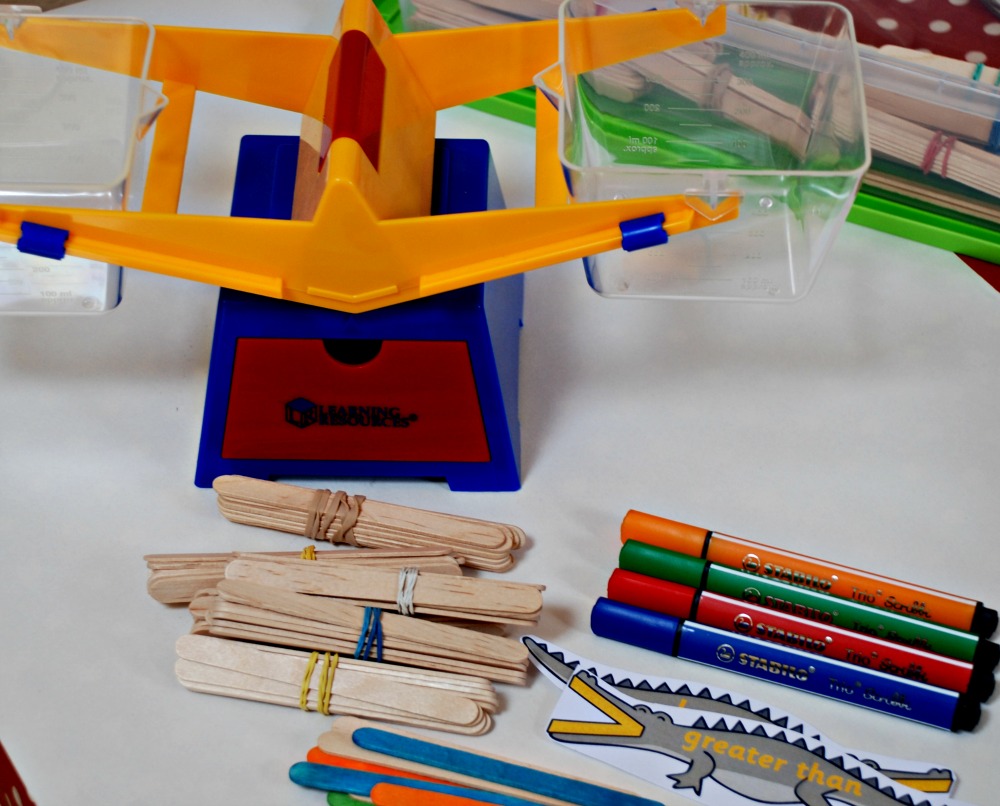
It started off really well and my youngest really enjoyed using the crocodiles from Twinkl (free) to help him write out the equations. But then he wanted to compare 10 and 12 – the difference in weight of the craft sticks was just not enough.  So we switched to using our Learning Resources Base 10 set instead and he quickly saw that 12 was greater than 10

greater than crocodile from Twinkl

He found the Base 10 set very easy to use and he started creating a wide range of numbers in his buckets.

Using our base 10 set with our scales

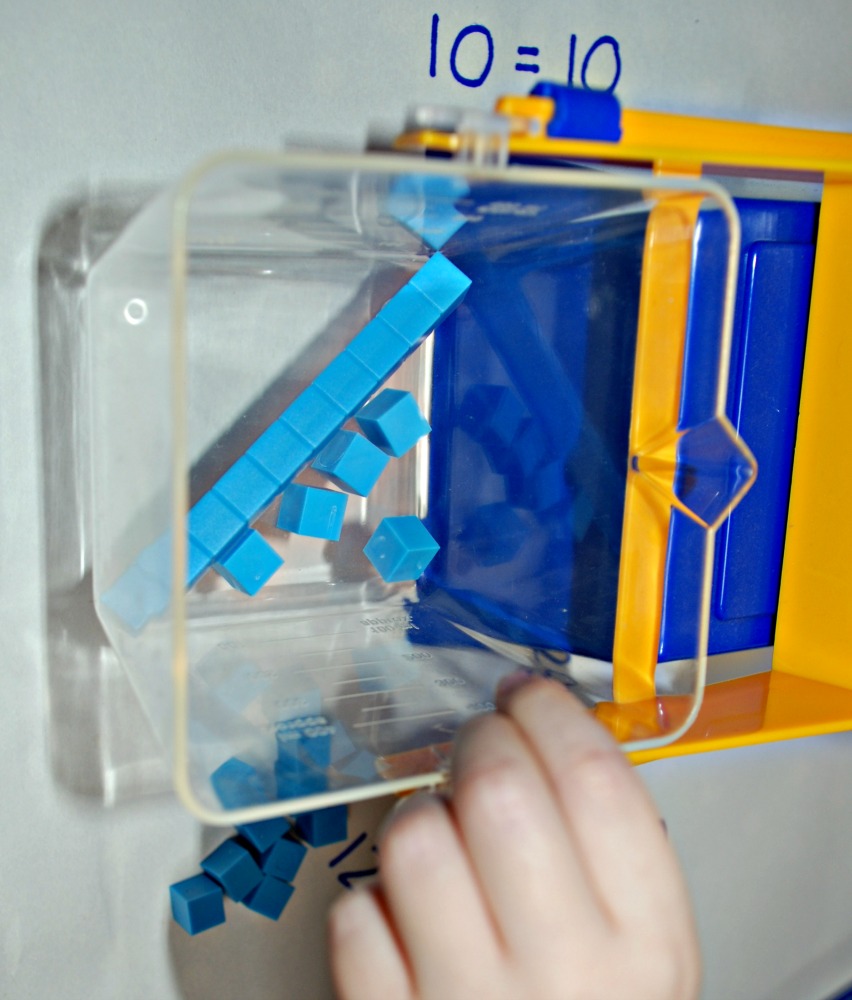
In fact the base 10 set worked so well that my youngest was soon comparing numbers in the hundreds – he never normally deals with numbers over 100.

weighing big numbers to work our which one is greater than

And he also did a lot of number comparison to zero.  It was a great visual representation as the bucket with zero was empty.  He checked a variety of numbers against zero and then he proudly announced to me – “mom all the numbers are going to be bigger than zero.”

Comparing numbers to zero

My oldest also got involved, she really enjoyed comparing the numbers in the hundreds and soon she was tempted to try our thousand block.  The thousand block just fits into one of the buckets (at a slight angle) and seeing it compared to the 100 board was great.  Both kids got really excited at the difference in the weight between 1000 and 100.  I think it really helped my son to understand that 1000 is much bigger than 100.

Comparing 1000 to 100 using base 10 set and scales from Learning reourcesAnd although the main idea of the activity was for my youngest to do a hands on activity around greater than and less than numbers he actually ended up doing lots of writing.  I started off by writing out the first few equations that we worked out but he quickly informed he could do it and he took over the writing

writing out numbers after weighing the base 10 set

writing out greater than and less than equations

He got so involved in the weighing that he did not realise how much writing he was doing or that he was writing “big” numbers.

The Learning Resources scale and the base 10 set were bought by us over a year ago and both have been well used.  You can find get the Learning Resources scale from ImagiDo and the Base 10 set from Amazon (affiliate link).

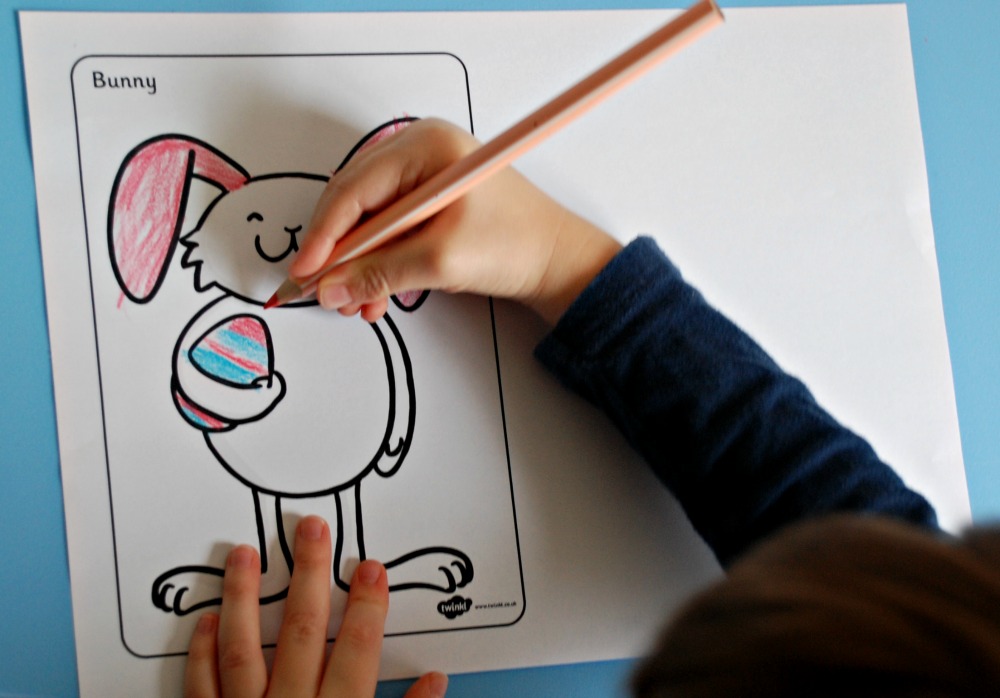
And as I am often asked about the pens and pencils that we use.  The pens in todays photos are the STABILO Trio Scribbi.  They have a lovely triangular shape, perfect for younger kids (and my 7-year-old also loves them too).

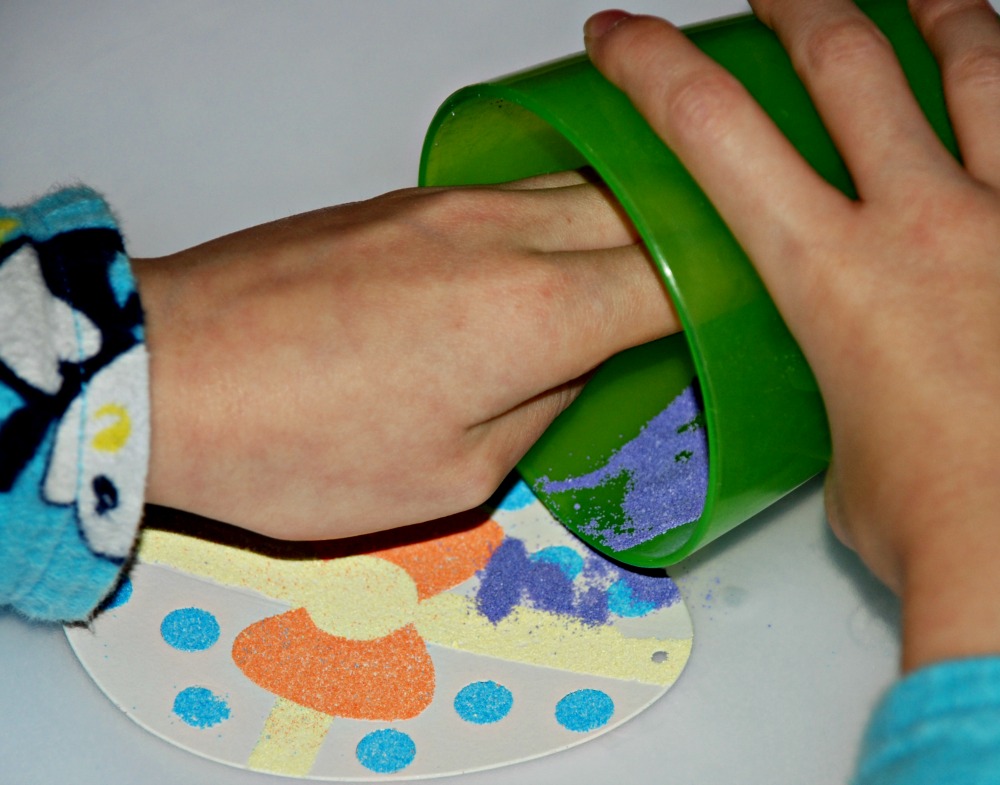
You might also enjoy our post – Maths using snap cubes and scales

Posted in Homeschooling, ks1 maths | Tagged , , , , , , | Leave a comment

Comprehension Workbooks for Year 2 (UK)

I am trying to write more posts about the books and games that the kids have used and enjoyed. I know it is always helpful to read reviews before you spend your hard-earned money buying books and games (I always spend ages reading reviews before I decide on which product to buy).

Key Stage 1 Comprehension books from Schofield&Sims

We started working through some Schofield & Sims Comprehension workbooks when my daughter was in Key stage 1 and have recently started working through some Key Stage 2 comprehension books so I thought some photos and examples of the ones that we have used might be helpful (and yes I am going to include some affiliate links.  If you buy on an affiliate link you do not pay more but I do earn one or two pennies).

We started off with the Early Comprehension Book 3 (of 3): Key Stage 1, Years 1 & 2
in the beginning of her year 2.  It is a nice introduction to comprehension.  There are small bits for the kids to read and not a lot of writing is required.  They often get to circle or underline the answer and when a written answer to required it is just one or two words.  I liked this gentle introduction as it was not too hard for my daughter so she was encouraged and whizzed through the book quickly.

Early Comprehension Book by Schofield & Sims

Key Stage 1 Early comprehension Book by Schofield & Sims

We then moved onto their First Comprehension Book 1 (of 2): Years 2-3 (Teacher’s Guide also available).  My daughter completed this book as part of her year 2 work.  She would read through the passage (I would be sitting at the table next to her to help with any words she did not know) and then she answered the questions.  I found this a great activity for her as she would practice her reading, writing, spelling and extend her vocabulary all in one go.   And some of the passages sparked some extra reading projects – there was a comprehension on British garden birds that prompted a lot of extended learning.  The exercises in the book do get harder as the kids progress.

Schofield & Sims Comprehension 1 Book. Big Red Boots textSchofield & Sims Comprehension 1 Book. Big Red Boots questions

We moved onto the First Comprehension Book 2 (of 2): Years 2-3 (Teacher’s Guide also available)at the beginning of my daughters year 3.  She felt that it progressed nicely from the previous book and she did get more and more confident with doing the exercises by herself.  Again the passages do get harder as the kids progress in the book and they are a mix of fiction and non-fiction comprehension.

Schofield & Sims Comprehension 2 Book. Fossil Hunting Text

Schofield & Sims Comprehension 2 Book. Fossil Hunting questions


Schofield & Sims Comprehension 2 Book.  Written in March Poem

We like the Schofield & Sims books for a number of reasons.   My daughter prefers the pages to other workbooks as she does not find the pages too crowded or busy and she likes the fact that there are not lots of bright colours all over the page.  She finds the book the right mix of being challenging but also not too hard that it destroys her confidence.  The books are not thick and heavy and she will often choose a comprehension as a learning activity to do if we are going to be out somewhere waiting for her brother.

We are continuing using this range as part of her Key Stage 2 learning.

Save

Posted in Key Stage 1 ideas | Tagged , , , | Leave a comment

Easter Bunny Jars

Kid-made Easter Bunny JarsWho does not love the Easter Bunny ?  Both of my kids love the idea of a cute bunny delivering some chocolate – I mean what is not to love right – you get chocolate and my kids love chocolate.

My daughter wanted to do an Easter Bunny craft similar to her butterfly jars so we came up with these cute Easter Bunny Jars.  We used two bottles from our recycling and the kids coloured in the bunny picture from the FREE Twinkl Easter colouring sheets. I did reduce the size of the bunny picture so it would fit onto our jars (we printed ours 2 to a page).

Easter bunny Twinkl colouring images

Once the kids have finished making their rainbow bunny’s we cut them out (I did have to help my youngest with some of the cutting).

Rainbow easter bunny's

We stuck them onto our glass jars with our Mod Podge 8 oz Waterbase Sealer, Glue and Finish, Gloss (love this stuff ).

Easter bunny jar - sticking the colouring page onto the jars

The idea was to put some easter eggs in the jar but as the kids only have a few small easter eggs (trying not to overdo the chocolate) we first filled our jars with some shredded green paper and then put our eggs ontop.  The green shredded paper was a way to fill the jars up but I actually think it works really well.

Easter bunny Jar

And a finishing touch my daughter added some of her rainbow ribbon around the top (this ribbon was a present from her aunt) and my son choose to use some green and blue wool on his.  He wanted a handle – which we made for him – if you do add a handle please do make sure it is secure.

Easter bunny Jars on ofamilyblog

All in all it is was easy and straightforward to make but they do look cute.

Save

Posted in Art and Craft Ideas | Tagged , , , , , | Leave a comment

Hama Noughts and Crosses

Hama Bead Noughts and crosses game as made by kids on ofamilyblogBoth my kids enjoy making Hama Bead pictures and goodies.  Sometimes the creations turn out quite well and other times, well sometimes they just do not turn out as we had planned.

So when my youngest chirped up that we should make our own version of the noughts and crosses game but with our Hama beads I was a little skeptical.

We quickly realised that the traditional crosses when made with Hama beads are just not strong enough for little people who sometimes can be a bit excited when they play the game.  So we substituted the noughts and crossed with some red and blue rectangles (why rectangles ? – well that was just the shape that my youngest choose and he ended up making them all so we went with rectangles).

Hama noughts and crosses

It is actually really easy for the kids to make themselves.  I did help my youngest work out where the rows and columns go as he was battling to figure out how to split it equally in three sections.  But once I set him up he did the rest.

And did the kids actually use it to play the game after everything was ironed ?

Hama playing our noughts and crosses gameThey both like the idea of home-made games, especially if they have helped make the game.

noughts and crosses game

Very simple and easy to make, although my ironing clearly could have been a bit better.

Posted in Art and Craft Ideas | Tagged , , , , , | 5 Comments

Sand art Easter Eggs with some tissue paper for fun

Sand Art easter eggs and a few with some tissue paper added

My kids love sand art.  It is fun and it is a great tactile activity for all kids.  When my daughter first started doing sand art she was very hesitant to touch it but now she asks me if she can do it and happily uses her fingers to get the sand into the correct places.

We used this lovely set of easter egg templates from Baker Ross.

sand art easter egg templates from Baker Ross

The kids poured the coloured sand into our small plastic cups and worked on our art trays.  We have found based on lots of trial and error that this is the best way for us to do sand art.  Pouring the sand directly from the bottles is a disaster waiting to happen – at some stage a little person is just going to lift the bottle too much and it all comes swooshing out.  Also the trays work wonders as there is always excess sand which comes off the templates and then the sand is contained within the borders of the tray and the kids can easily pour it back into the plastic cups and reuse the sand again.

Sand art using a tray to help contain the sand

We have found that it is best to start with the smaller sections first and only do the background at the very end.

Sand art - tactile art activityThe easter eggs turned out really well.

Sand art easter eggsThe kids also thought it would be fun to add some tissue paper to a few of the eggs.  However with the tissue paper we found that it was best to do the sand art background first and then add the tissue paper to the smaller sections.

Sand art - when adding tissue paper do the background first

Sand art easter eggs - with some tissue paper addedBy combining the tissue paper with the sand art the kids ended up having a great tactile and finger strengthening activity all in one.

My daughter also had some fun adding the eggs to a rice tub with her yellow plastic chick eggs.

Sand art easter egg in green rice tubThe kids love the yellow plastic eggs.  We had some little craft chicks that I bought at a craft stall awhile ago (they look very similar to these ones Yellow chicks from Baker Ross) so these where also added to their “easter tub” – their words.

little chick in eggI was wanting to use the yellow plastic eggs for a maths activity but I have been informed by my kids that I am not allowed to remove the chicks from the eggs – apparently only their parents are allowed to do that – the chicks parents are apparently my kids.  Oh well maybe by next week all the chicks will be out of the eggs so I can use them.

The Easter egg templates, the coloured sand and the yellow plastic eggs were given to us by the lovely people at Baker Ross.

Posted in Art and Craft Ideas | Tagged , , , , , | 2 Comments