We did some bleeding tissue paper a while ago – it made very pretty writing paper. So the kids were eager to try it again but this time they wanted to use it with some pictures (my son is not very sure of art when it is not an object that he can identify) . My daughter was a bit unsure of how it would turn out so I suggested we first try it using some basic colouring pictures so that the kids would have a basic outline and could concentrate on the placement of the tissue paper.
I printed the colouring pages onto some card as the kids do need to add water to get the effect and my youngest can go a bit overboard with the water resulting is soggy paper.
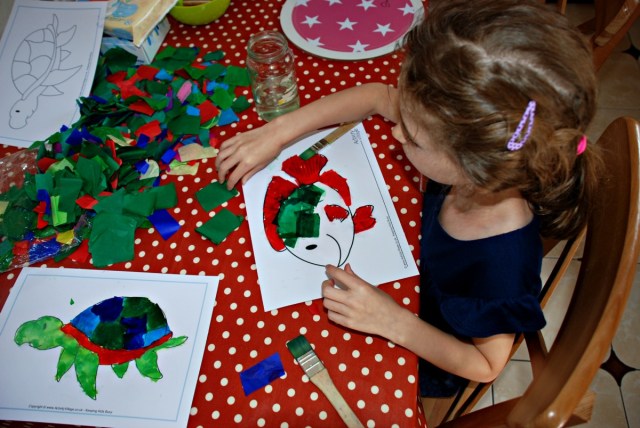
We started off by slightly wetting the area where the tissue paper was going, then we added the tissue paper (we needed to fold it and tear it so it sort of fitted in) and then afterwards we used our paint brush to add a bit more water on top of the tissue paper to make sure it was wet so that the colour would bleed onto the paper.
The colouring pages that we used are both Free to download from Activity Village here – fish and the sea turtle. (UPDATE – since writing this post the fish and turtle pages that we used are no longer Free to download they are now part of the Activity Village membership deal.)
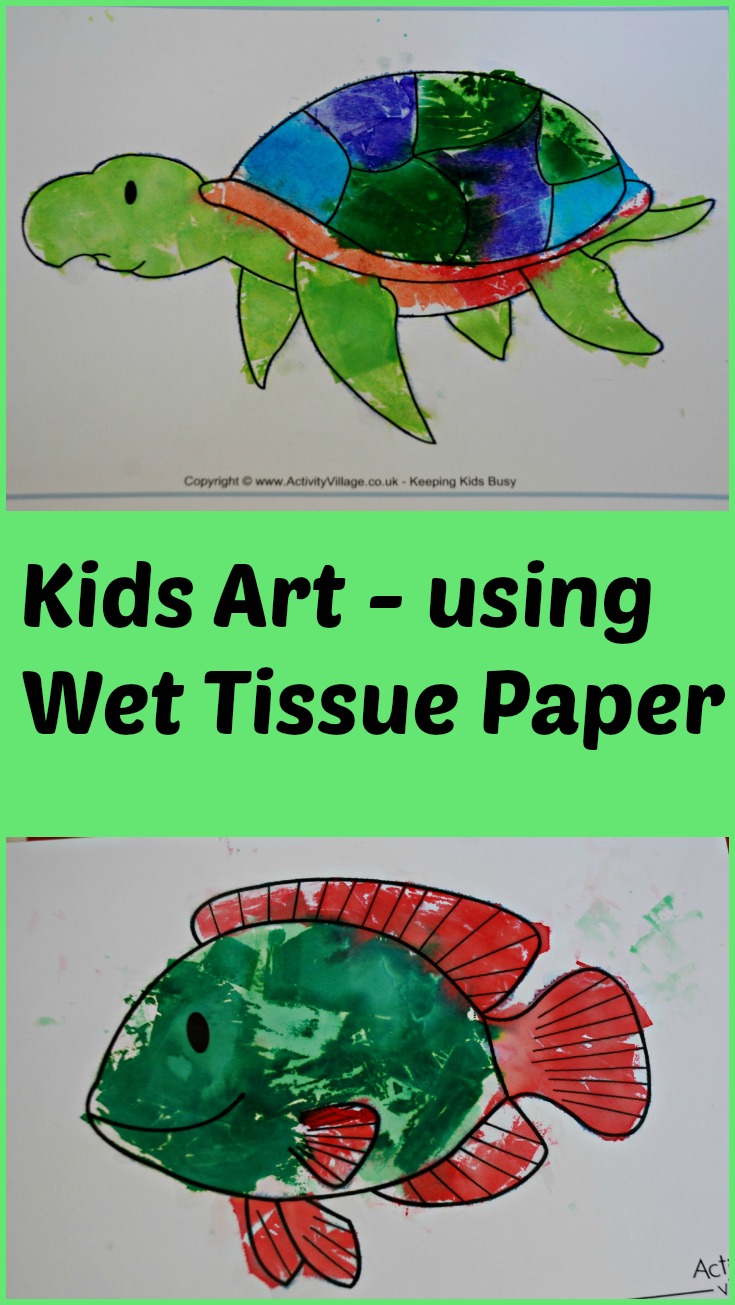
This is what the pictures looked like with the wet tissue paper on
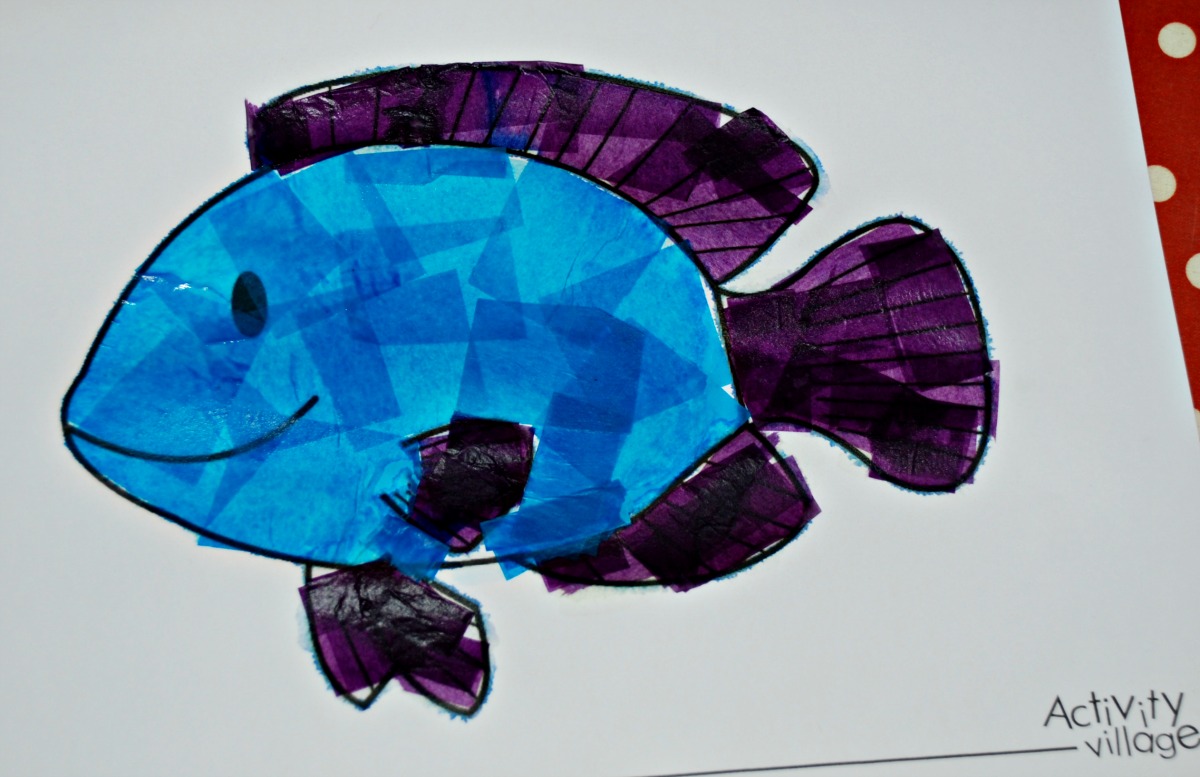
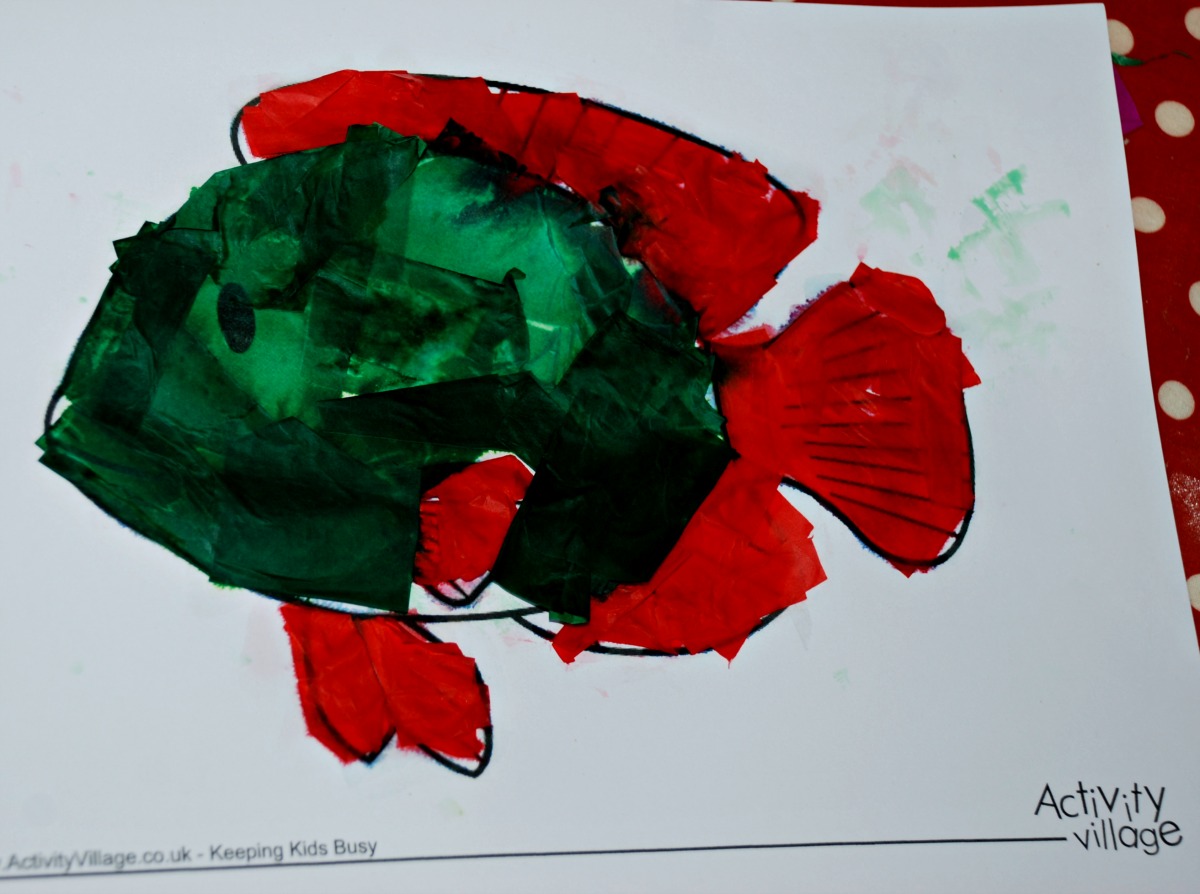
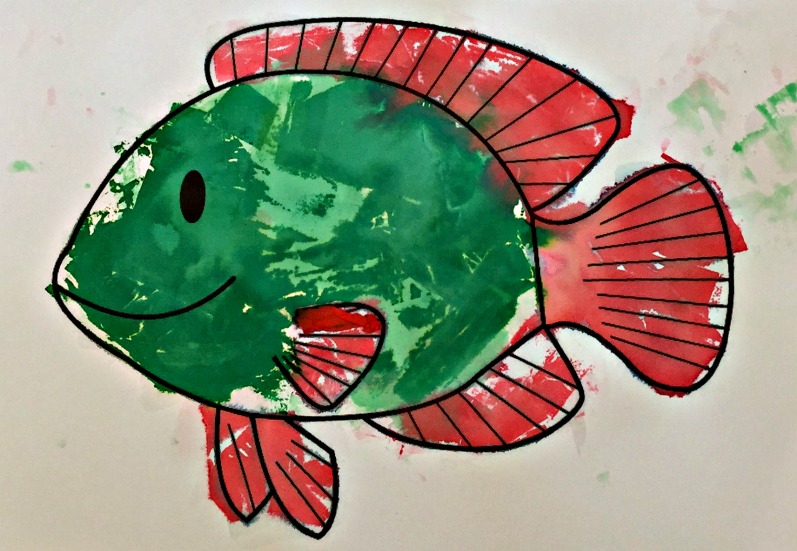
 and after you have removed all the wet tissue paper.

I think the pictures turned out really well.
And just in case you are curious – this is how our Bleeding Writing paper turned out – Making some colourful writing paper


Your children have so much fun with crafts! I love it.
LikeLike