
Over easter we made some really cute easter egg cards that my daughter loved so we thought we would try to use the same the idea for some Christmas tree cards.
We used our new favourite Free to download Christmas tree template from Activity village. We used the template to trace the shape onto a number of different pieces of paper and then cut the trees out. (UPDATE – when I initially wrote this post the Activity Village page that we used was free to download but the Activity Village website has since changed and the page can now only be downloaded if you are a member.)
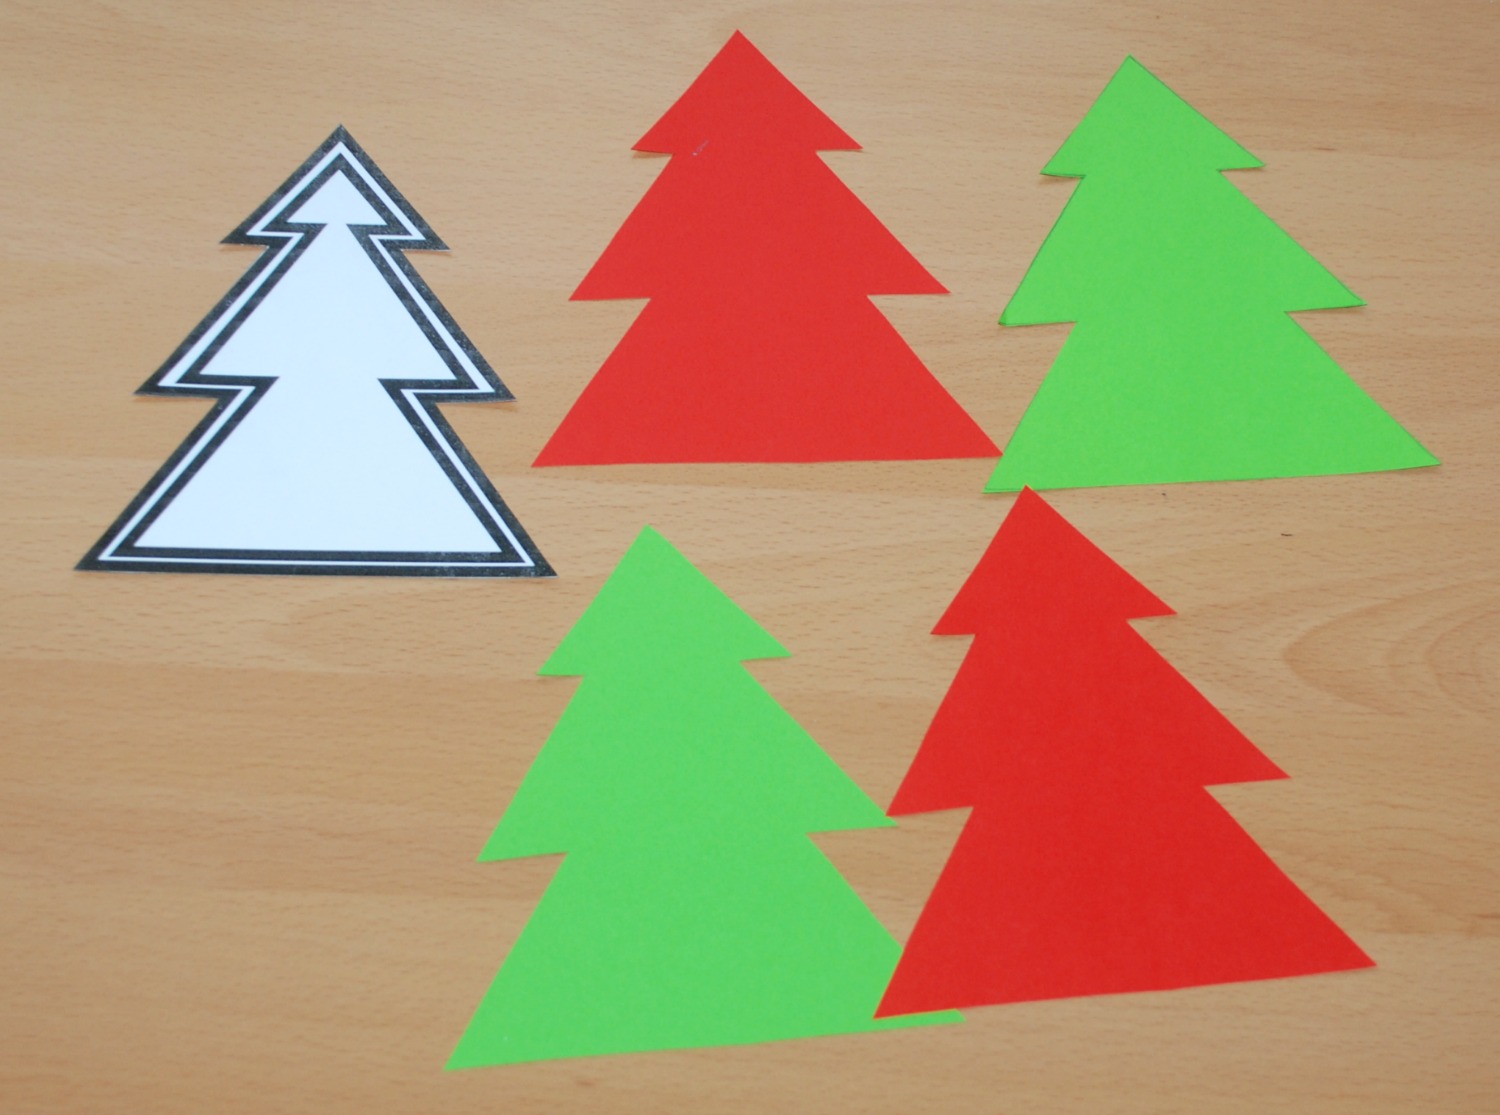 We folded each tree shape in half.

Then we glued the first half of the first tree to the card (line up the middle fold of the tree with the middle fold in your card).
 You then glue the free half of the first tree to the next half of the second tree and continue doing this until you get to the last tree. With the last tree you need to glue the second half back onto the card. That way when you open your card up the trees fans out nicely.

I think it makes a very effective card. I like the look of using the plain coloured trees.
The kids also coloured and decorated some of the trees. So their second card looked like this

I think the grandparents will enjoy these !!
If you missed my earlier post about starting our Christmas cards here is the link – Starting our Christmas cards (more ideas on using Activity Village pages for easy child-made Christmas cards)
The scissors that my kids use are these – Westcott 5 inch Soft Grip Kids Scissor – Pink – and other styles. We have tried a few different types and these are by far the most popular with both my kiddies.
I have included Affiliate links. If you follow an affiliate link and go on to purchase that product, I will be paid a very small commission, however your cost will remain the same.

